Product:
Content edit
WebViewer 10.3 adds support for WYSIWYG PDF content editing which allows you to edit text and images directly on PDF files.
Content editing is a new add-on that isn't part of existing license keys. To test it out you can comment out your license key and try in demo mode.
This feature only works with PDF files. If you want to edit Word documents you can try our DOCX Editor. For other type of files you can call the loadDocument function with the loadAsPDF: true option. For example documentViewer.loadDocument('myfile.xlsx', { loadAsPDF: true })
Enable content editing feature with the WebViewer UI
To use the content editing feature with the WebViewer UI you need to enable the content edit feature in the UI.
JavaScript
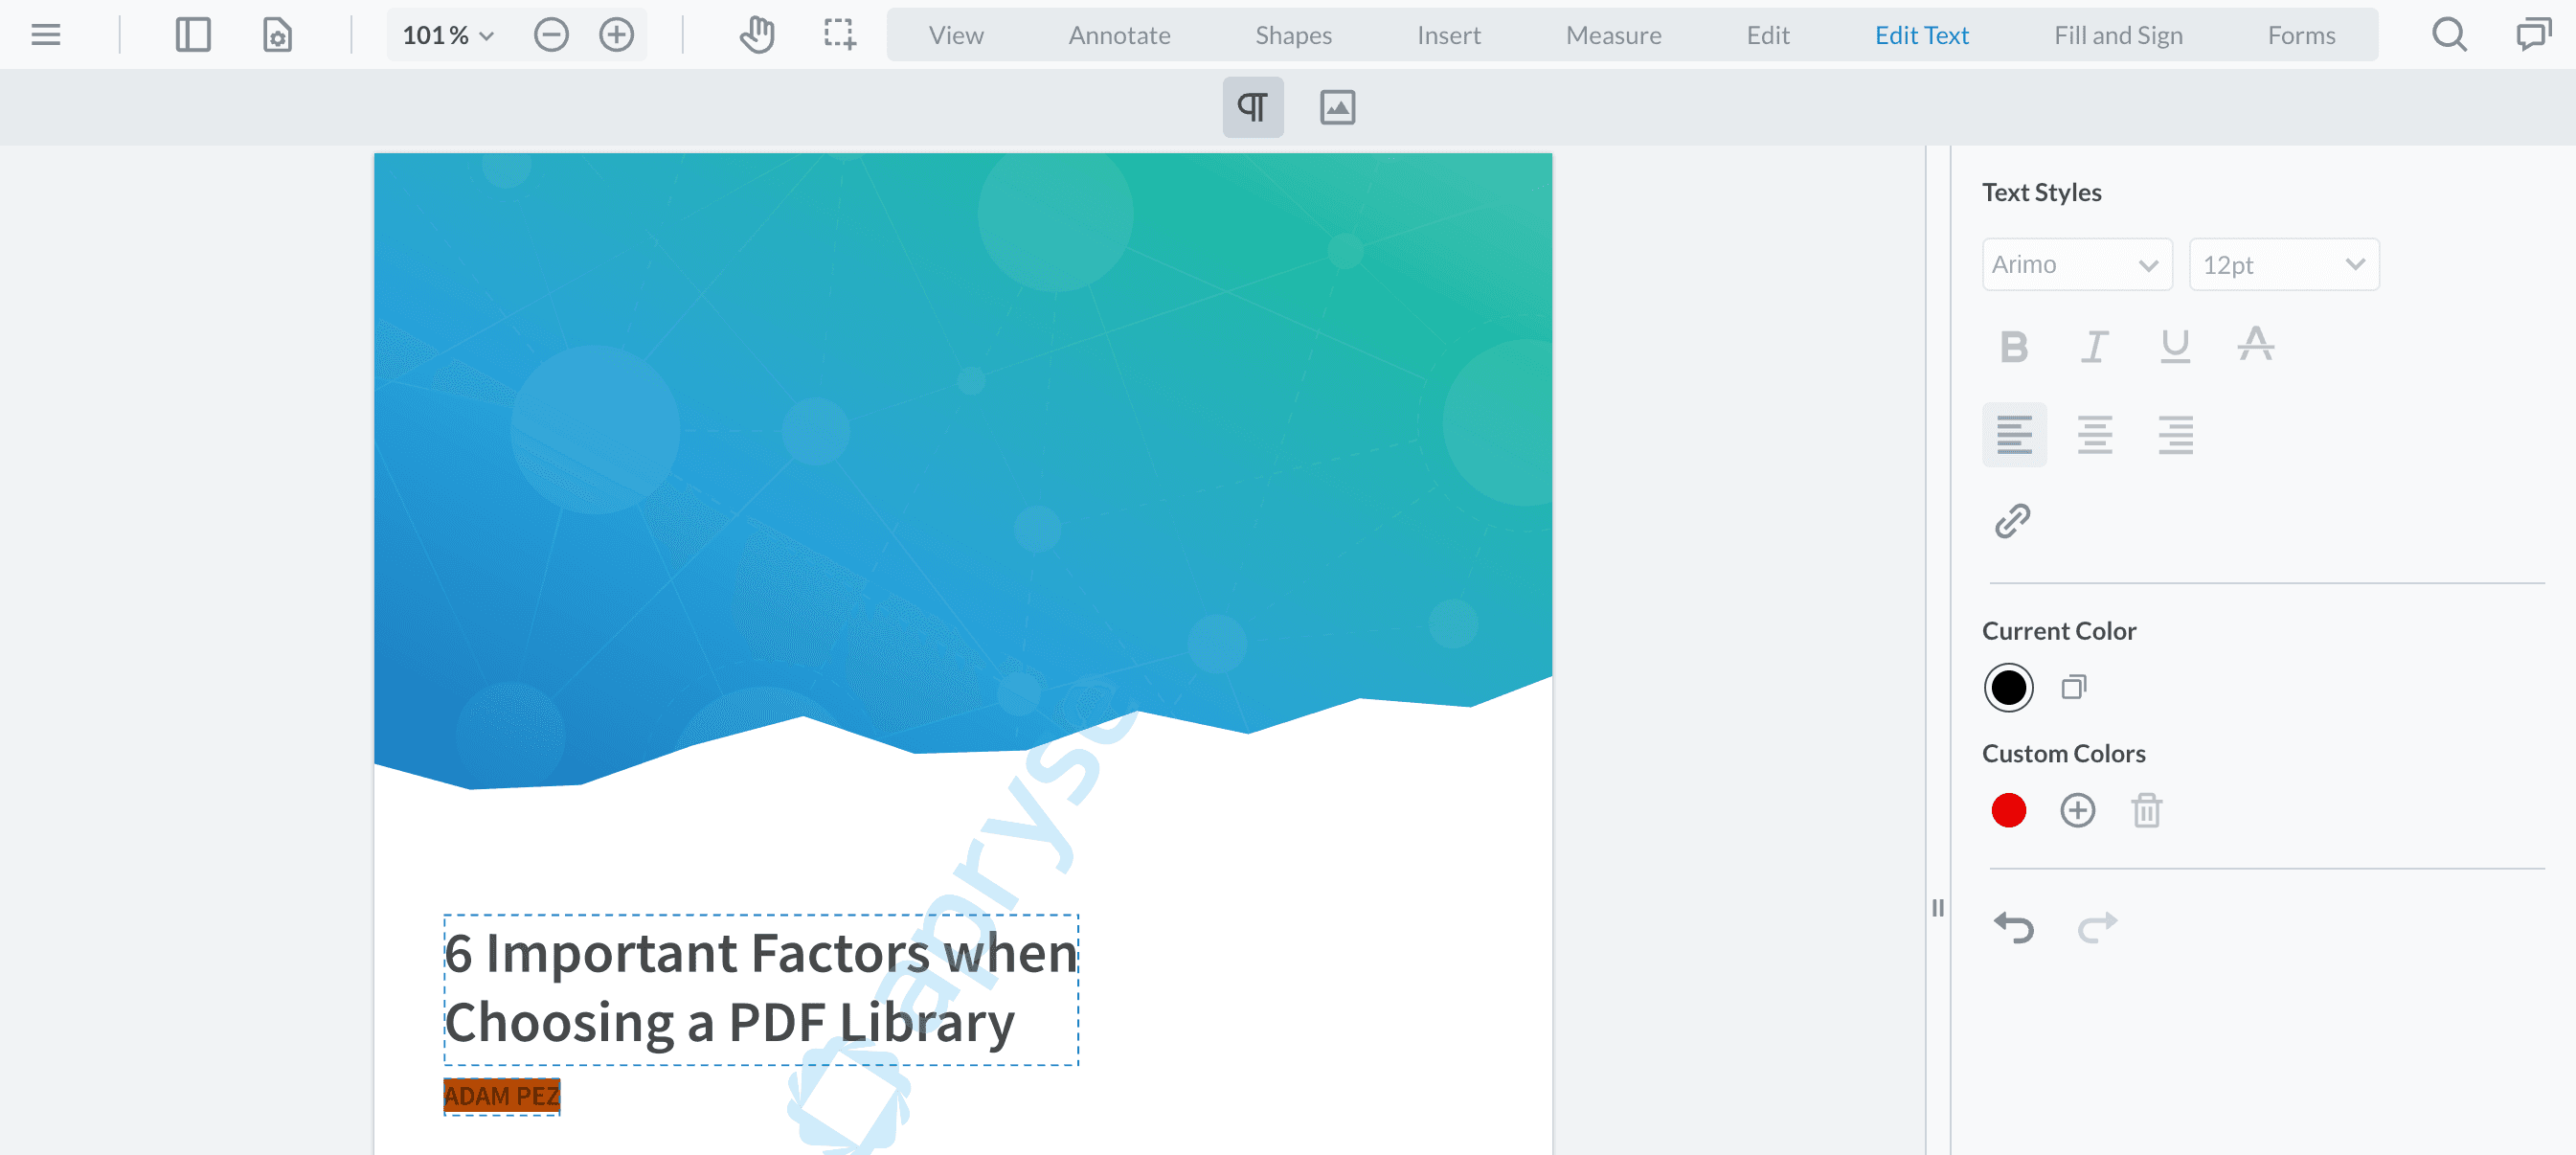
You will see the "Edit Text" toolbar group after the UI is loaded.

To proceed, click the "Edit Text" button or switch to content edit mode programmatically:
JavaScript
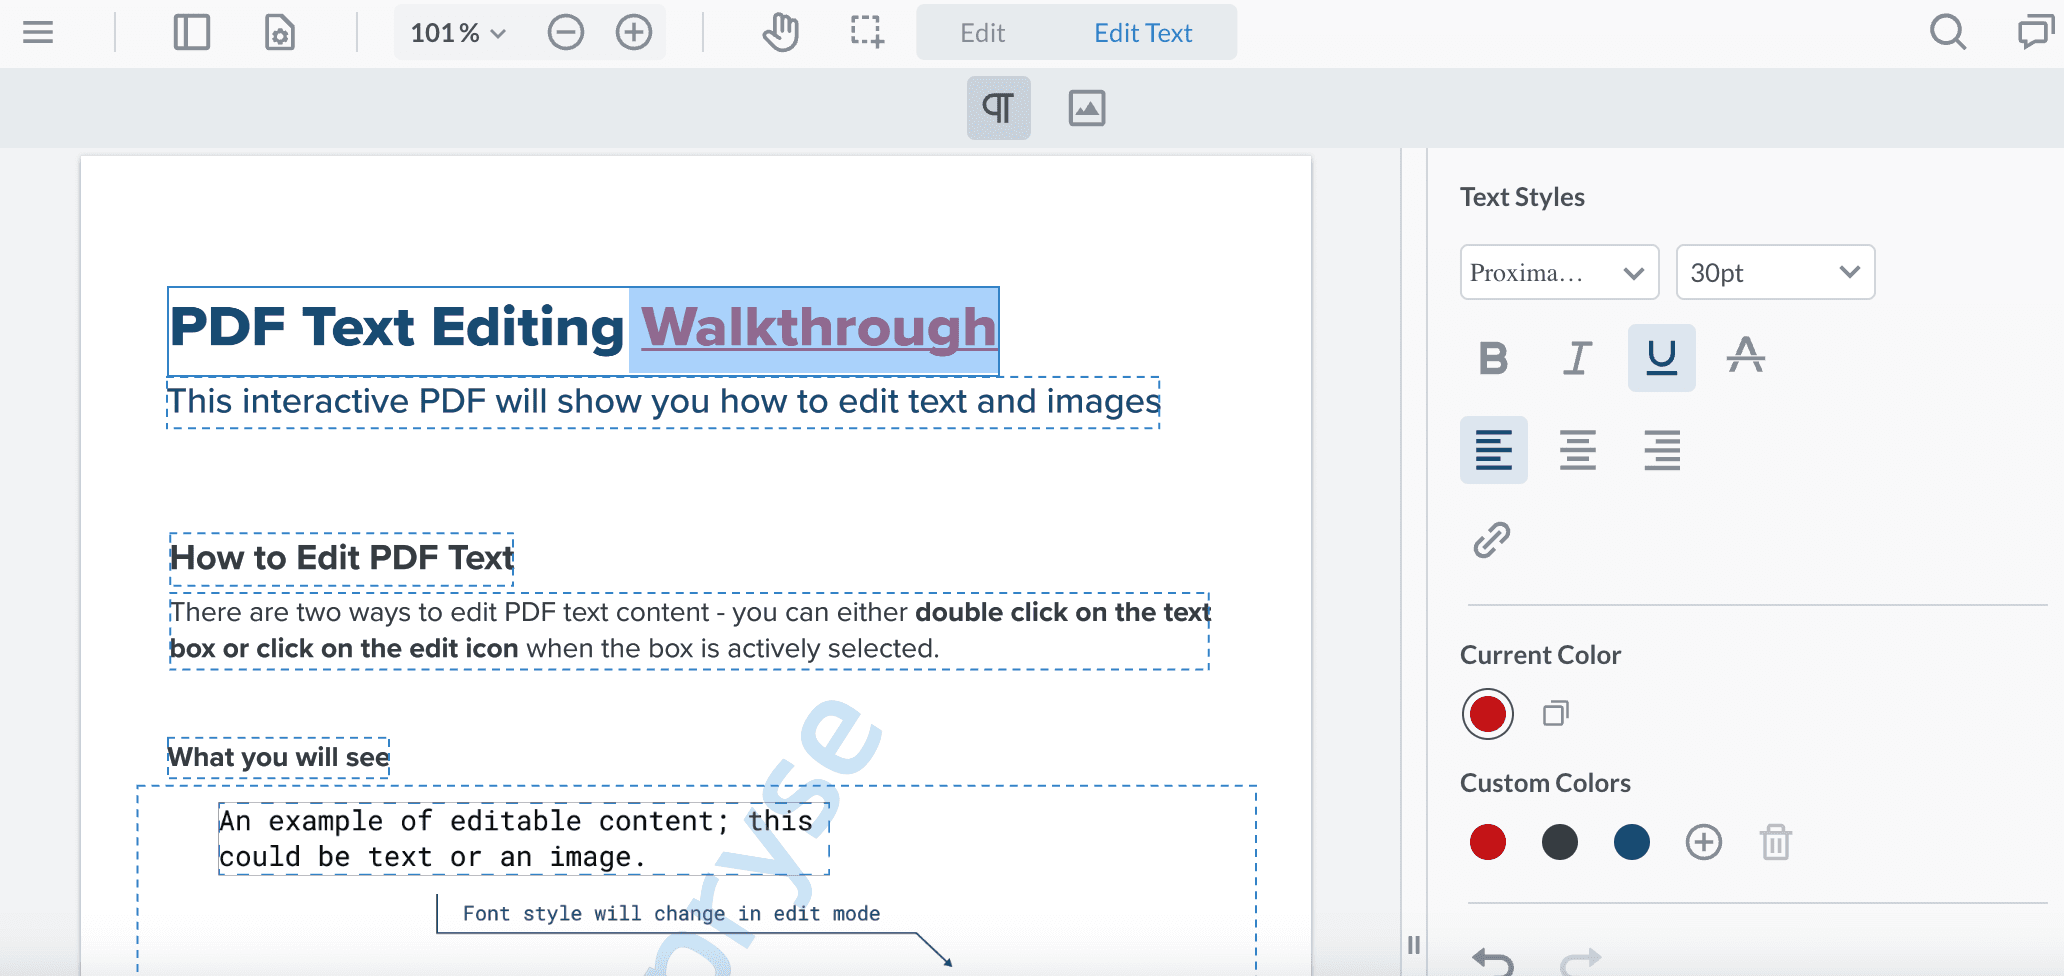
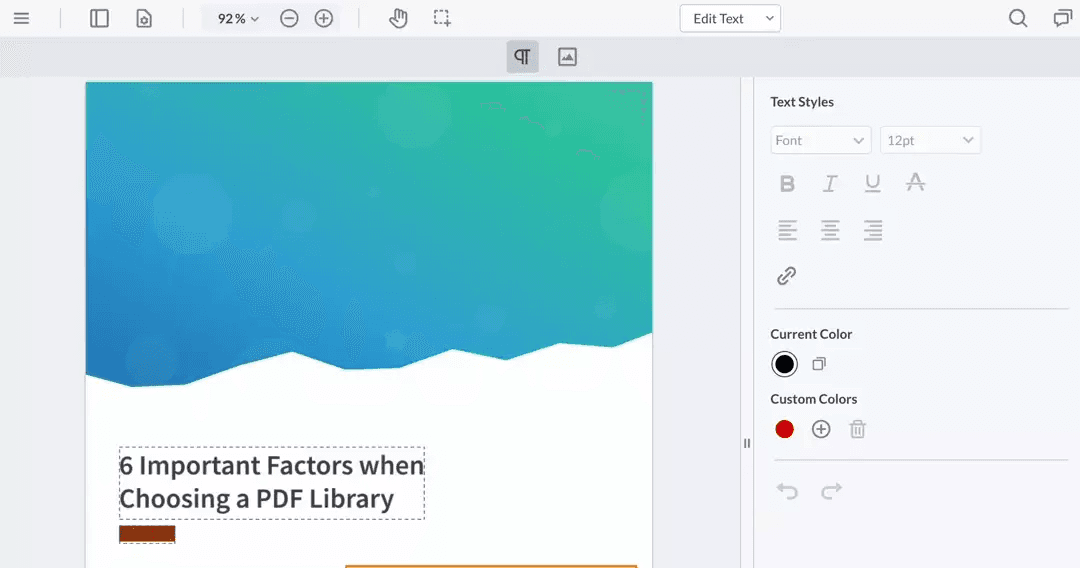
The editable text and images in the document will be displayed with a dashed box around them and a side panel will be open with the text editing tools.
Editing content from the UI
Text and Images
To edit the text you can either:
- Double click on the box
or
- Single click on the box to select it
- Click the edit button in the annotation popup menu
After this the text will become editable and once you've finished making changes you can click outside the box to have the text updated on the page.
Both text and images can be moved, resized and deleted. You can do this by selecting a box and then moving or resizing it like a normal annotation. You can also press the delete button to delete the content.
Adding Paragraphs
To add a new paragraph, you can select the Add Paragraph tool button and then click and drag to create a rectangle that your new text will go inside. You can then start typing to add text and use the available tools in the right panel to adjust properties of the text.
Adding Images
To add a new image, you can select the Add Image tool button and click on the document to choose where to place the image. The system file picker will open and you can select an image. After this, you can resize it, change its location or delete it.
Using content editing with the WebViewer Core
If you use the WebViewer Core directly then there are some APIs provided to interact with content editing. As an example you can check out the WebViewer Custom UI Github repo which makes use of these APIs.
To begin editing content you'll have to call the method startContentEditMode.
JavaScript
To add new paragraphs, there is a tool called AddParagraphTool that you can switch into. For example:
JavaScript
You can also add images switching to the AddImageContentTool.
JavaScript
If you need to finalize the editing content mode, you can call the endContentEditMode method.
JavaScript
The first time the tool mode is switched into the content edit mode WebAssembly files will be loaded. If you'd like to do this earlier you can use the preloadWorker method.
JavaScript
Working with content edit placeholder annotations
You can tell if an annotation is a content edit placeholder annotation by using the annotation.isContentEditPlaceHolder API. With those annotations you can use the getDocumentContent and updateDocumentContent APIs. For example:
JavaScript
If you want to check whether the annotation is for text or an image then you can use getContentEditType. For example:
JavaScript
Moving and deleting content
When the annotations representing the content are moved or deleted in the DocumentViewer then the content will automatically be updated on the page. You can also use the normal annotation APIs.
JavaScript
Setting the text style programatically
You have the ability to programmatically set the editor to apply a specific font style to the next characters. This style will remain active until it is updated by a subsequent selection or another call to the API.
JavaScript
By using the provided code snippet, you can effortlessly define the desired font style, such as bold, italic, and underline, along with the font name and size. The changes will be applied to the text within the editor, maintaining the style until further modifications are made through subsequent selections or API calls.
Getting the text style from an active selection within a Content Edit Box
When you are editing text within a Content Edit Box, you have the ability to retrieve the current Text Attributes of your selection. This can be useful if you want to update your UI or confirm text properties as a user navigates the text.
First, attach a function to the contentBoxEditStarted event that will store the reference to the active Content Box editor.
JavaScript
Secondly, attach a function to the contentEditSelectionChange event. This function should call the referenced editor we stored earlier to retrieve the Text Attributes with the getTextAttributes method. Once we obtain the attributes from the current selection, we can extract the various properties.
JavaScript
Getting the text style from a selected Content Edit Box
You can extract the Text Style (e.g., font size, color) from a Content Edit Box that isn't in edit mode. This process fetches the first instance of each property. For instance, if a box has both 12-point and 30-point fonts, with the 12-point appearing first, the output will be 12 points.
To do this:
- Select an Annotation
- Obtain the
contentEditBoxId - Request the Content Box Attributes from the Content Edit Manager
JavaScript
Undo / Redo changes programmatically
You have the capability to programmatically undo or redo changes made during PDF text edits. This functionality encompasses actions such as character additions/deletions, style modifications, and adjustments to content boxes. These changes are managed through the Content Edit History Manager.
JavaScript
Using the provided code snippet, you can easily initiate undo and redo operations programmatically. The undo() function allows you to reverse the most recent change, while the redo() function re-applies a previously undone change. Additionally, you can utilize the canUndo() and canRedo() functions to check if there are available changes to be undone or redone, respectively. This grants you control over the revision history and enables a seamless editing experience.
Customized Deletion of Link Annotations through API
Starting with WebViewer 10.7, we've introduced an enhanced feature that displays a link annotation popup. This popup includes link information and an unlink button, which can be triggered simply by hovering over any link annotations within a document.

Currently, there is no direct API to remove a hyperlink that has been added in Content Edit Mode. However, an alternative approach is available, allowing you to detect the link annotation you've added, store it, and then perform the deletion action.
Detect link annotation
Utilize the mouseMove event in conjunction with the available API getAnnotationsByMouseEvent to identify link annotations.
Here is the example of an onHover for annotations:
JavaScript
Delete link annotation
The annotations include links from within WebViewer, both in and outside of Content Edit mode, or from embedded URLs in the document Regardless of the link annotations obtained, you can use the deleteAnnotations method to remove them from the document. Please note that, in the current implementation, the link style will still persist.
Here's an example of removing link annotations generated by WebViewer:
JavaScript
Did you find this helpful?
Trial setup questions?
Ask experts on DiscordNeed other help?
Contact SupportPricing or product questions?
Contact Sales