Product:
Integrate Apryse SDK into your Xamarin.Forms application
Welcome to Apryse. This guide will show you how to get started with integrating a free trial of the Apryse SDK into your Xamarin.Forms application. We will clone the Xamarin.Forms sample repository, walk through the project structure, and show you how to customize the Apryse components of your Xamarin.Forms app. Your free trial includes unlimited trial usage and support from solution engineers.
Prerequisites
- Latest version of Visual Studio
No trial license key required.
The trial of Apryse Mobile SDK does not require a trial key. A commercial license key is required for use in a production environment. Please contact sales to purchase a commercial key or if you need any other license key assistance.
Keep your license keys confidential.
License keys are uniquely generated. Please make sure that it is not publicly available (e.g. in your public GitHub).
Initial setup
- Clone the Xamarin.Forms sample by executing
sh
- Open
CustomRenderer.slnin Visual Studio.
You are now ready to run the sample. If you want to run the UWP sample as well, follow the steps below:
Optional, for UWP only
- Download and extract the UWP project.
- Run the
PDFNetUWPApps.vsixfrom/PDFNetUWPApps/Libto install PDFNet SDK for UWP. - From the UWP download package, copy the
/Samples/PDFViewCtrlTools_VS2015folder to the Xamarin.Forms sample folderContentPage. - Find the existing
PDFNet SDK for UWPreference in the CustomRenderer.UWP sample and delete it.
sh
- Right click the
CustomRenderer.UWPproject and add a reference to the PDFNet SDK for UWP extension that was installed from the download package.
sh
Sample overview
After initial setup, your xamarin-forms-sample/ContentPage folder should look like this(assuming you followed UWP integration steps):
sh
Notable files and directories include:
File/Folder Name | Description |
|---|---|
CustomRenderer | Contains the declaration for the shared Xamarin.Forms page |
Droid | Contains custom renderer for Xamarin.Android |
iOS | Contains custom renderer for Xamarin.iOS |
packages | Contains the dependencies for the project |
PDFViewCtrlTools_VS2015 | Annotation and UI tools project for UWP sample that was imported from Apryse UWP SDK |
UWP | Contains custom renderer for UWP |
CustomRenderer.sln | The Visual Studio solution file for the entire sample |
Run the sample
The process of running the sample is the same for all samples you want to run.
- Right click the solution
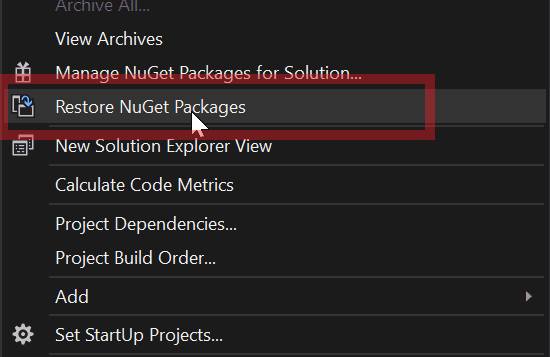
CustomRendererand clickRestore NuGet Packagesto install the project dependencies.
2. Build the solution by right clicking CustomRenderer and selecting Build Solution. 3. Run the project sample of your choice. Regardless of which project you ran, you will see a selection screen pop up which asks you to run either the Basic Viewer or the Advanced Viewer.

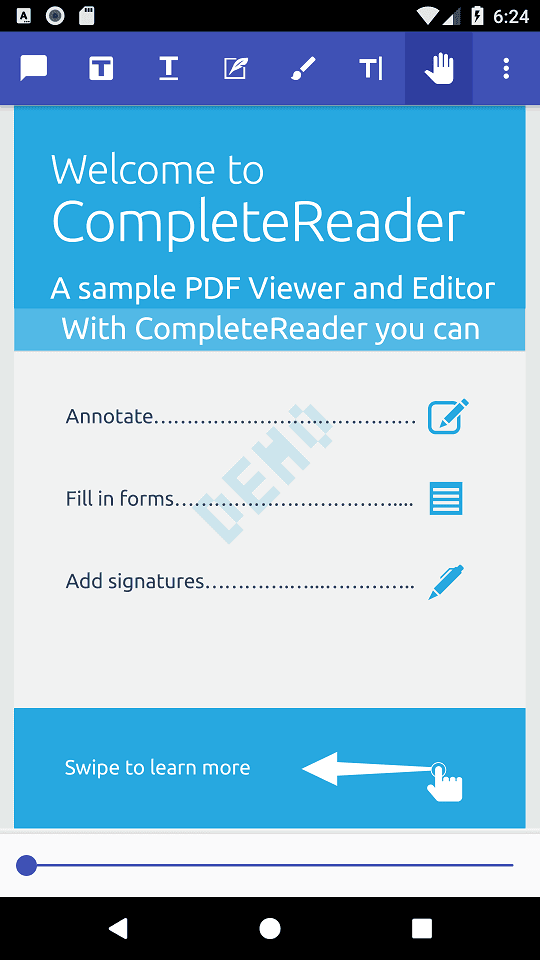
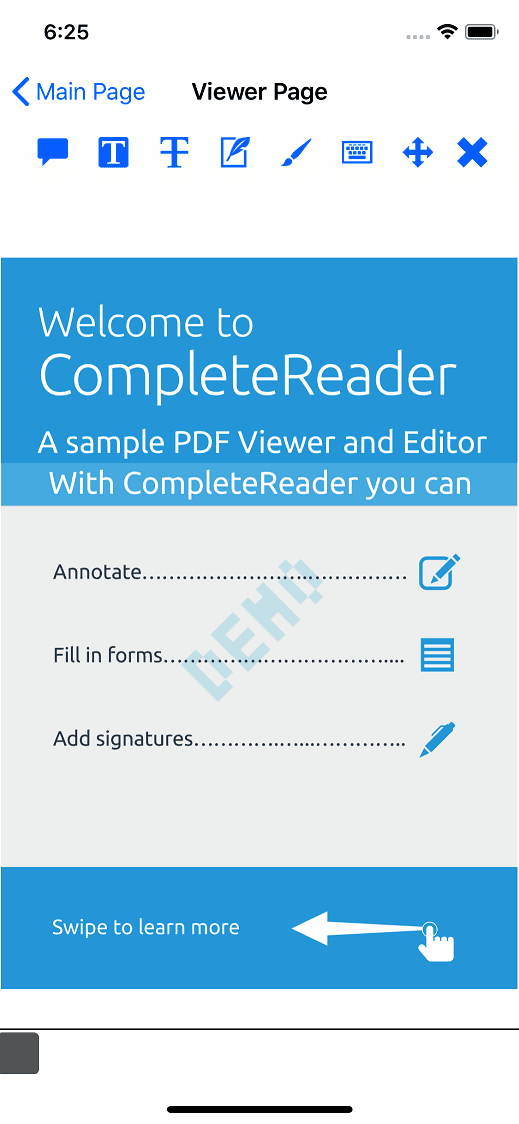
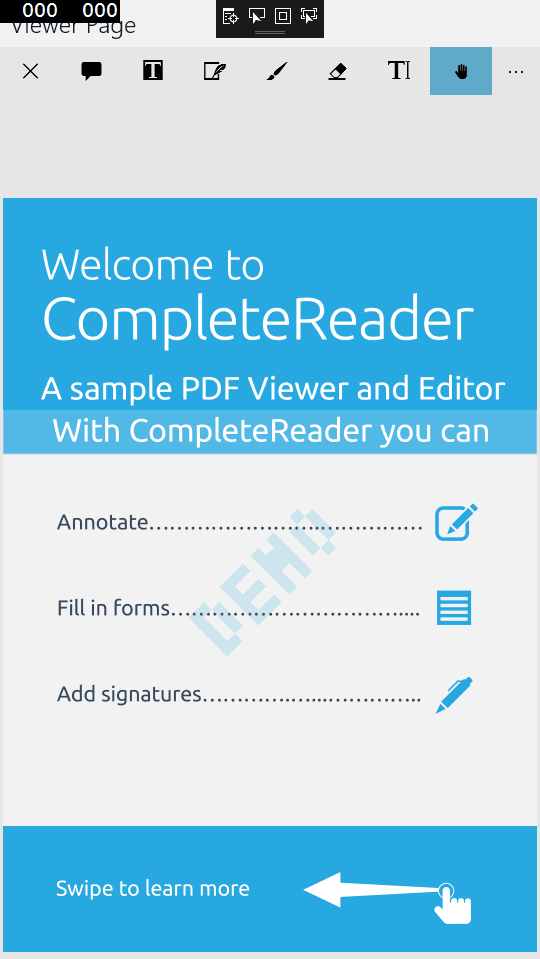
For reference, this is how the Basic Viewer should look on all three platforms:
Android | iOS | UWP |
|---|---|---|
 |  |  |
For a more involved guide on how to integrate Apryse SDK into a Xamarin.Forms project, check out this guide for the advanced viewer and this guide for the basic viewer .
You can view the source code for this project here.
Did you find this helpful?
Trial setup questions?
Ask experts on DiscordNeed other help?
Contact SupportPricing or product questions?
Contact Sales