Product:
Libraries and Frameworks
Integrations
Get Started with Apryse WebViewer SDK without Using the WebViewer UI
This guide walks you through how to integrate the WebViewer SDK into your project without using the WebViewer UI. By the end, you'll be able to:
- Count the pages of a PDF.
- Create a custom viewer to display a PDF.
- Convert a docx file into a PDF.
Prerequisites
Before you start:
- Install Node and npm to run the local server.
- Create a folder for your project.
- Open a text editor like Visual Studio Code.
- Get your Apryse trial key.
License Key
Apryse collects some data regarding your usage of the SDK for product improvement.
If you wish to continue without data collection, contact us and we will email you a no-tracking trial key for you to get started.
1. Download WebViewer
Download the WebViewer package (contains library and samples).
2. Integrate WebViewer into your project
Extract the WebViewer package (WebViewer.zip) into your project folder. For this guide, we'll call our project folder without-viewer.
3. Add HTML
1. In your text editor, create a new index.html file in your without-viewer folder.
2. Paste the HTML below into the index.html file. A few essential things to take note of in the HTML page are that:
- The HTMl is importing two scripts:
- The first script specifies the source to the
webviewer-core.min.jsfile. - The second script specifies the path to the
PDFNet.jsfile. This file and the file mentioned in the bullet above were included in the zip file you extracted in Section 2 above.
- The first script specifies the source to the
If you're not going to use any of the advanced PDFNet functionality, you can use the PDFNetLean.js script instead. It's smaller and loads and runs more quickly. For this tutorial, we'll use the full PDFNet even though it's not required.
HTML
WebViewer Core is the core for WebViewer. The usual script required with the UI is webviewer.min.js. In a viewless scenario though, you only need to import the core script, webviewer-core.min.js, and PDFNet.js. Alternatively, you can import PDFNetLean.js to include functions that come from PDFNet.js, but do not require fullAPI.
4. Add JavaScript code
Next, copy the block of code below, which includes HTML and JavaScript, into the index.html file you made. Add the code after the <h1>Working without a viewer</h1> heading and before the close body tag.
JavaScript
A few essential things to take note of about the code above include:
- The HTML piece includes text with some list items. These list items will help you towards the end of the tutorial to run and demo the get started tasks.
- There are two div elements, one named
scroll-viewand one namedviewer. - In
Core.setWorkPath, specify the worker path which allowsPDFNetto know where the functionality is that it will need to use within this program. - Next, there's a
mainfunction that takes parameters from the URL and decides what to do with those URL parameters.- If there's a parameter for
countpages, it takes the URL and creates a PDF document from it. Then, it calculates the page count from the document and displays the count in an alert. - If the parameter includes
show, then it takes the URL and creates a custom document viewer. In this case, it uses the viewer actually built into WebViewer. You can use an alternative viewer if you prefer. Next, the divs forscroll-viewandviewerare included, andloadDocumentloads the document into the viewer. - If the parameter includes
convert, then it takes the URL, which is a docx file, and runs it throughoffice2PDF. This returns aPDFDocobject. It then downloads the PDF object.
- If there's a parameter for
- Last, you pass in the name of the function,
main, and your license key.
When the page loads, it will hit Core.PDFNET.runWithCleanup, call the main function, and complete what we listed above.
5. Run locally
After you've saved the file, you'll serve the webpage so you can see:
- The page count display in an alert for the PDF.
- The custom viewer with the PDF displayed.
- The converted PDF (from a docx file) download.
Let's use http-server to view these actions.
1. Run the following command on the command line from your project directory to run http-server which is a simple web server.
2. Click the localhost link created in your terminal to view the the results locally.
sh
You'll see the HTML you wrote.
3. Copy the first URL, ?countpages=https://pdftron.s3.amazonaws.com/pl/demo-annotated.pdf, and paste it after localhost: 8080/ in the browser, then press Enter. An alert displays with the page count of the PDF.
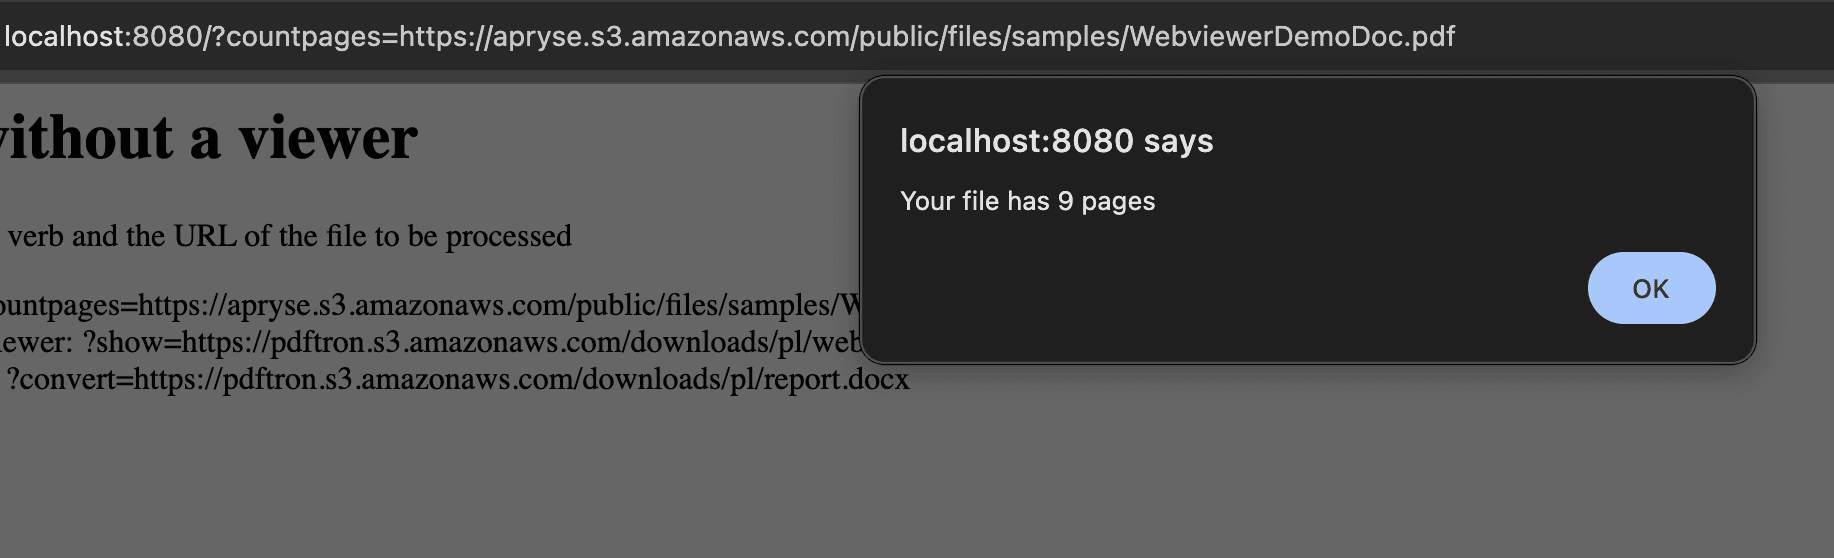
Alert displaying with the total page count of the PDF
4. Copy the second URL and paste it after localhost: 8080/ in the browser, then press Enter. You'll see the PDF display with a minimal viewer.
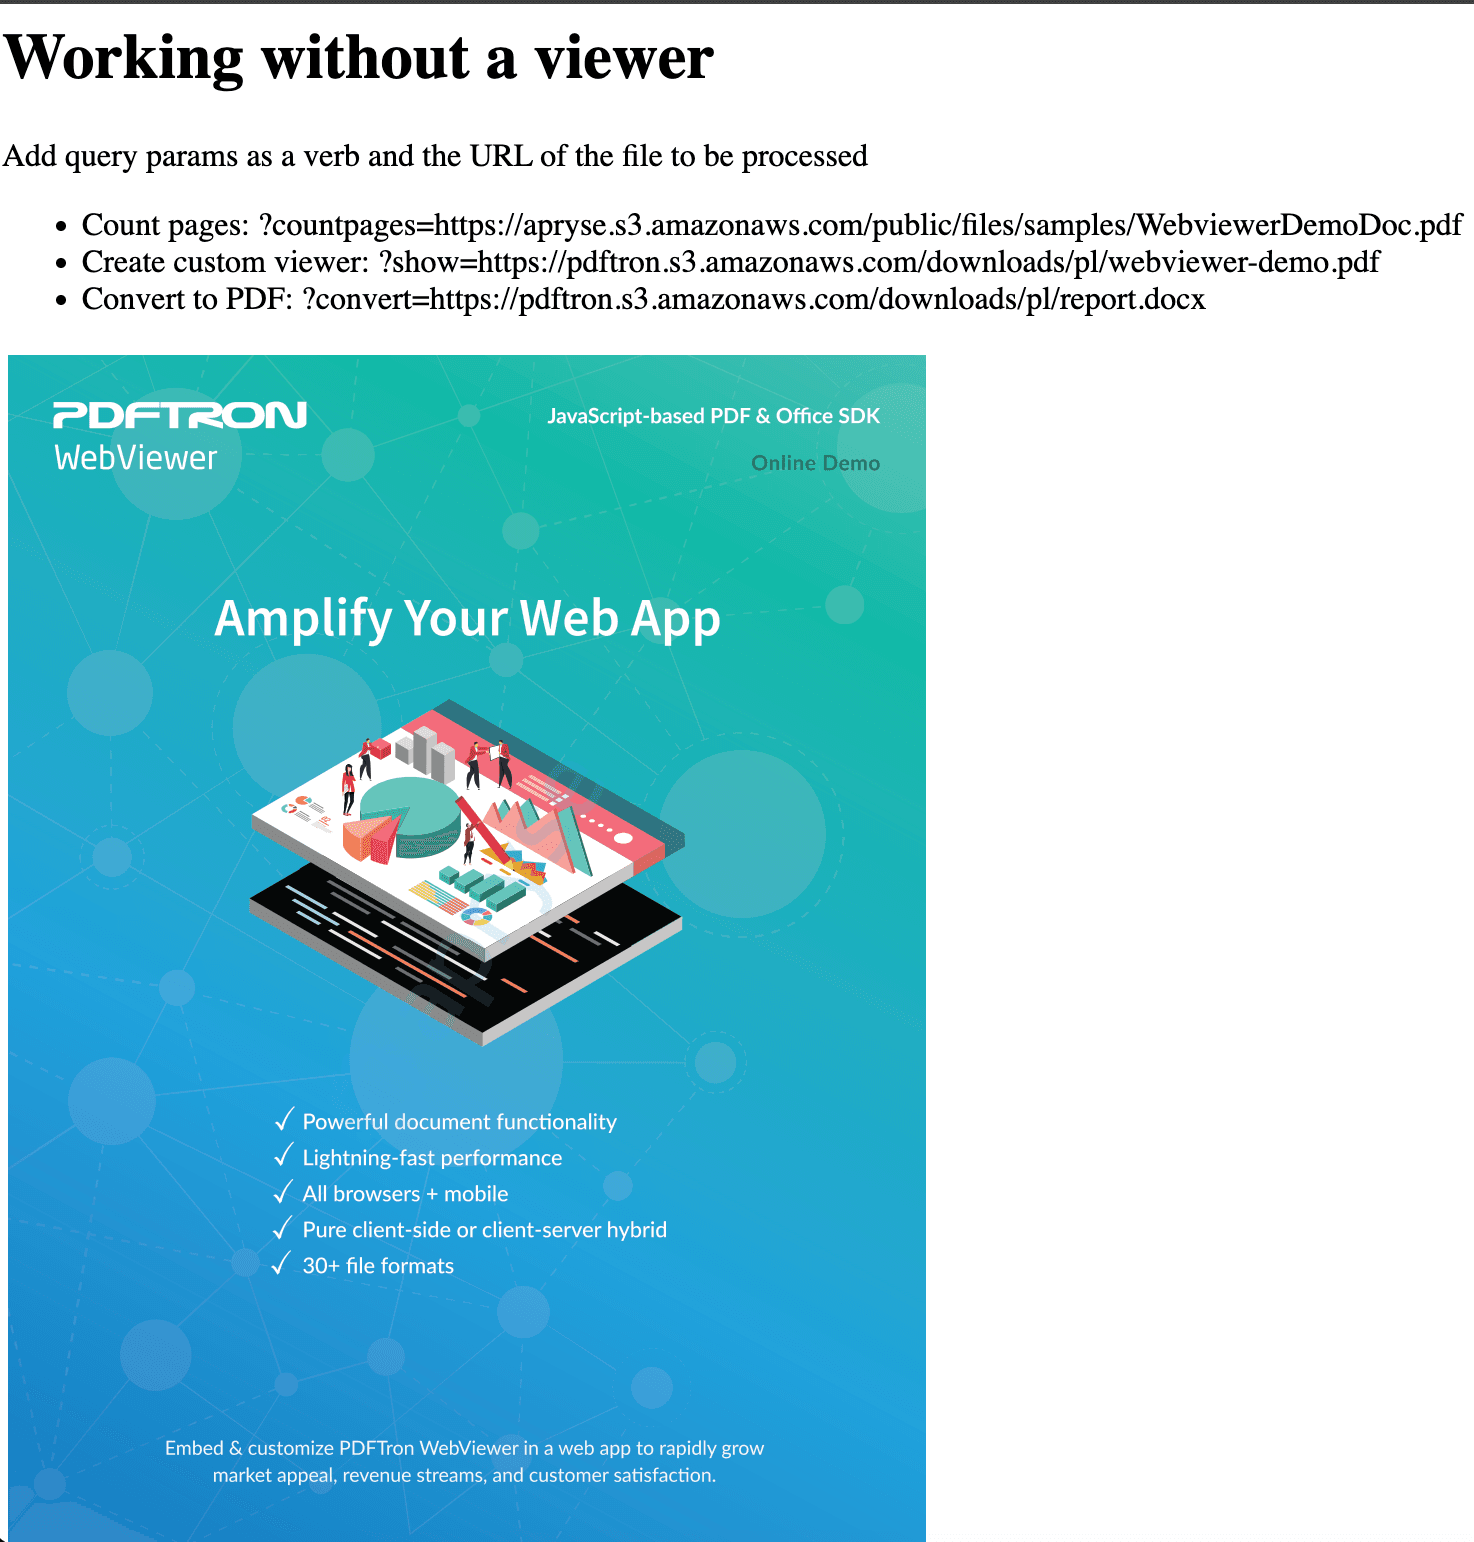
A minimal viewer displaying the PDF
5. Copy the third URL and paste it after localhost: 8080/ in the browser, then press Enter. You'll see the PDF version download.
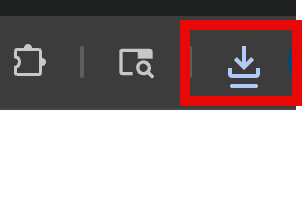
The Download icon is highlighted which means it's downloading the converted PDF
Get started video
Get started with the Apryse WebViewer SDK functionality without using the WebViewer UI. This video includes instructions for successfully integrating the WebViewer SDK into your application and building functionality without using the UI.
Use WebViewer functionality without using the UI
Next steps
Did you find this helpful?
Trial setup questions?
Ask experts on DiscordNeed other help?
Contact SupportPricing or product questions?
Contact Sales