Product:
Libraries and Frameworks
Integrations
Mendix
SharePoint
Integrate Apryse WebViewer into Sharepoint
In this guide, you'll integrate Apryse WebViewer into SharePoint Online as a web part. You'll do this by cloning the SharePoint sample repository, then integrating WebViewer with the clone.
Prerequisites
You'll need to do the following before you start:
- Install Node v22.21.0 and NPM.
- Install SPFx: v1.21.1.
- Install WebViewer.
- Install Node Version Manager (optional, but recommended).
- Get your Apryse trial key.
License Key
Apryse collects some data regarding your usage of the SDK for product improvement.
If you wish to continue without data collection, contact us and we will email you a no-tracking trial key for you to get started.
- Set up your Sharepoint dev environment. You'll also need to be familiar with using the Sharepoint dev environment. If you're not familiar with using the environment, create some sample projects using the environment first.
- For step-by-step help on setting up a SharePoint development environment, see the following:
License Key Required
The trial of Apryse SDK requires a trial license key, which is provided in the box titled "License Key". A commercial license key is required for use in a production environment. Please contact sales to purchase a commercial key or if you need any other license key assistance.
Keep your license keys confidential.
License keys are uniquely generated. Please make sure that it is not publicly available (e.g. in your public GitHub).
Sharepoint web part setup, development, and deployment
1. Initial Setup
- Ensure you're running Node.js version
v22.21.0. You can check by running the following in the console:
Shell
2. Enable the custom scripts by following the Microsoft Guide and configuration guide. It may take up to 24hrs for the configuration to to complete.
By default, the custom scripts option is disabled.
If you are on a Windows machine, you can achieve this using the SharePoint Online Management Shell and the following commands:
sh
The following are placeholder variables for the SharePoint Environment:
- The
<AdminSiteURL>is the admin SharePoint URL, typically in the form of[your-tenant-name]-admin.sharepoint.com. - The
<SiteURL>is the target SharePoint Site you are modifying, usually in the form of[your-tenant-name].sharepoint.com/sites/[sitename]. - The
<your-tenant-id>is your tenant ID. For example,contoso.sharepoint.com. - The
<your-sharepoint-site-name>is the SharePoint Site Name where WebViewer was added. For example, "All Company" is a default Site Name added to a fresh SharePoint environment. - The
<your-shared-document-url>points to the SharePoint Site where WebViewer was uploaded. For example,<your-tenant-id>.sharepoint.com/sites/<sitename>/Shared Documents.
If you are on a MacOS machine, you can achieve this with the PnP Powershell by using the following commands:
sh
3. In the Document Library of your SharePoint site, create a Webviewer folder.
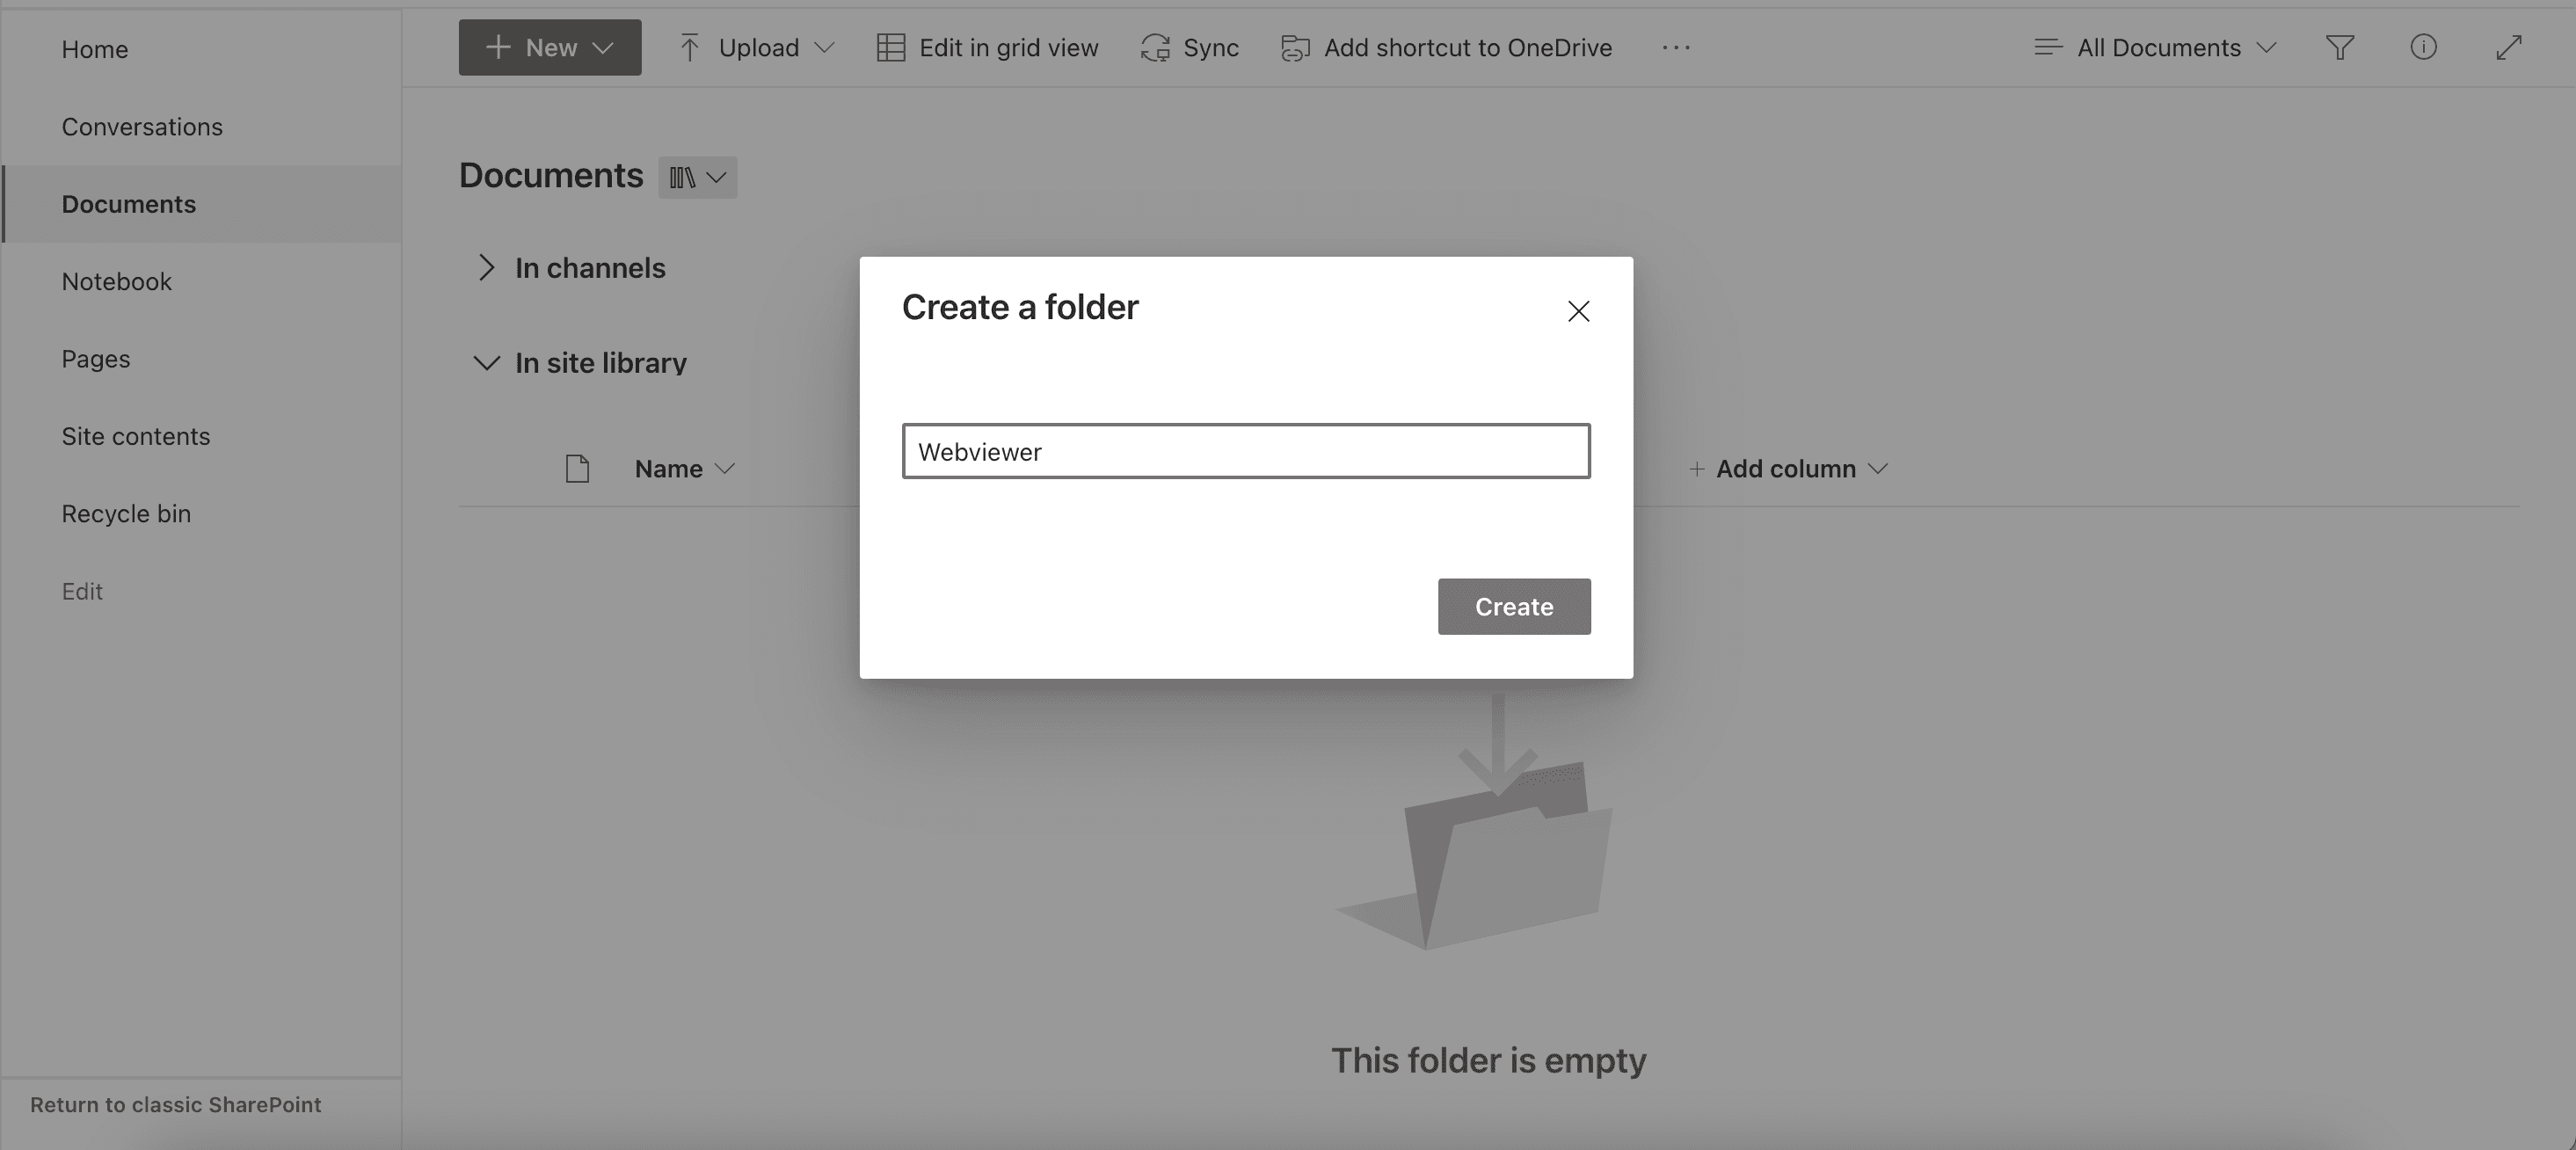
4. Create a child folder, js, inside the Webviewer folder.
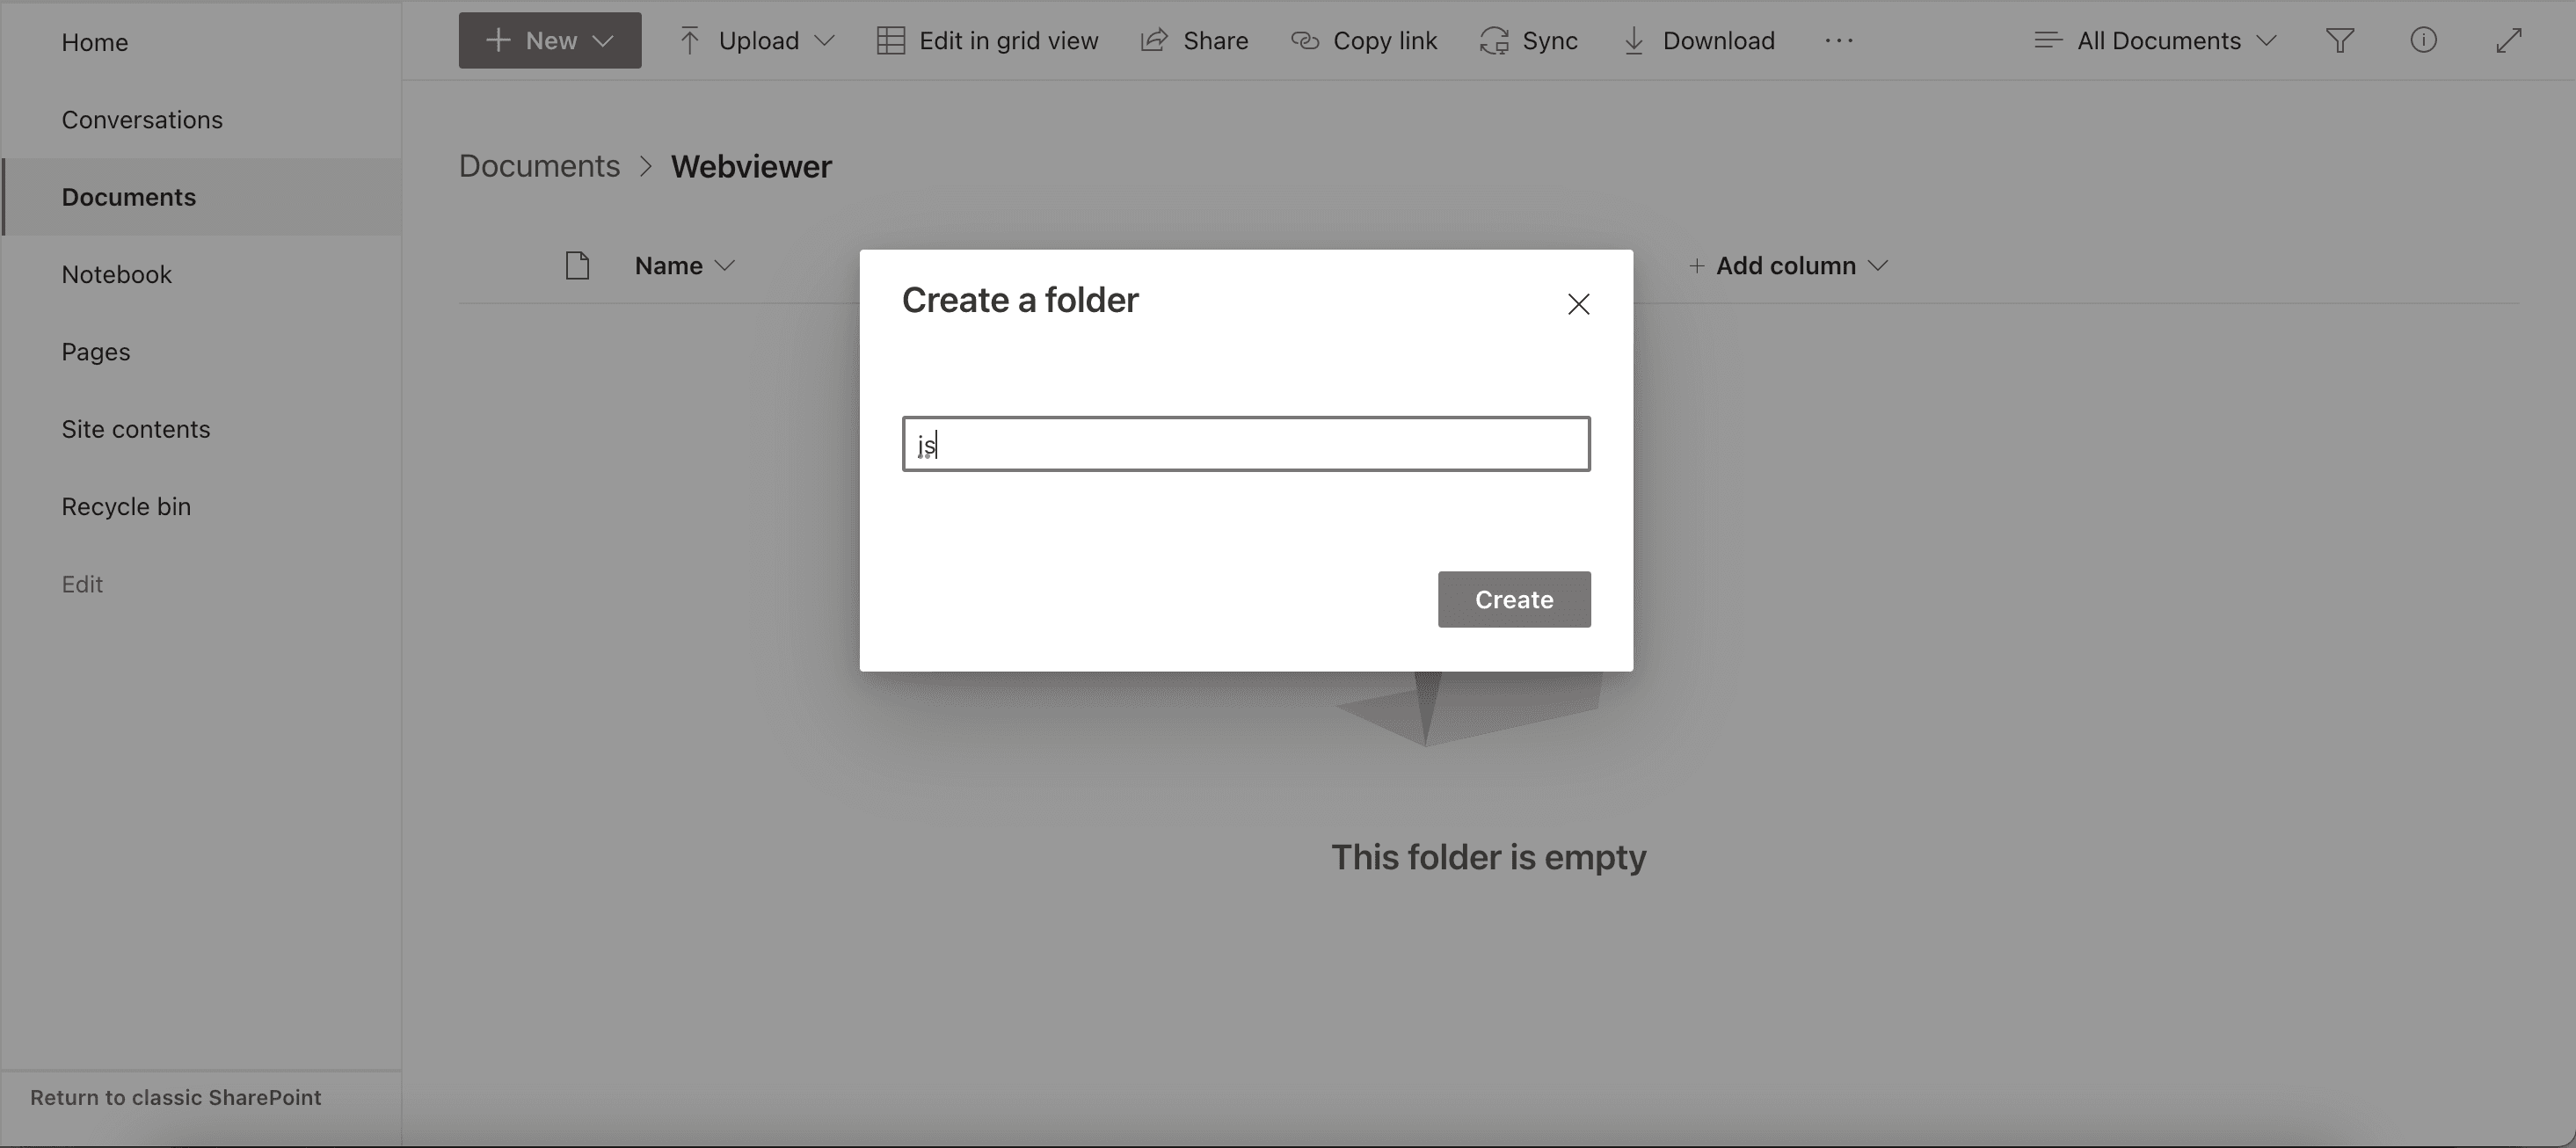
5. Upload the lib folder extracted from the WebViewer.zip to the js folder.

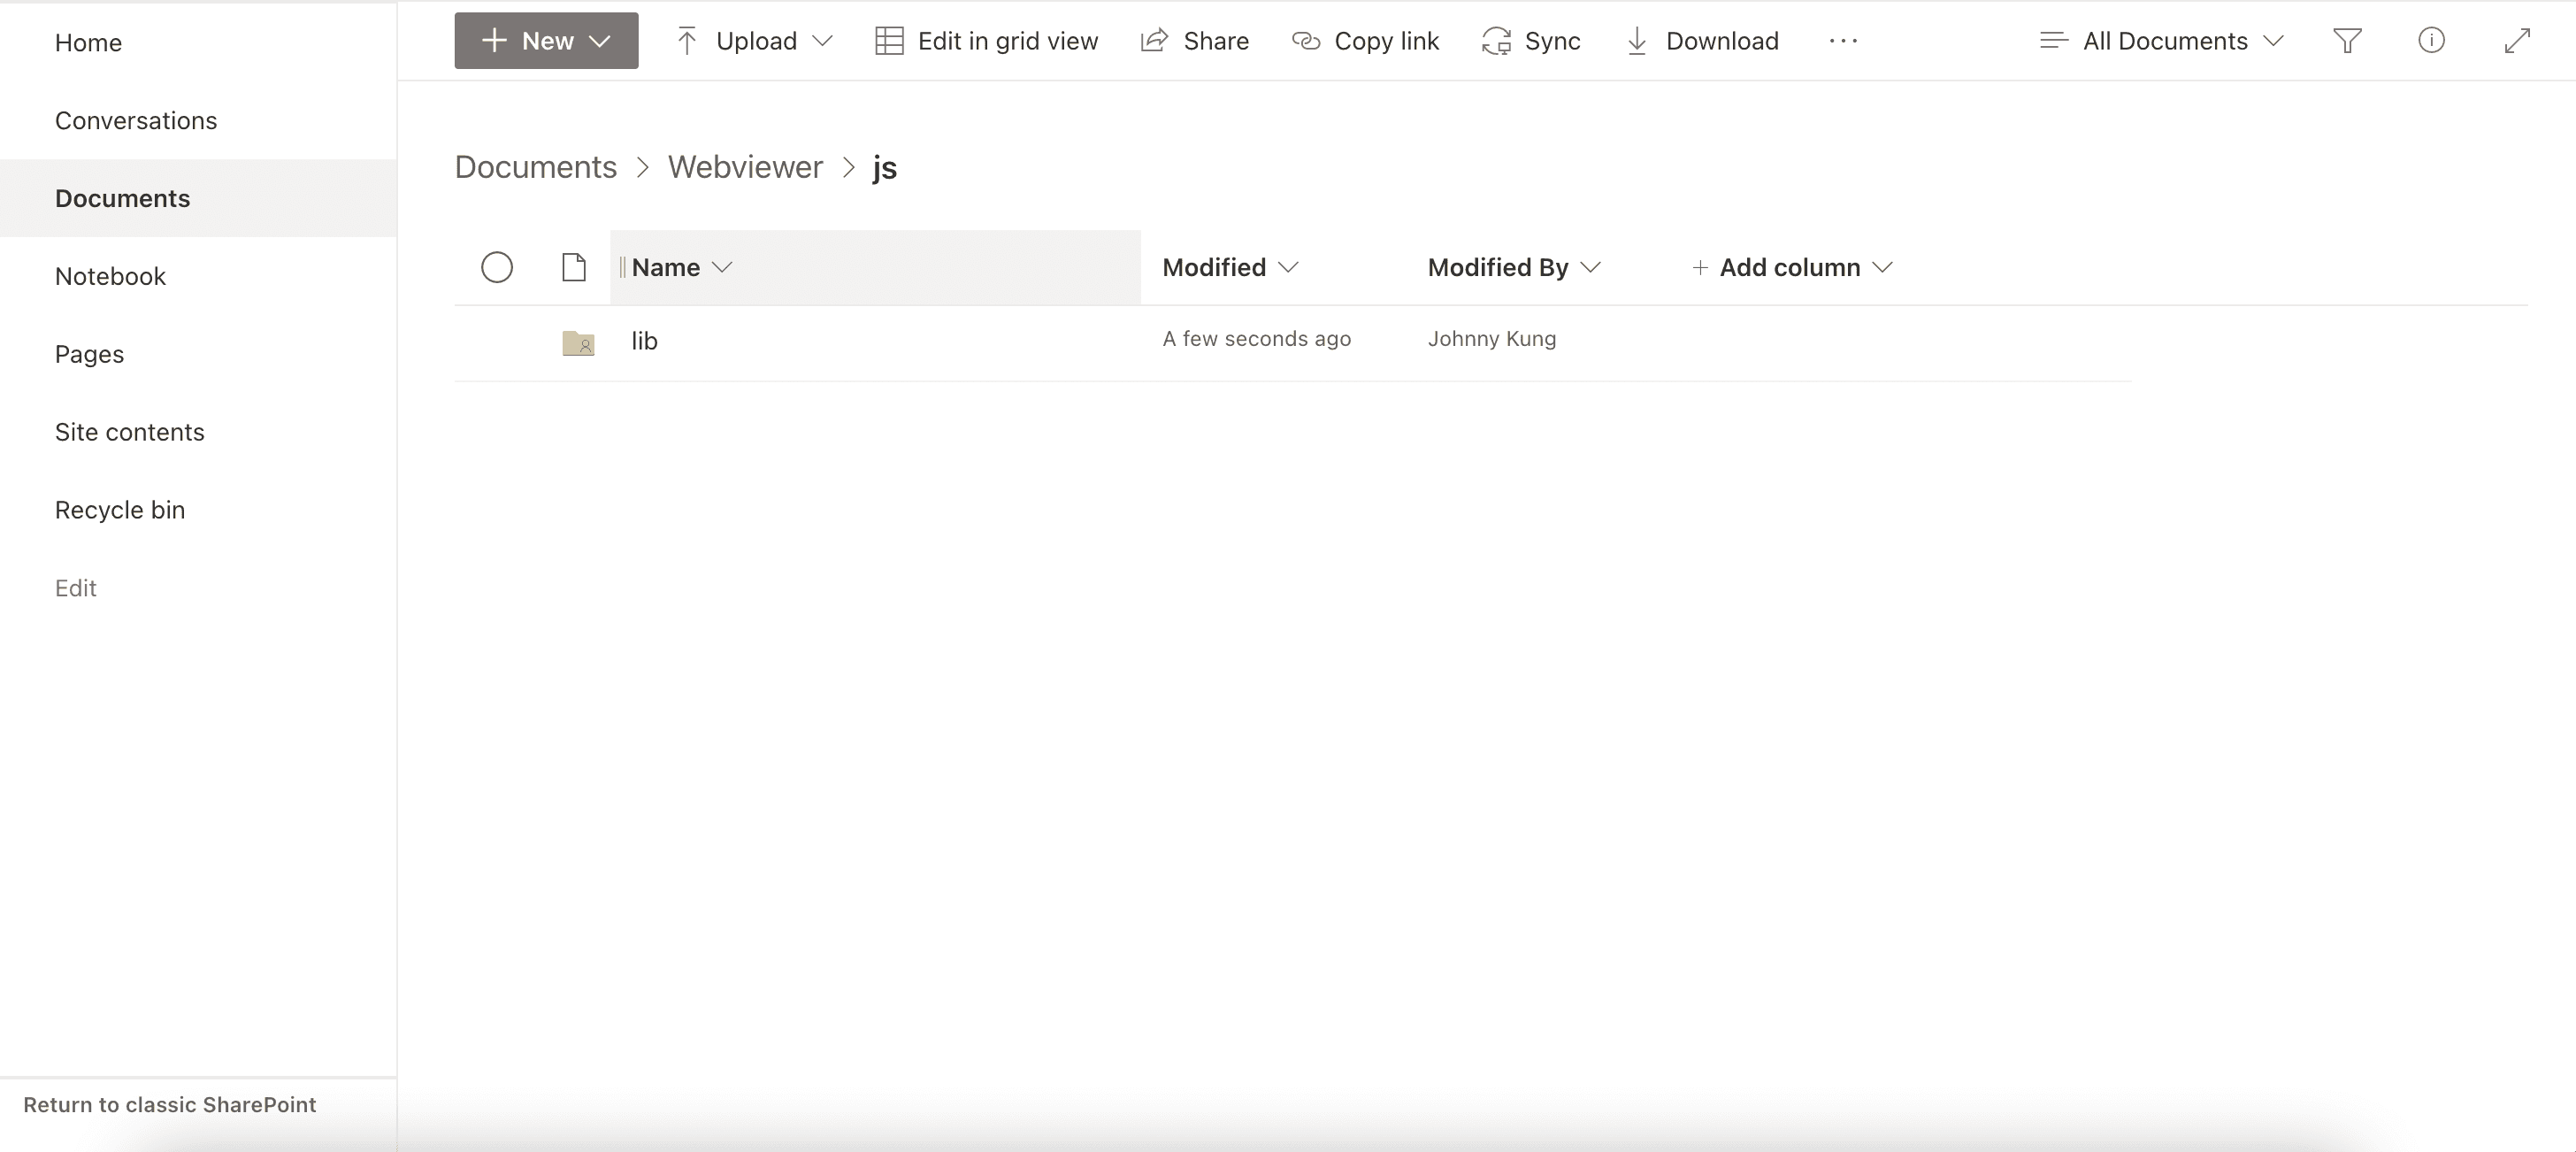
The webviewer lib folder is now available from the url https://.sharepoint.com/sites//Shared Documents/Webviewer/js/lib.
Development
- Clone the
sharepoint-integration-examplessample from github:
sh
2. Enter the sharepoint-web-part folder and use npm to install gulp, yeoman and Microsoft SharePoint Generator:
sh
3. Install all the packages through the following command:
Shell
4. Create a .env file in the sharepoint-web-part folder and include the following parameters in the .env file:
sh
5. Change the initialPage property in sharepoint-web-part/config/serve.json by replacing it with your tenant id and SharePoint site name.
sh
6. Run the following to start the web part in the workbench:
sh
7. If this is your first time setting up the SharePoint Framework, you must call the following:
sh
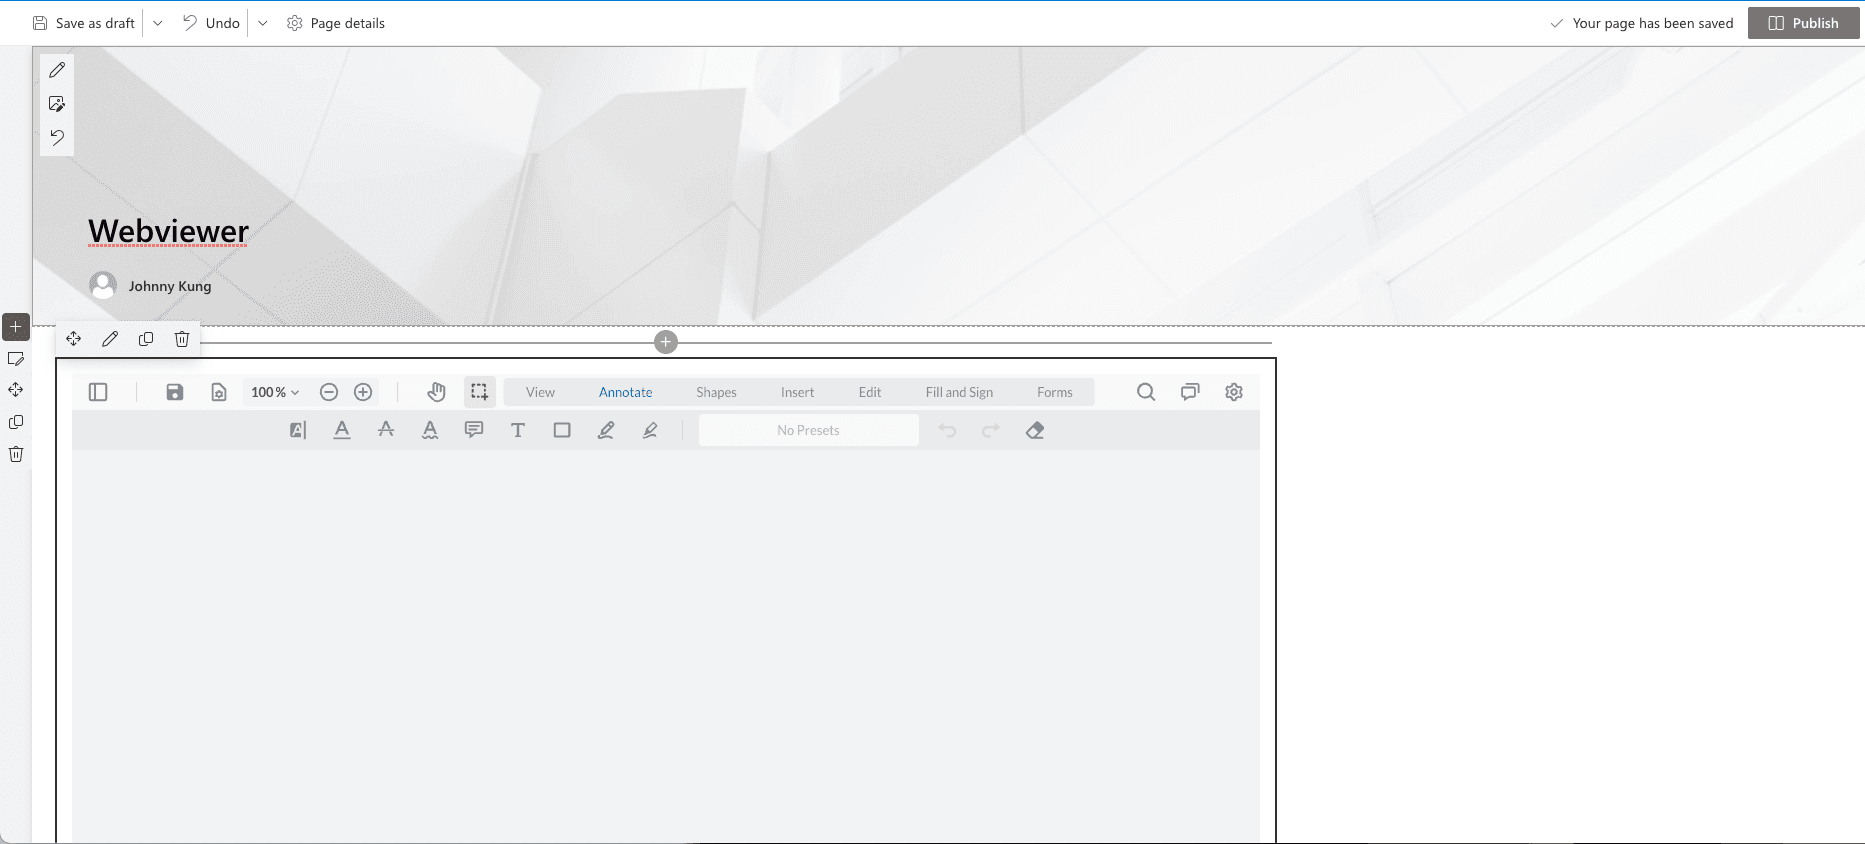
After your local SharePoint instance is running, you should see a blank SharePoint canvas like in the screenshot below. You can add an Apryse WebViewer web part by adding a new web part to the page and selecting the webviewer web part.
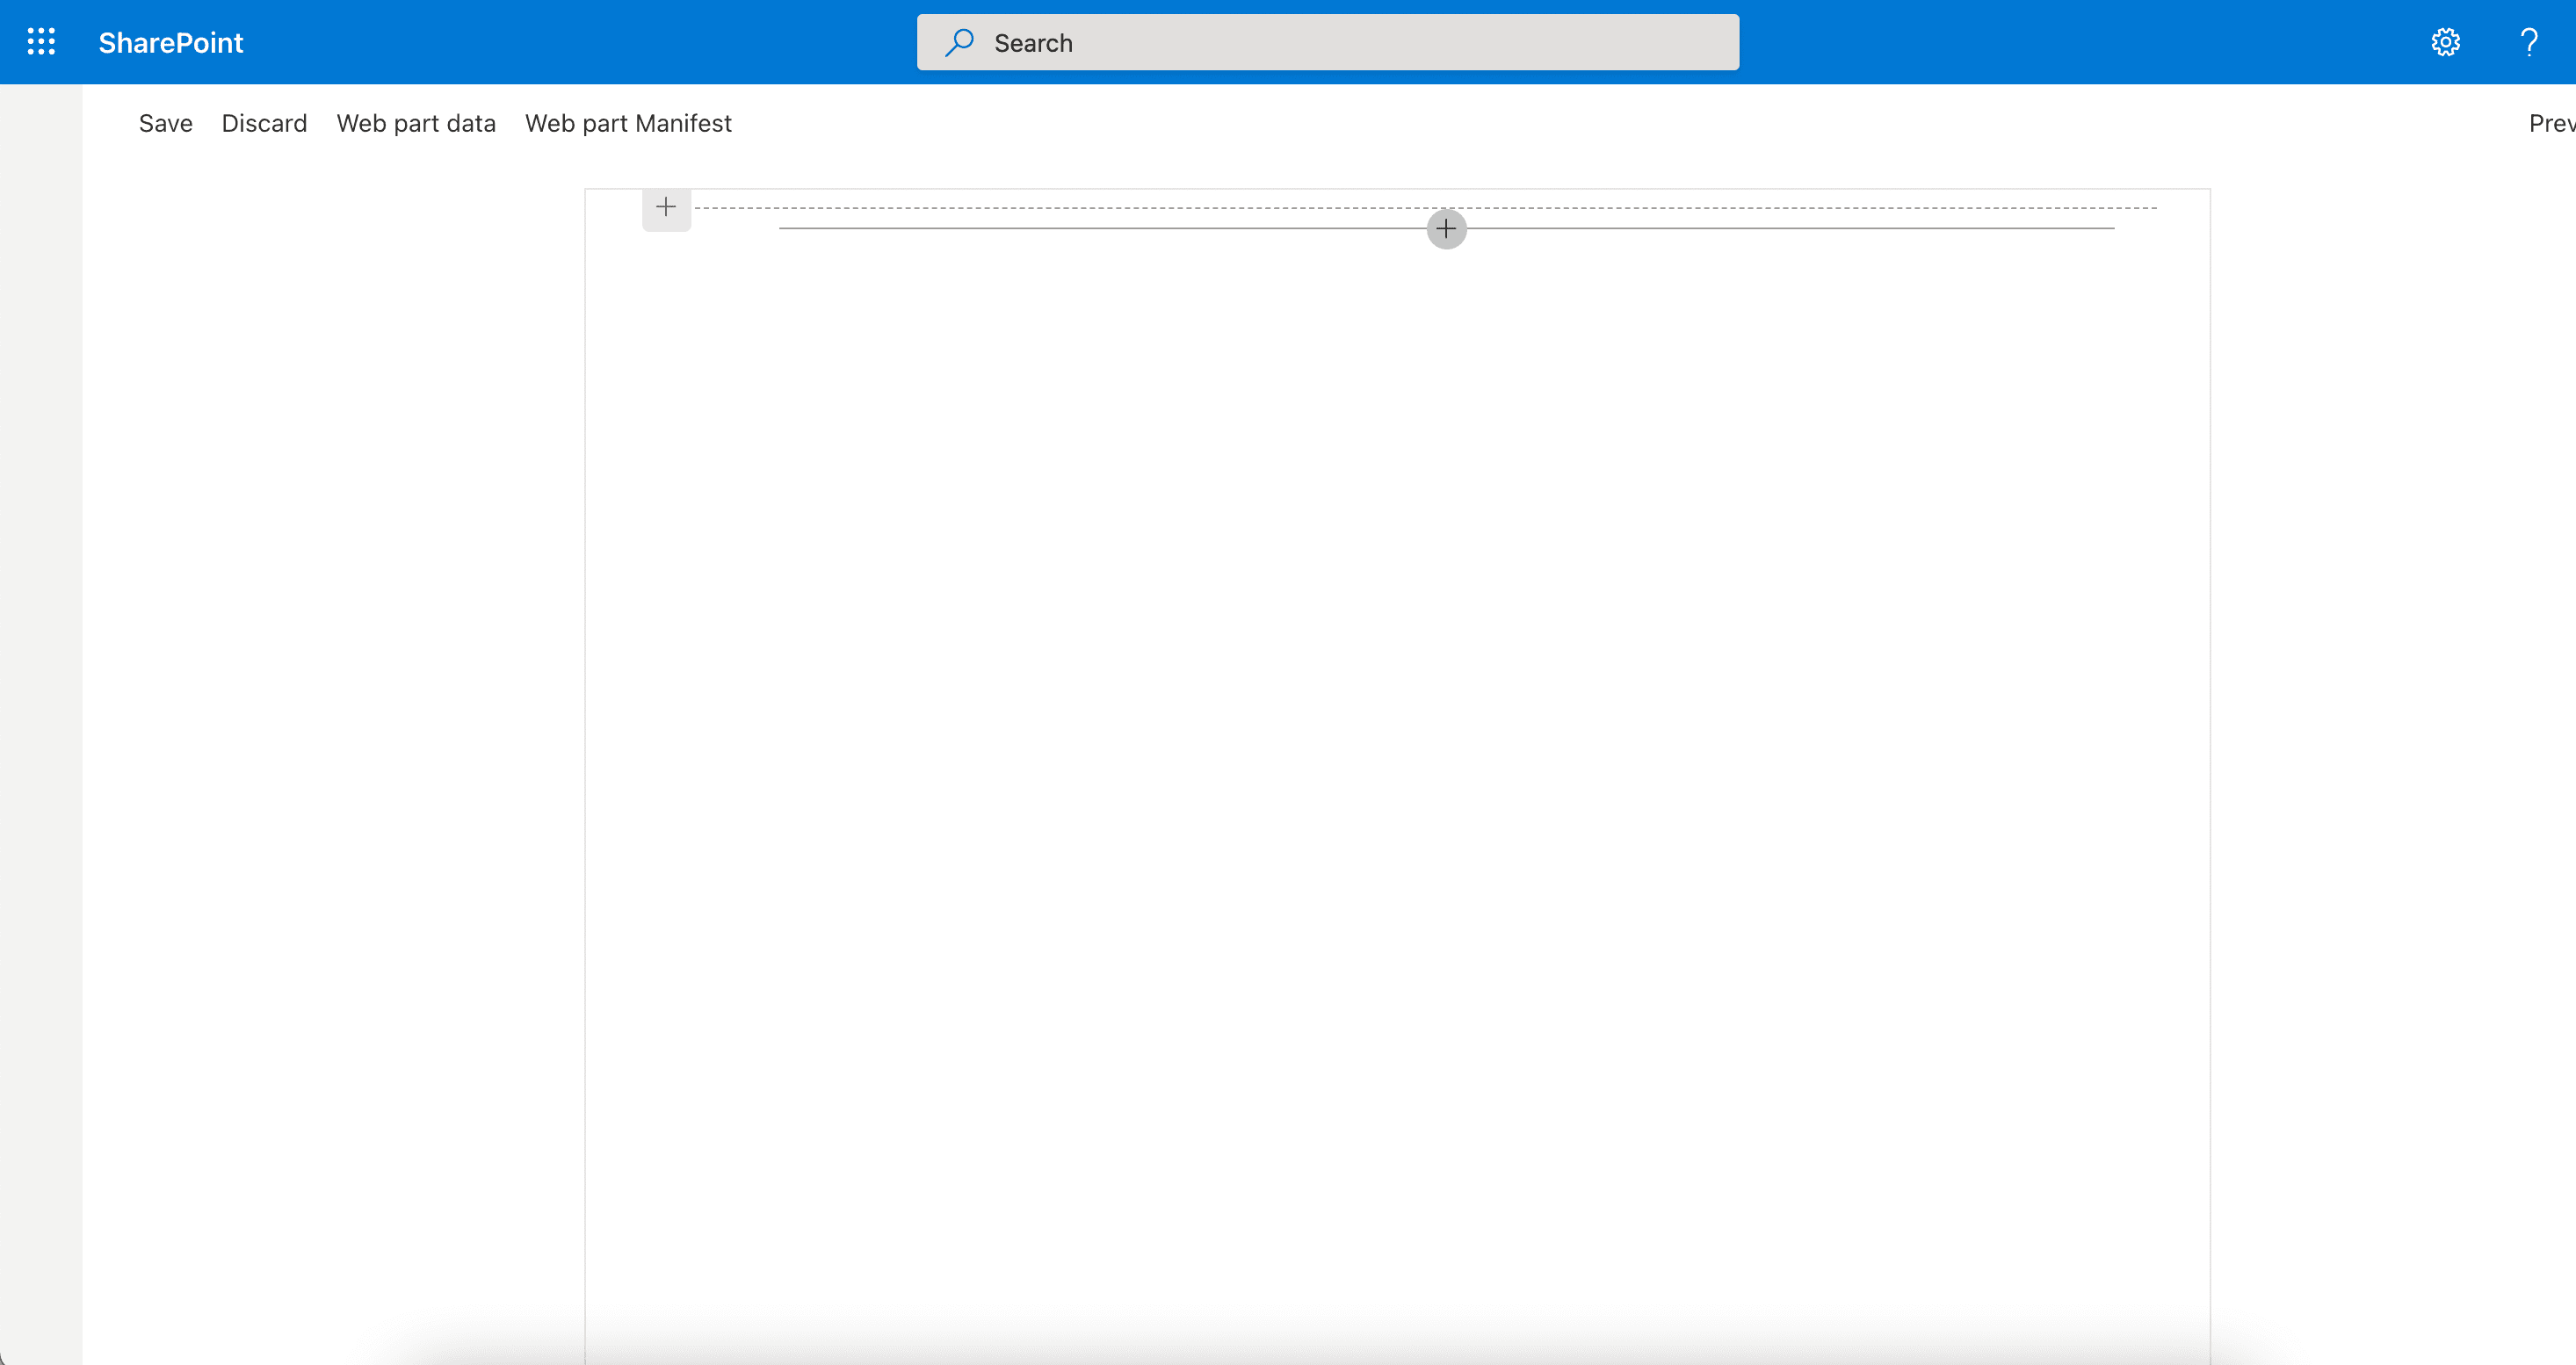
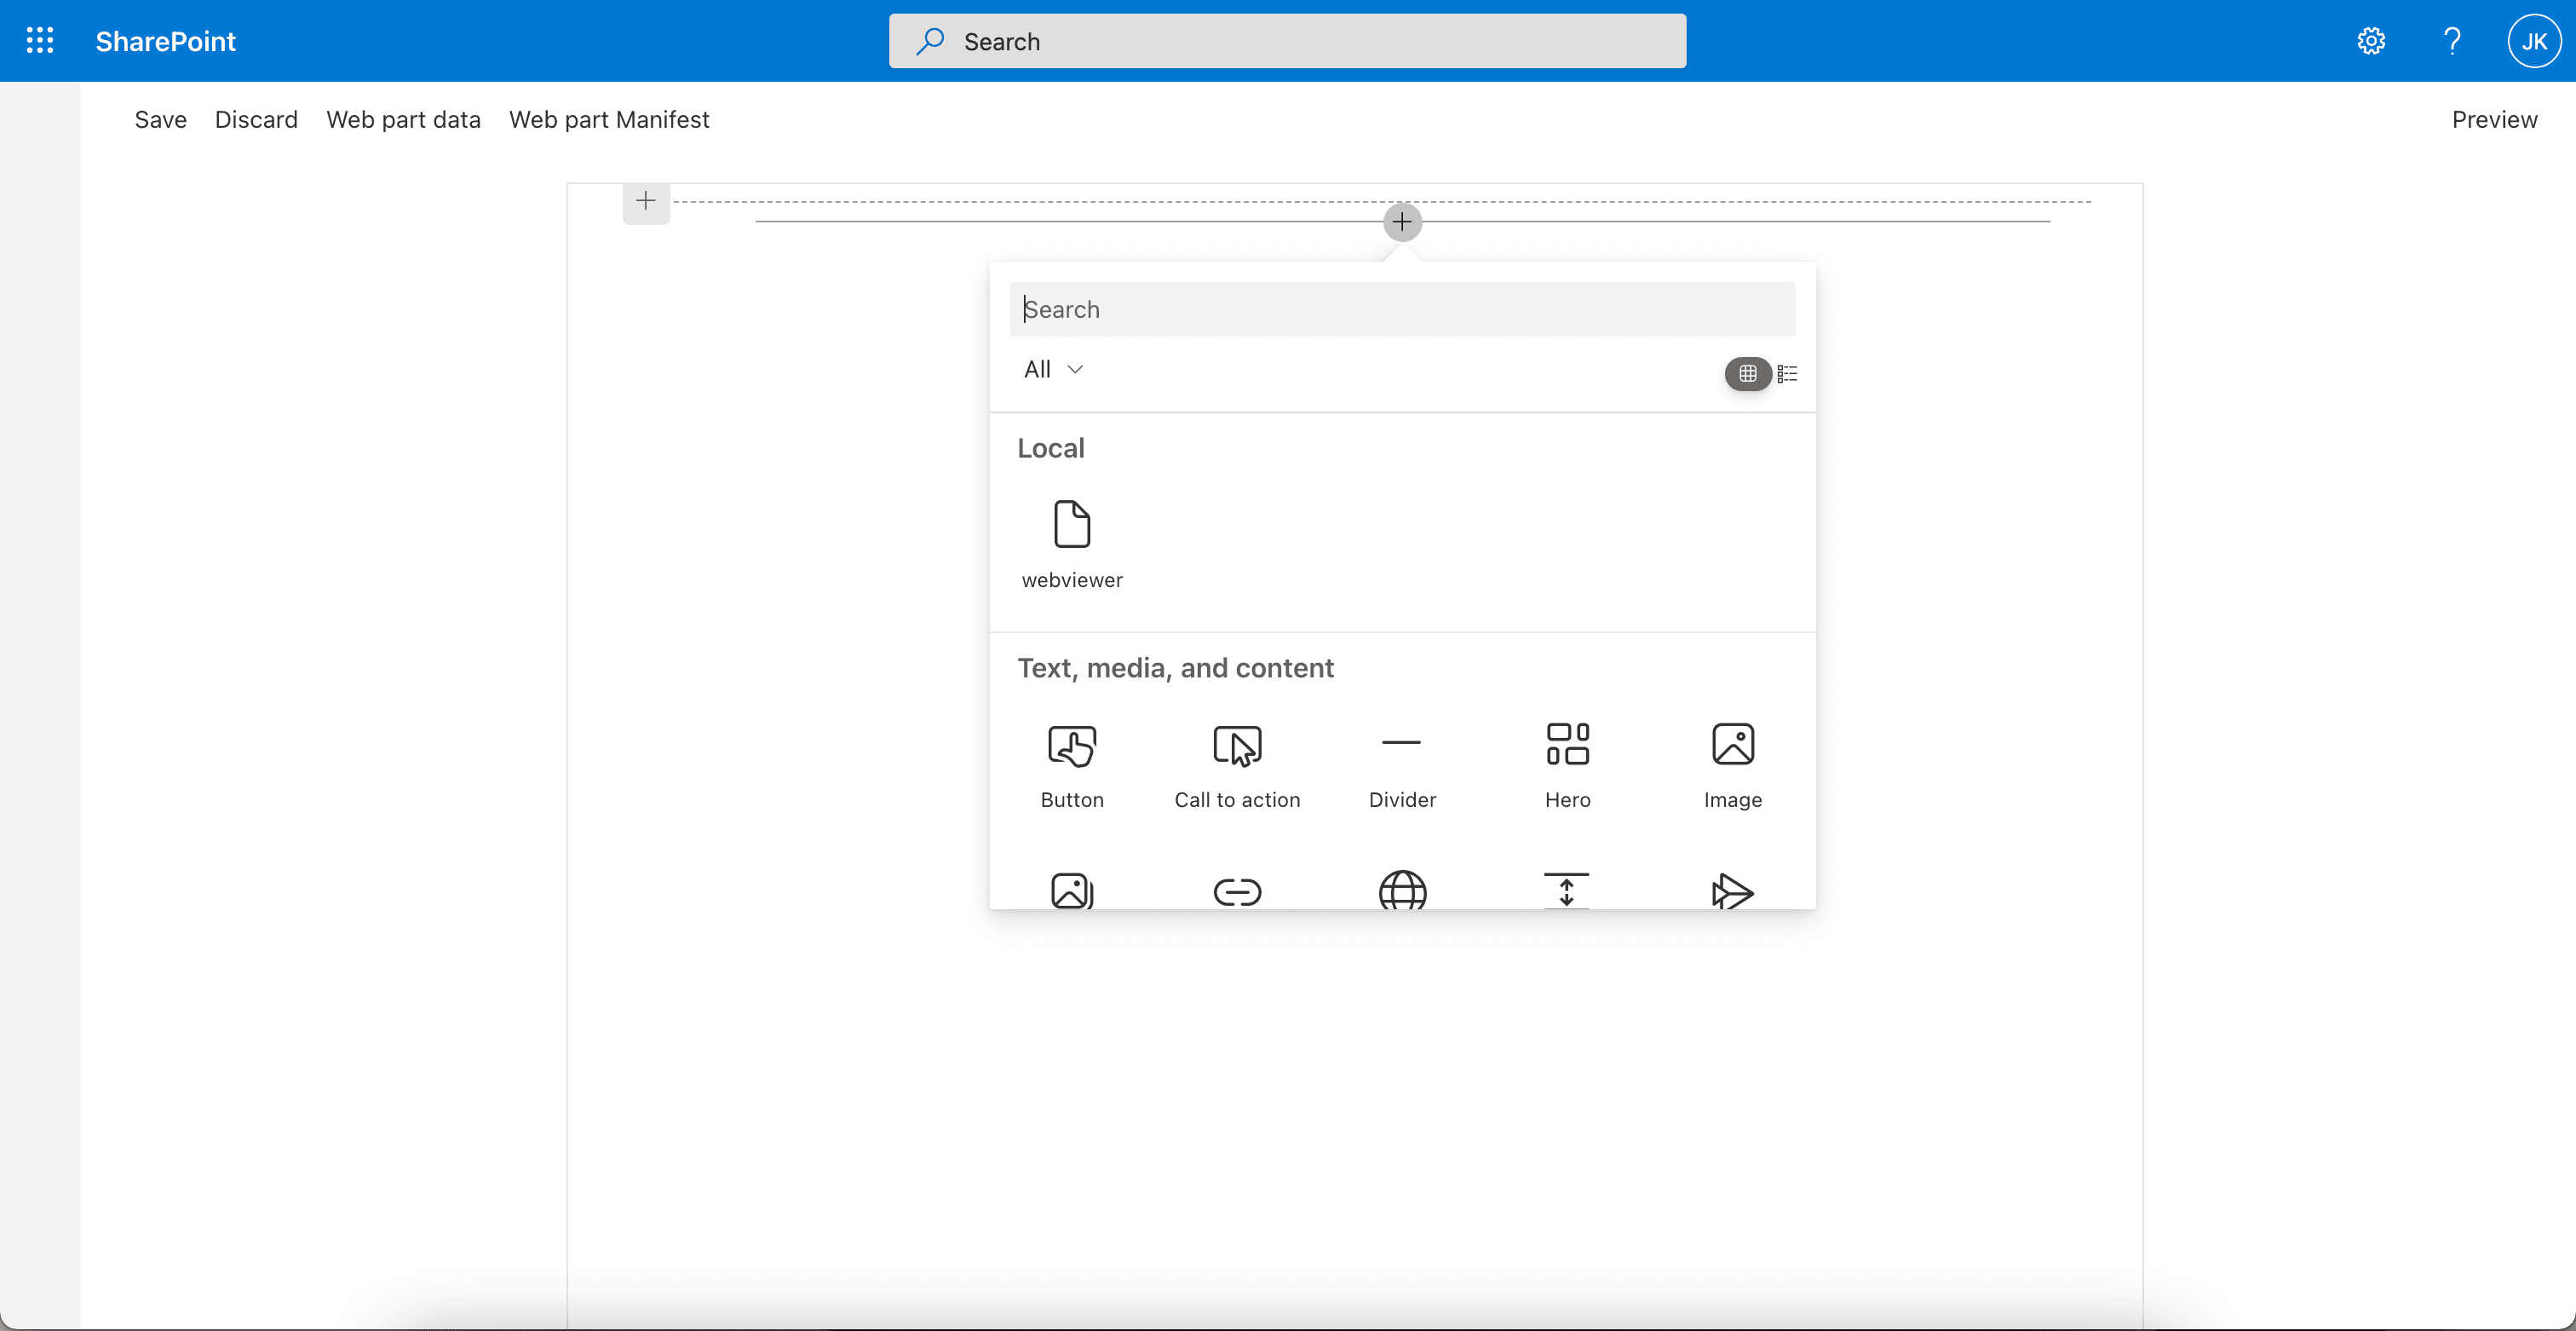
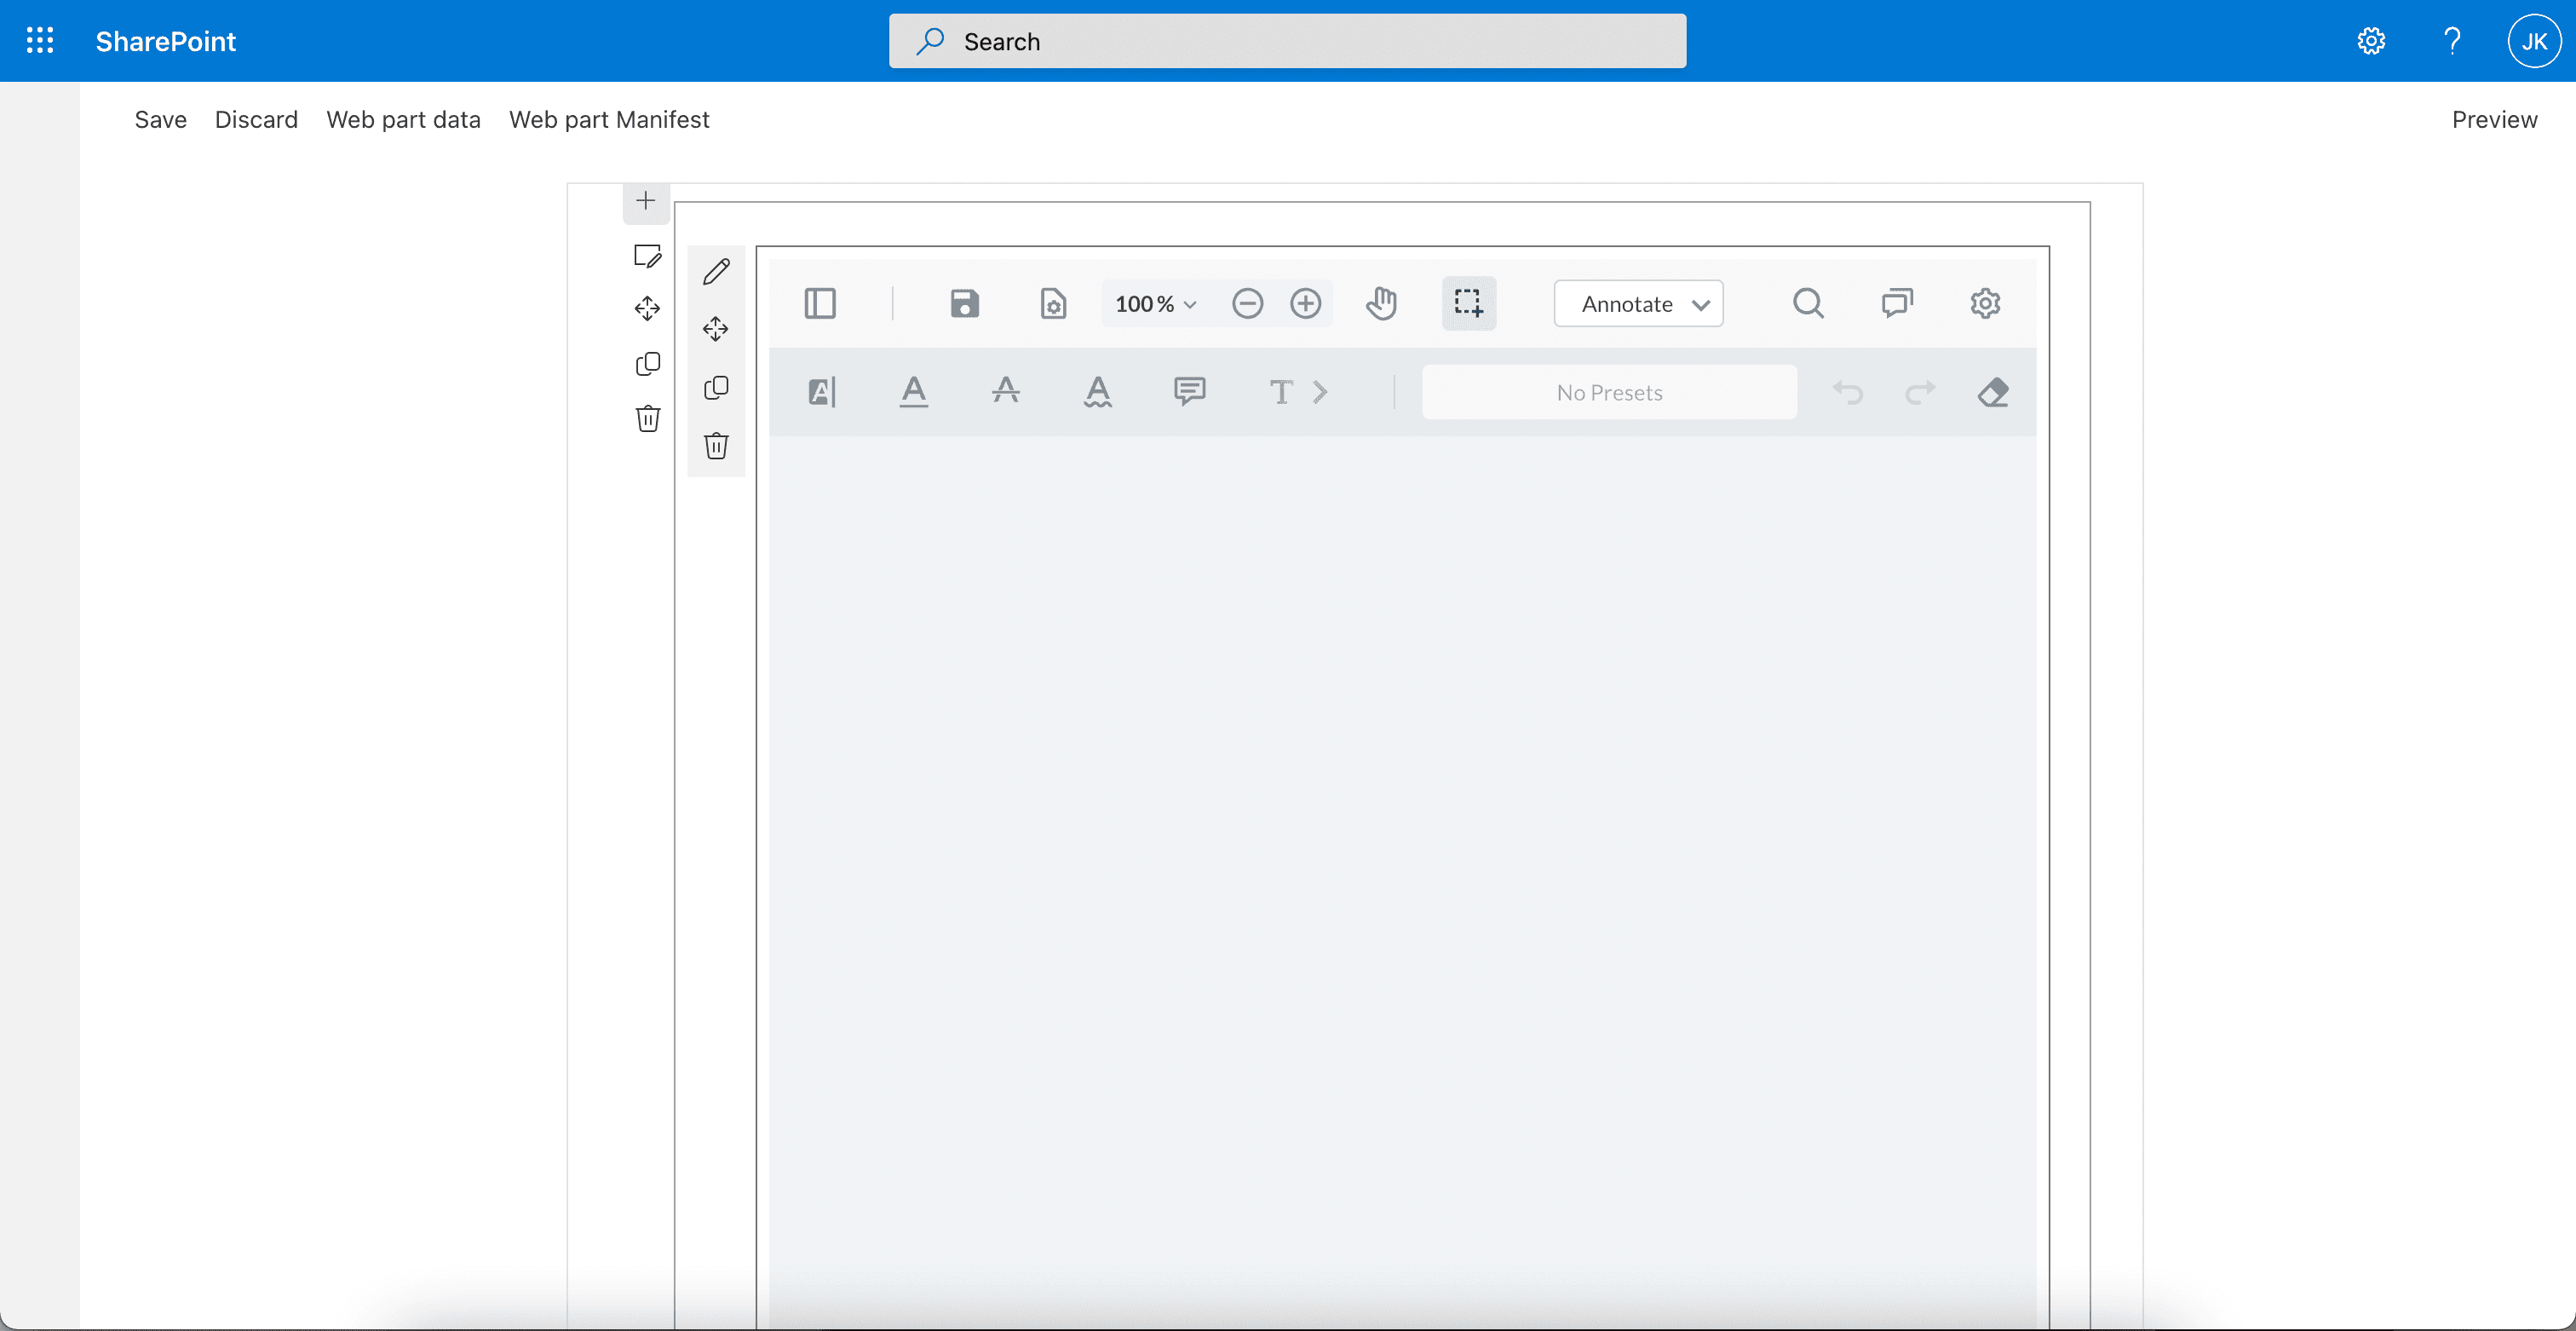
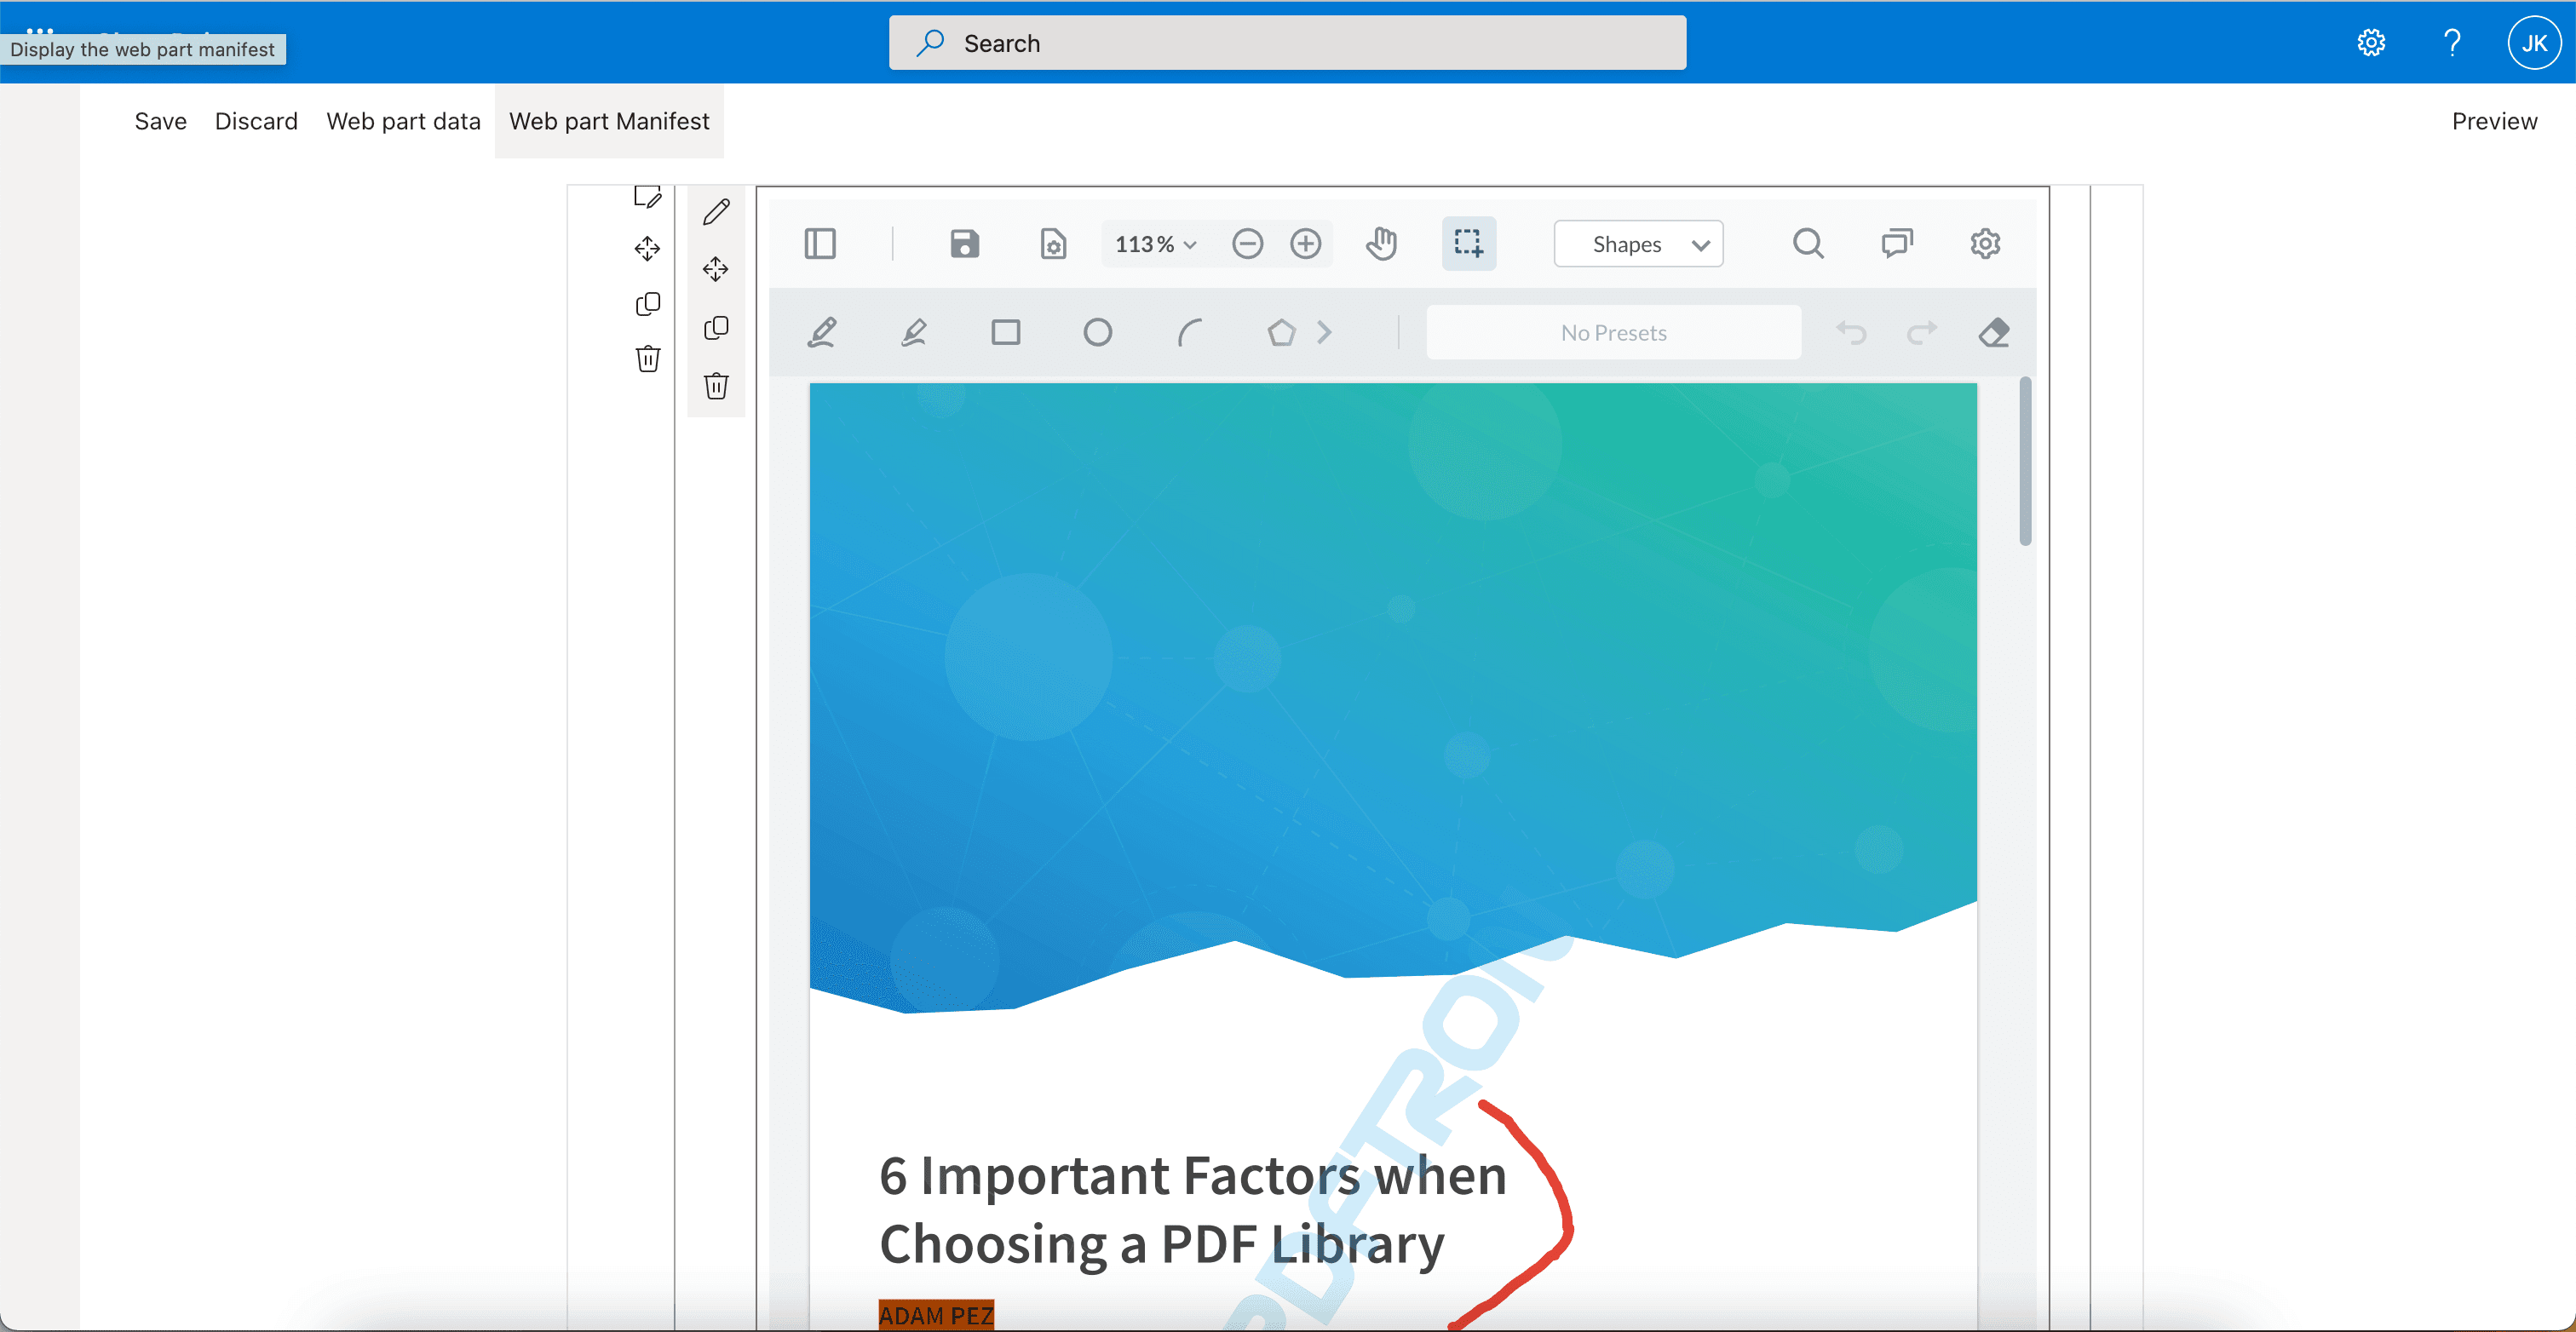
You can now open a local file in the Webviewer.
Deployment
- Run the folllowing to generate the
webviewer.sppkgfile in the sharepoint-web-part/sharepoint folder:
sh
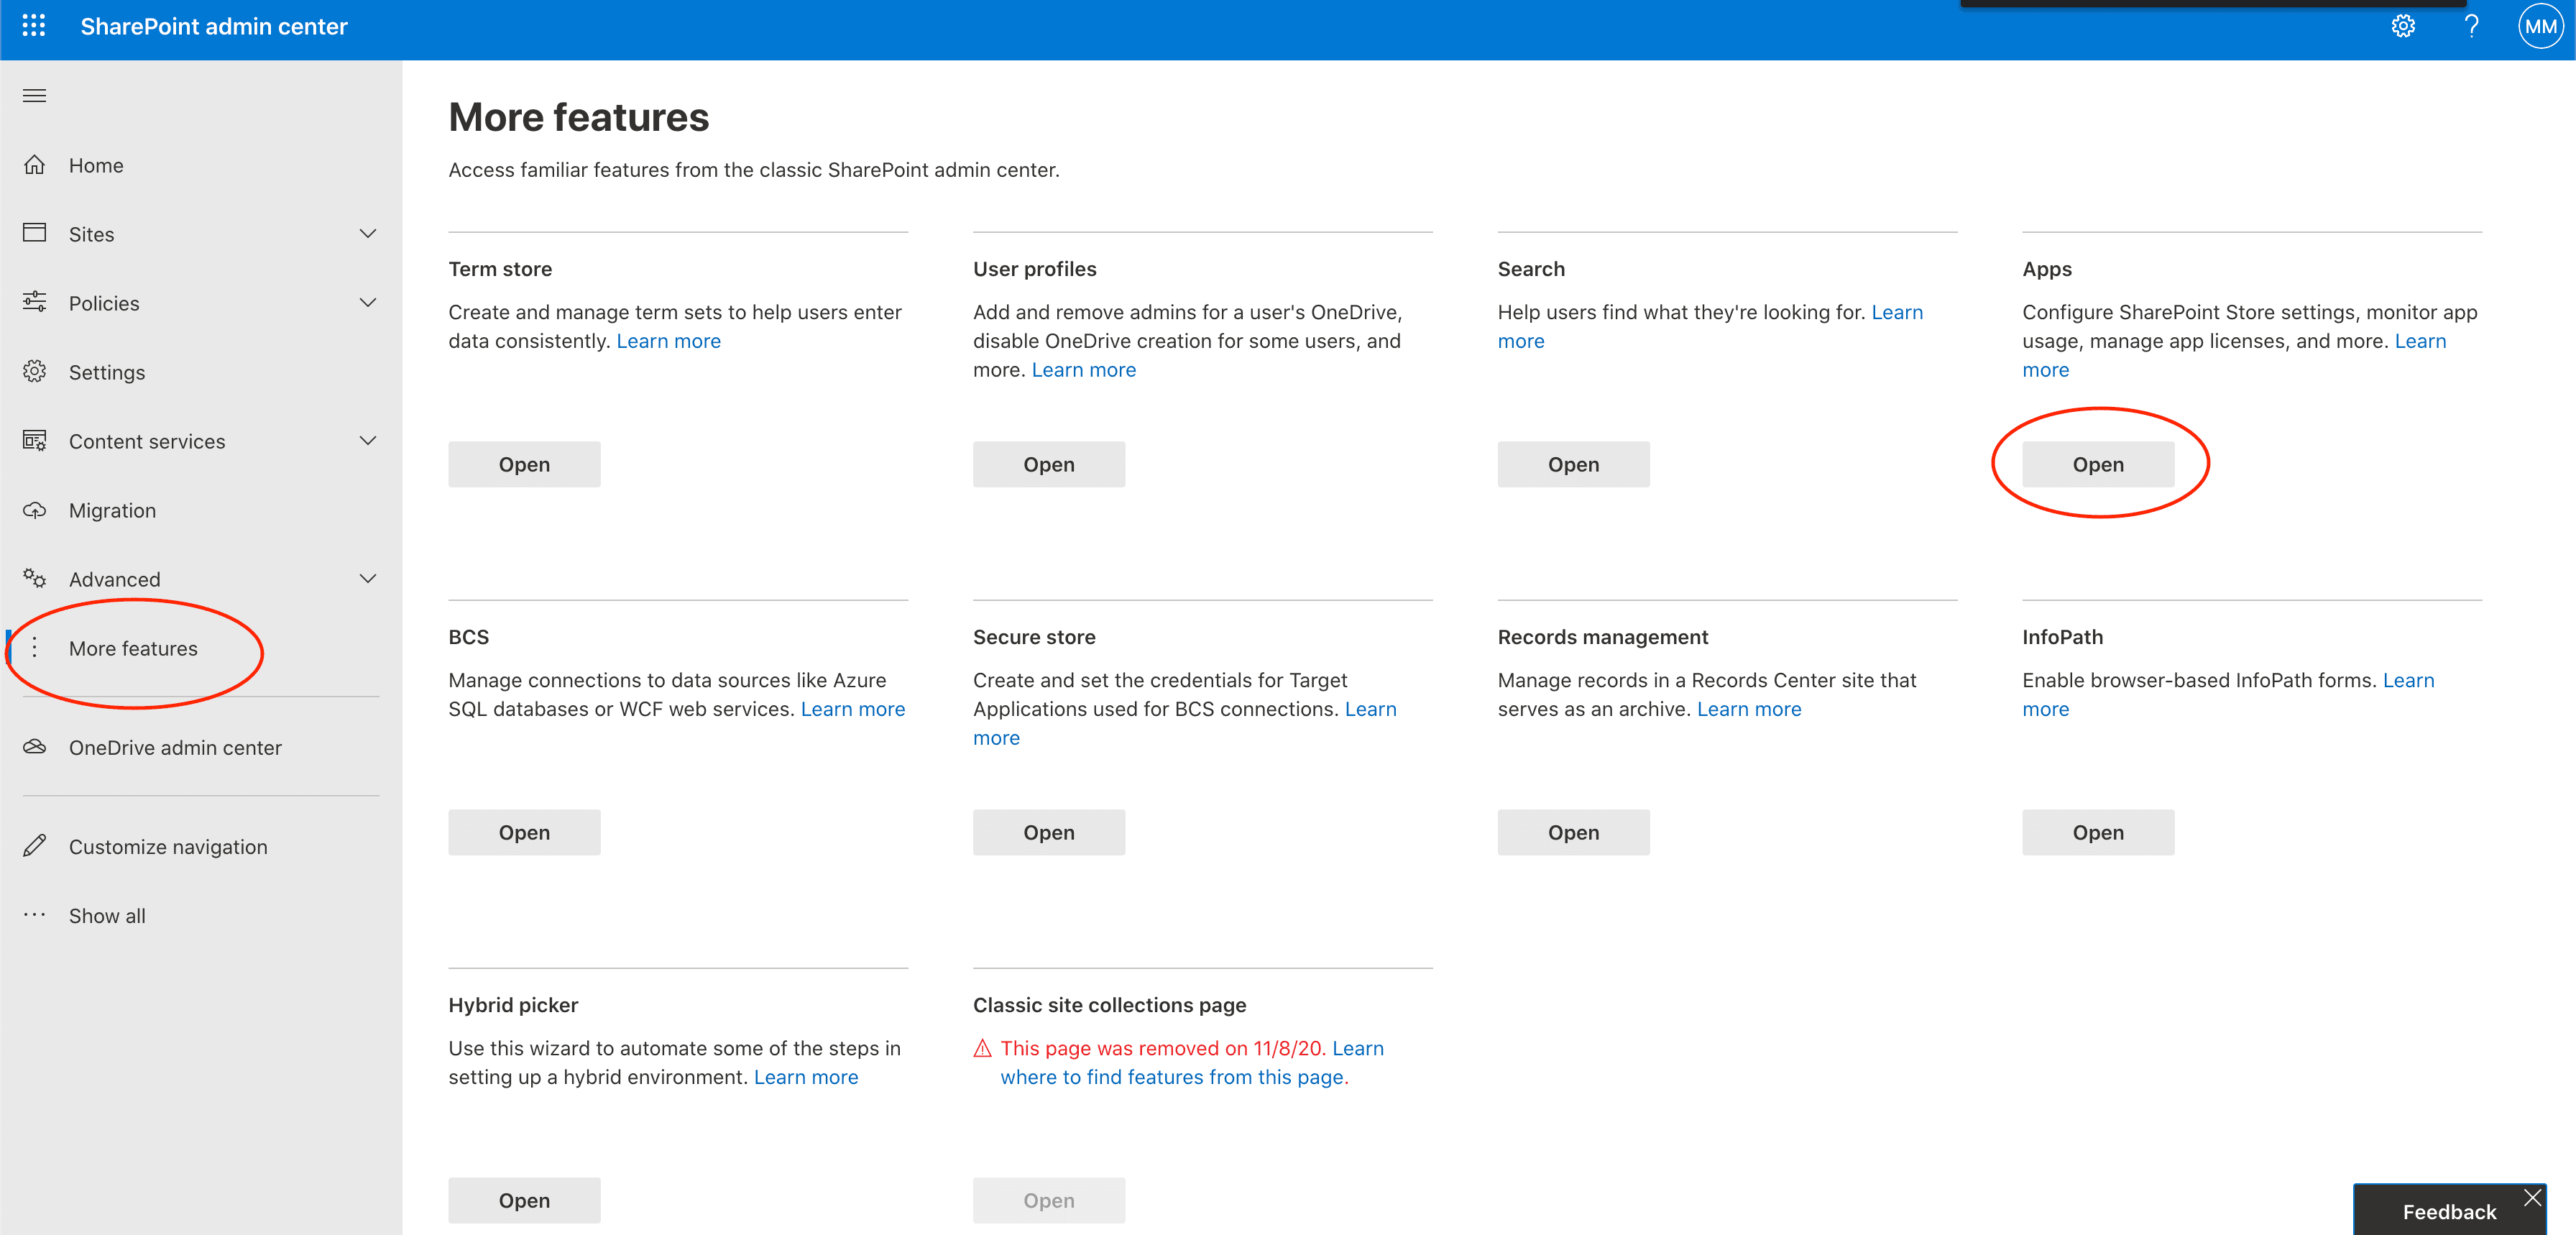
2. Navigate to the SharePoint admin center, then go to the More features page. It should be https://<your-tenant-id>-admin.sharepoint.com/_layouts/15/online/AdminHome.aspx#/classicFeatures.
3. Click the Open button under the App section.
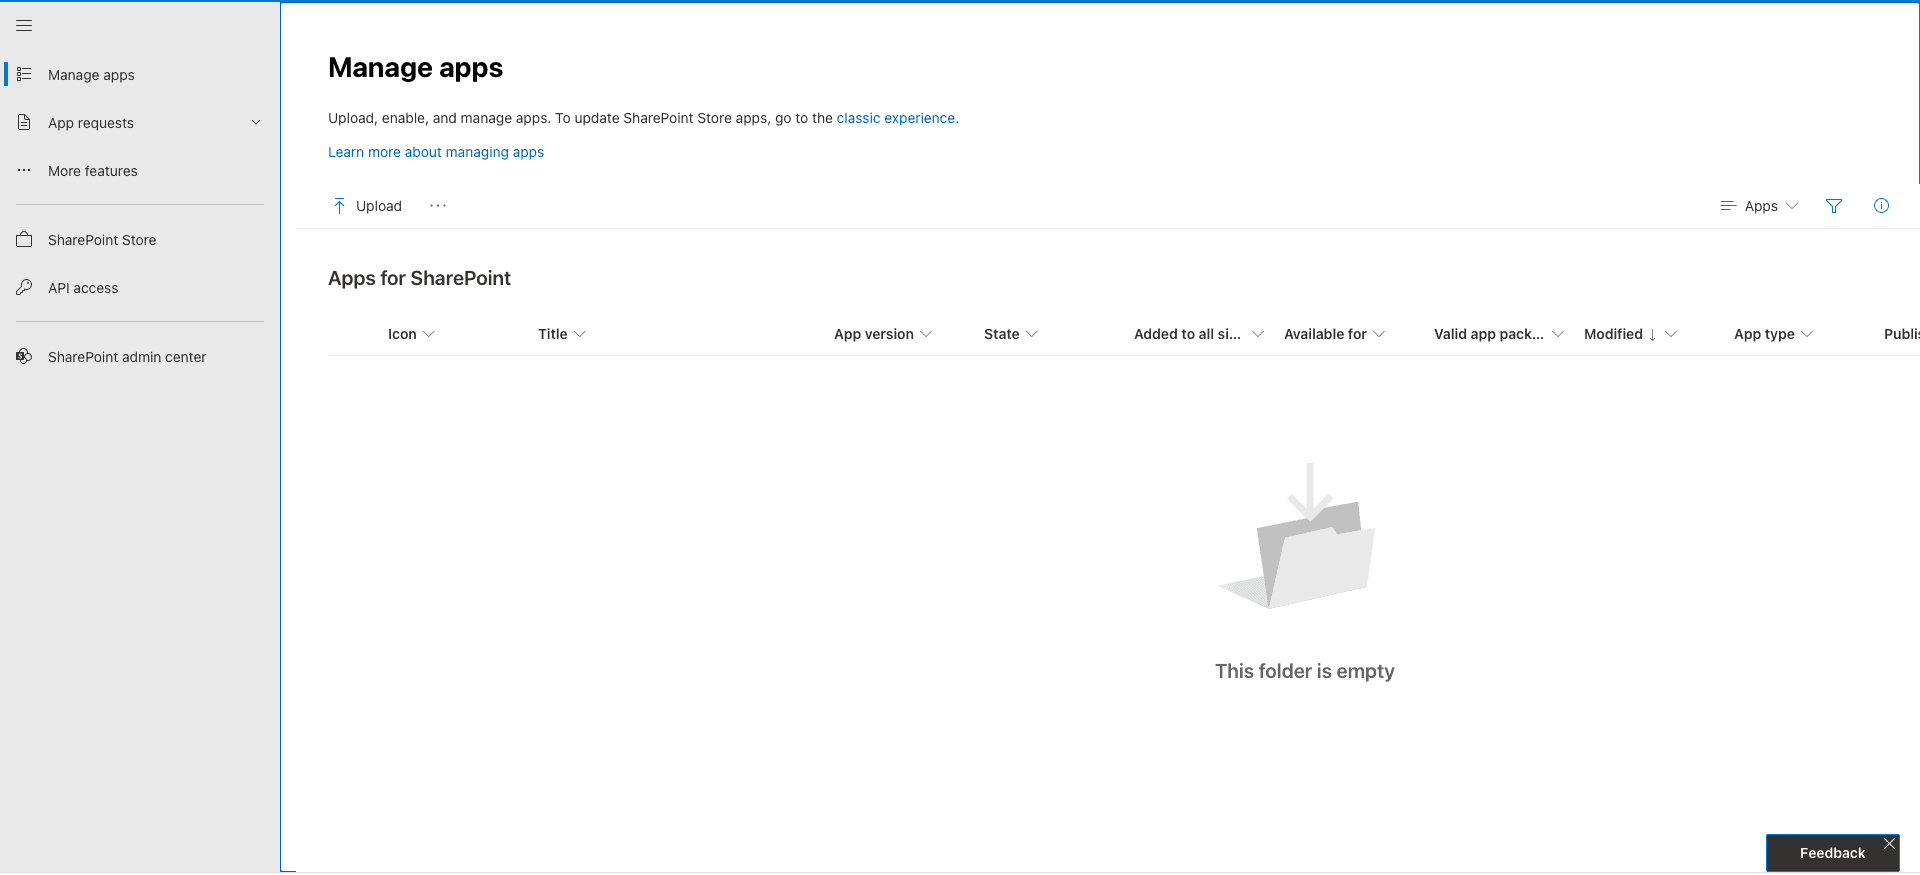
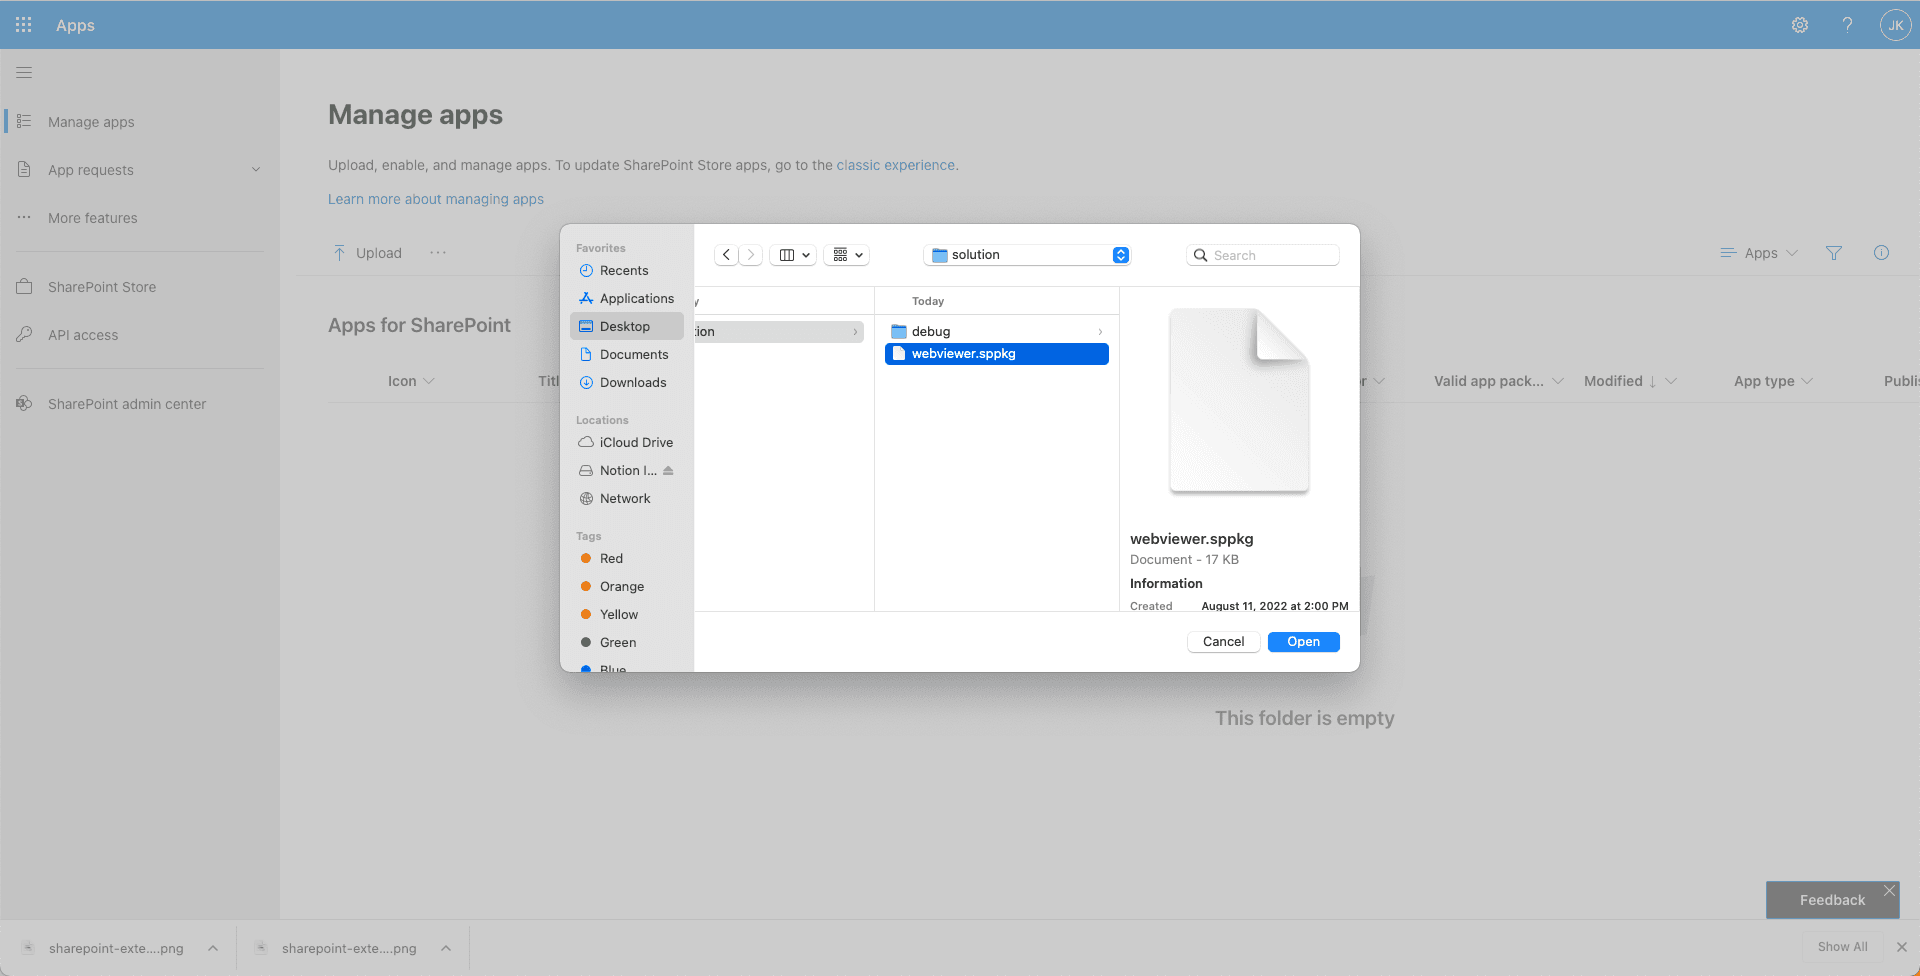
4. Click the Upload button to upload the webviewer.sppkg file, then select the webviewer.sppkg file.
The .sppkg file is located under the sharepoint/solution folder.
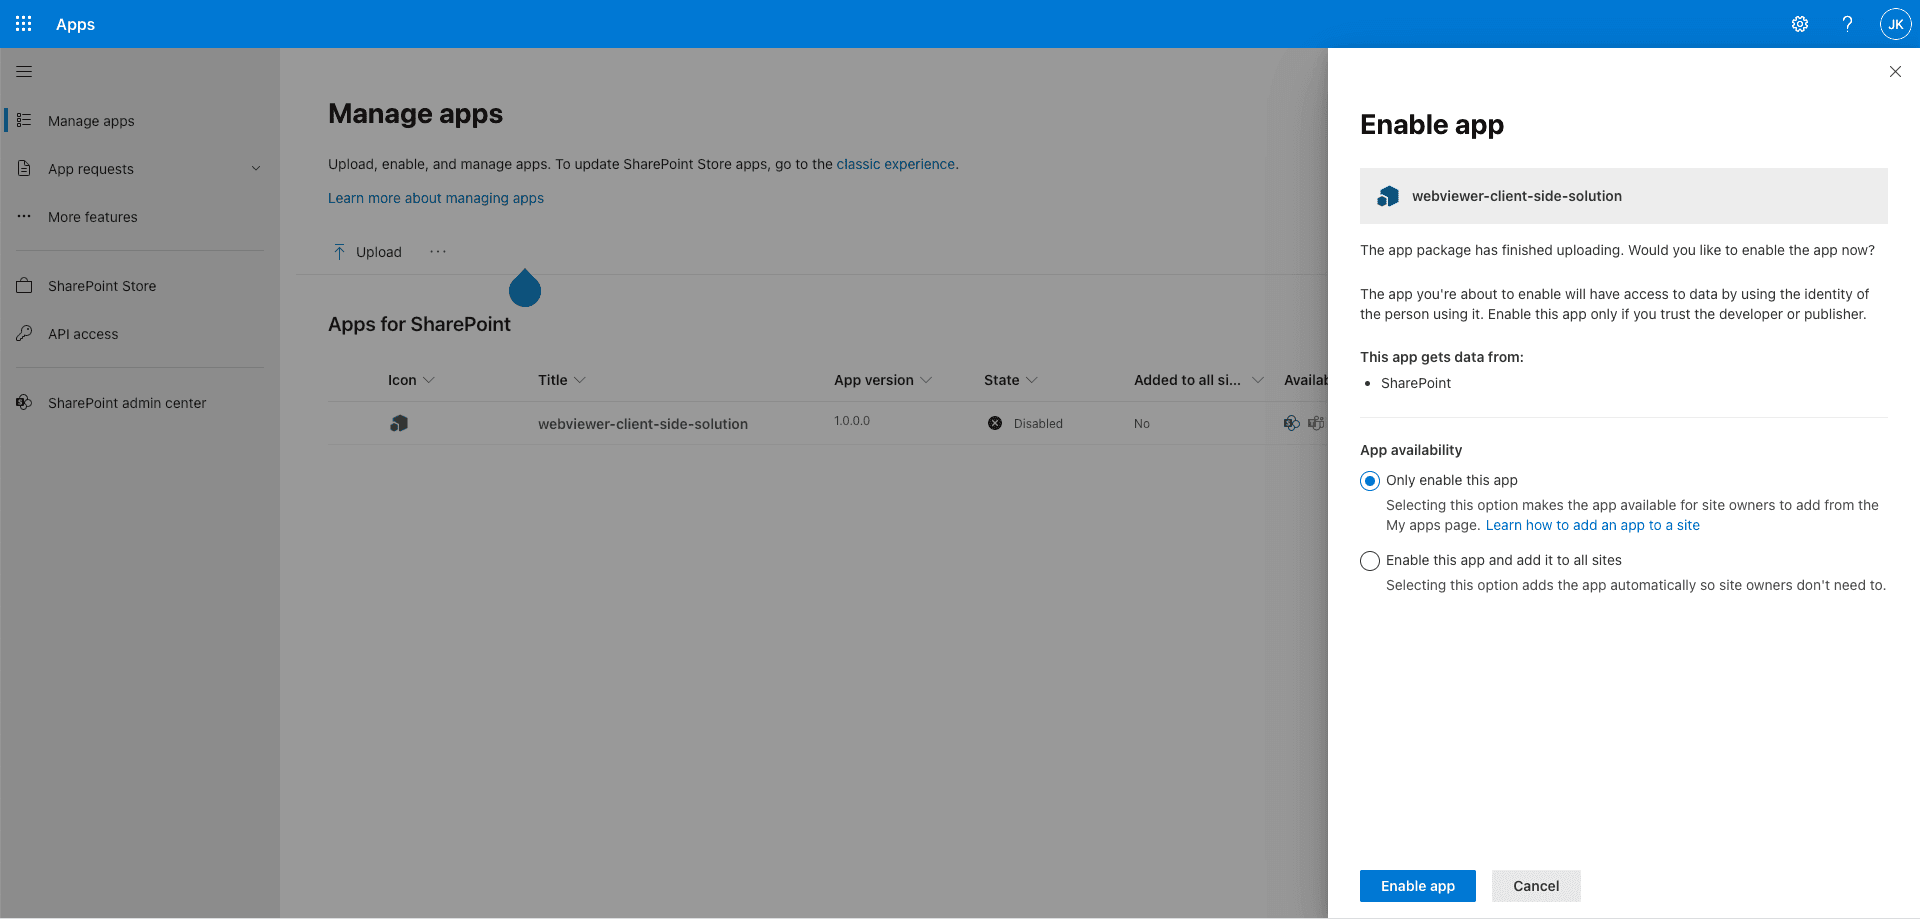
5. After uploading, enable the app by selecting Only enable this app.
6. Click the Settings button on the top right in the SharePoint site, then click Add an app.
7. Enable the webviewer-client-side-solution in My Apps.
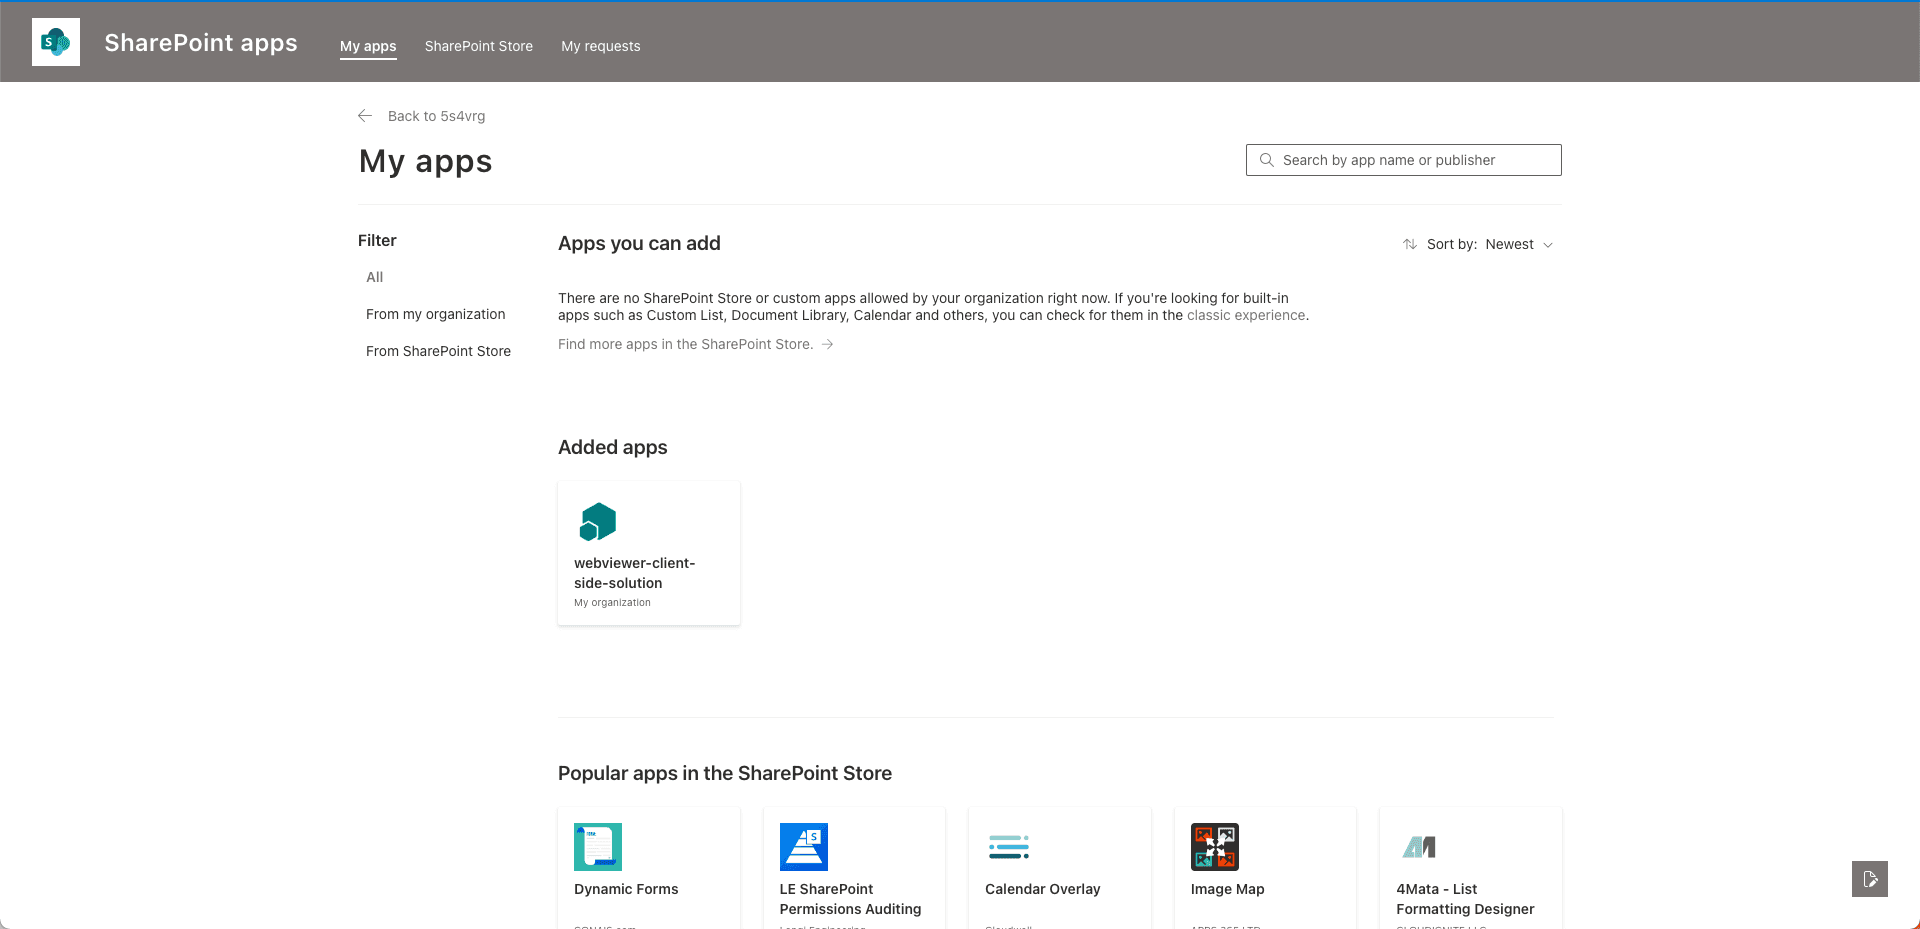
8. Click + New button, then select Site Page to create a new site page in the SharePoint site.
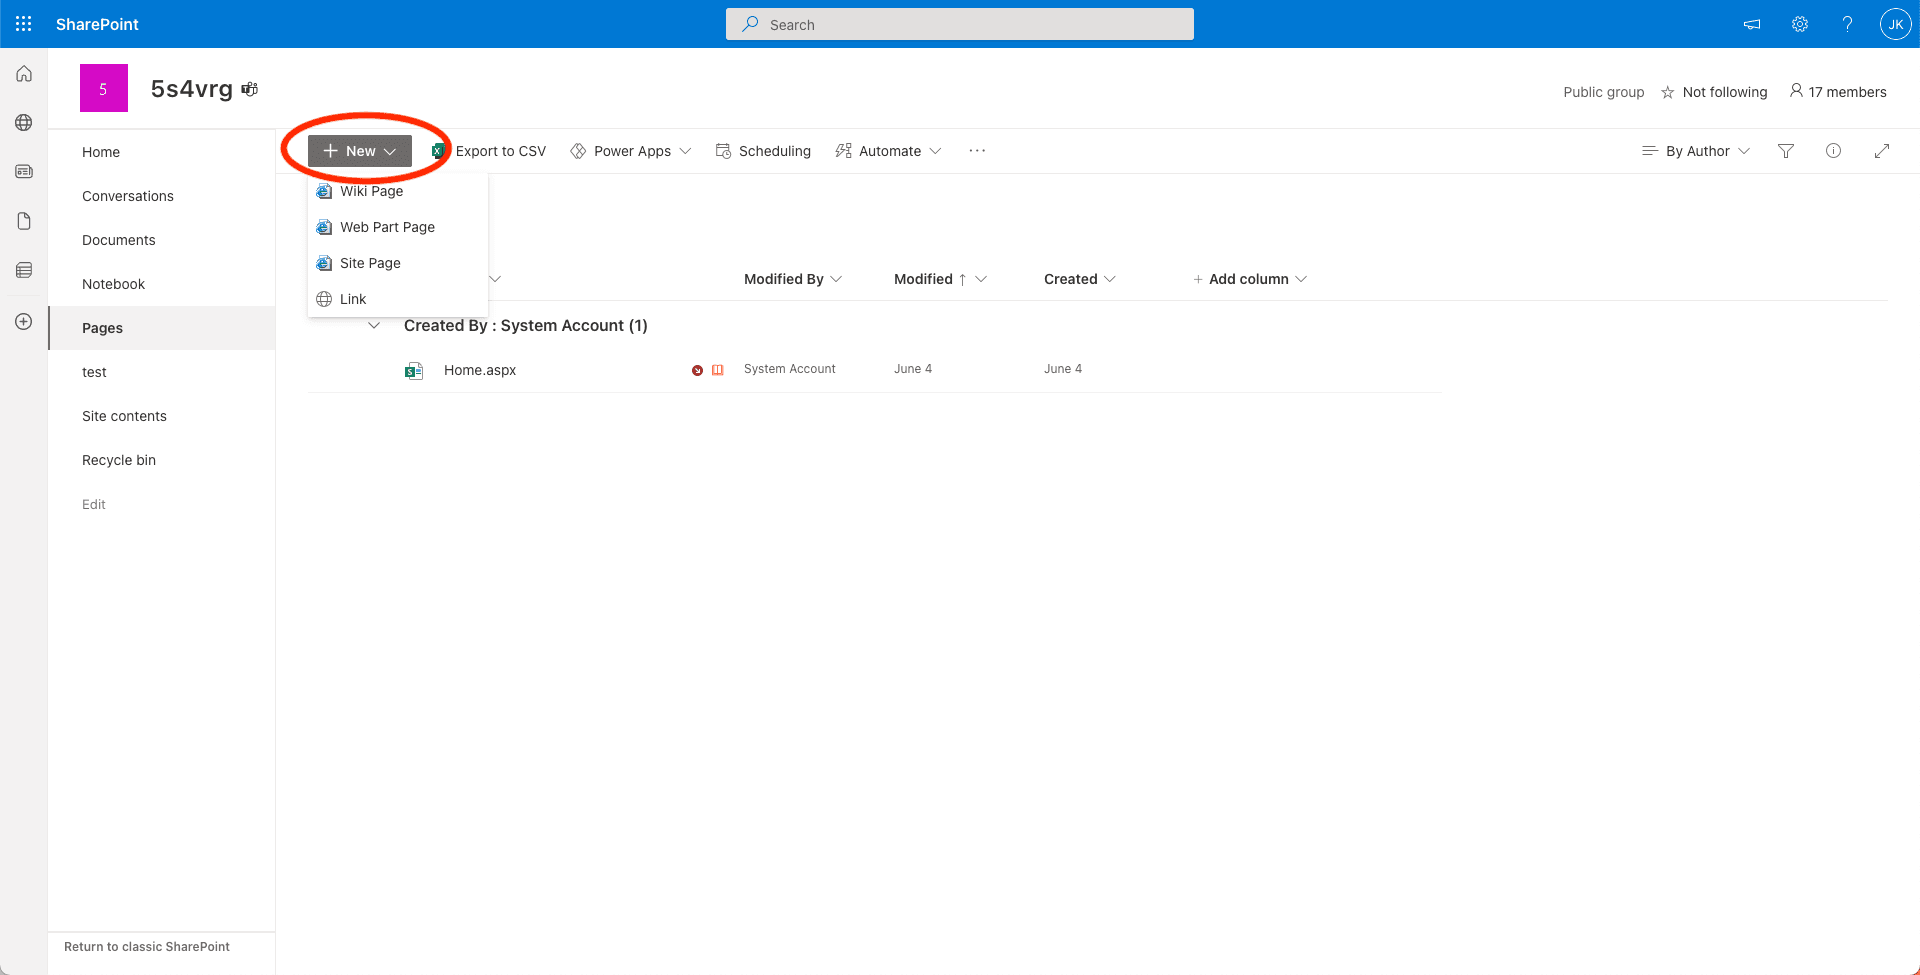

9. Rename the page to Webviewer, then add a one column section.
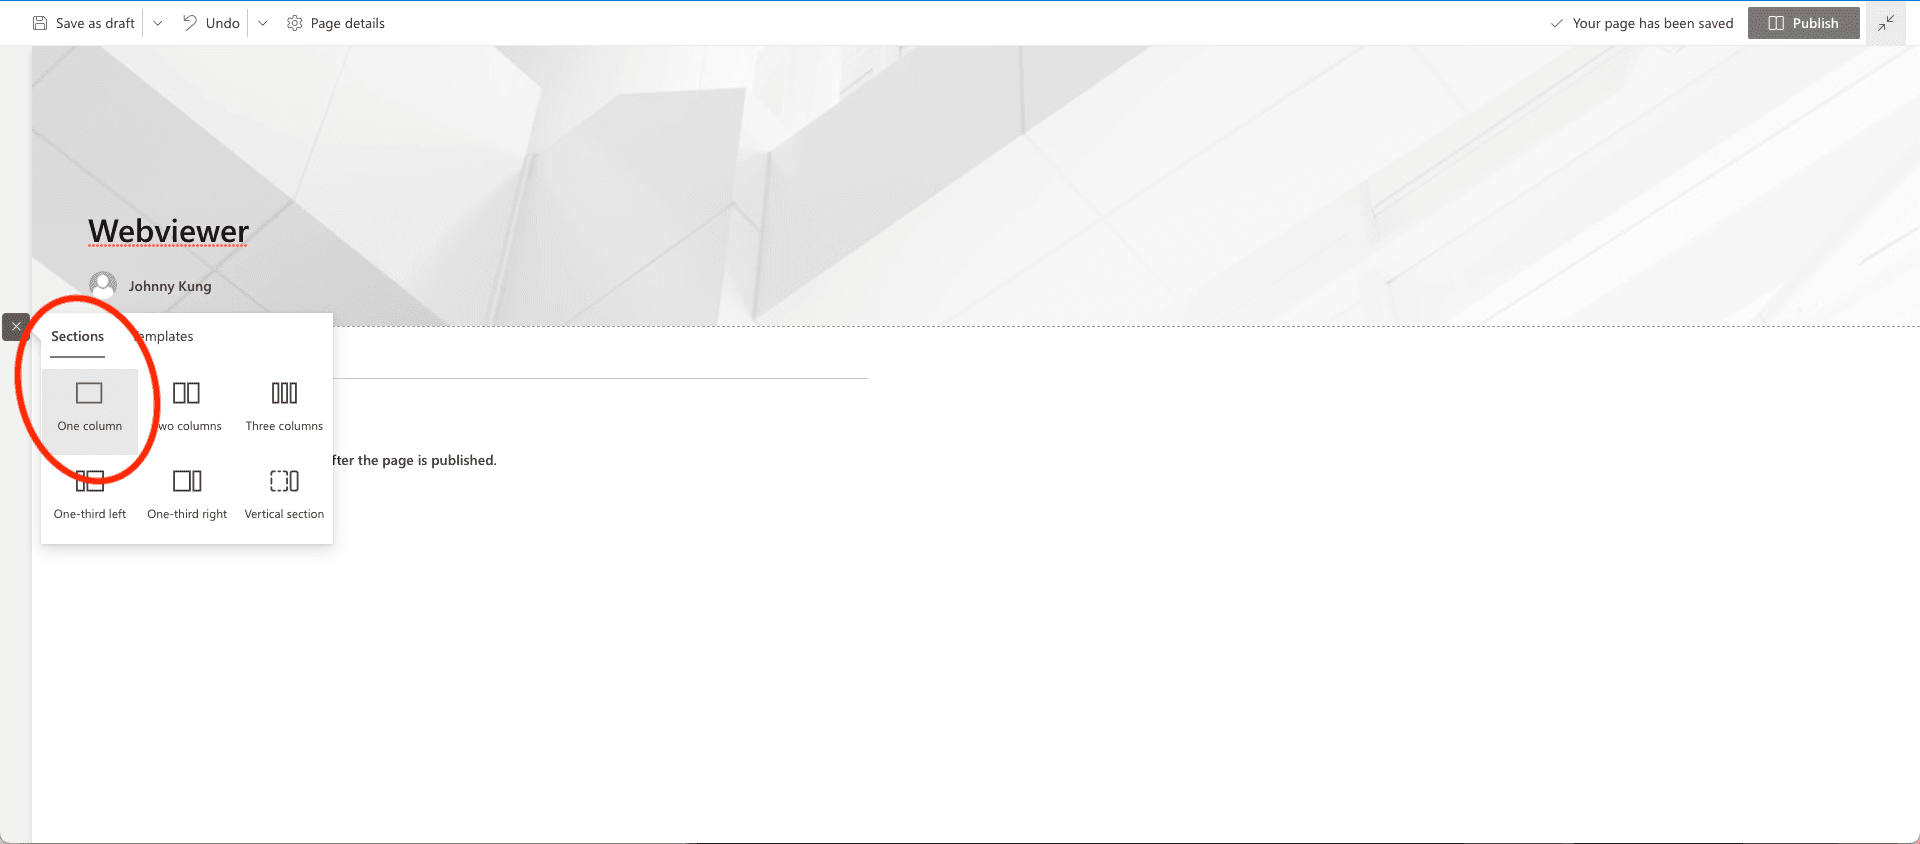
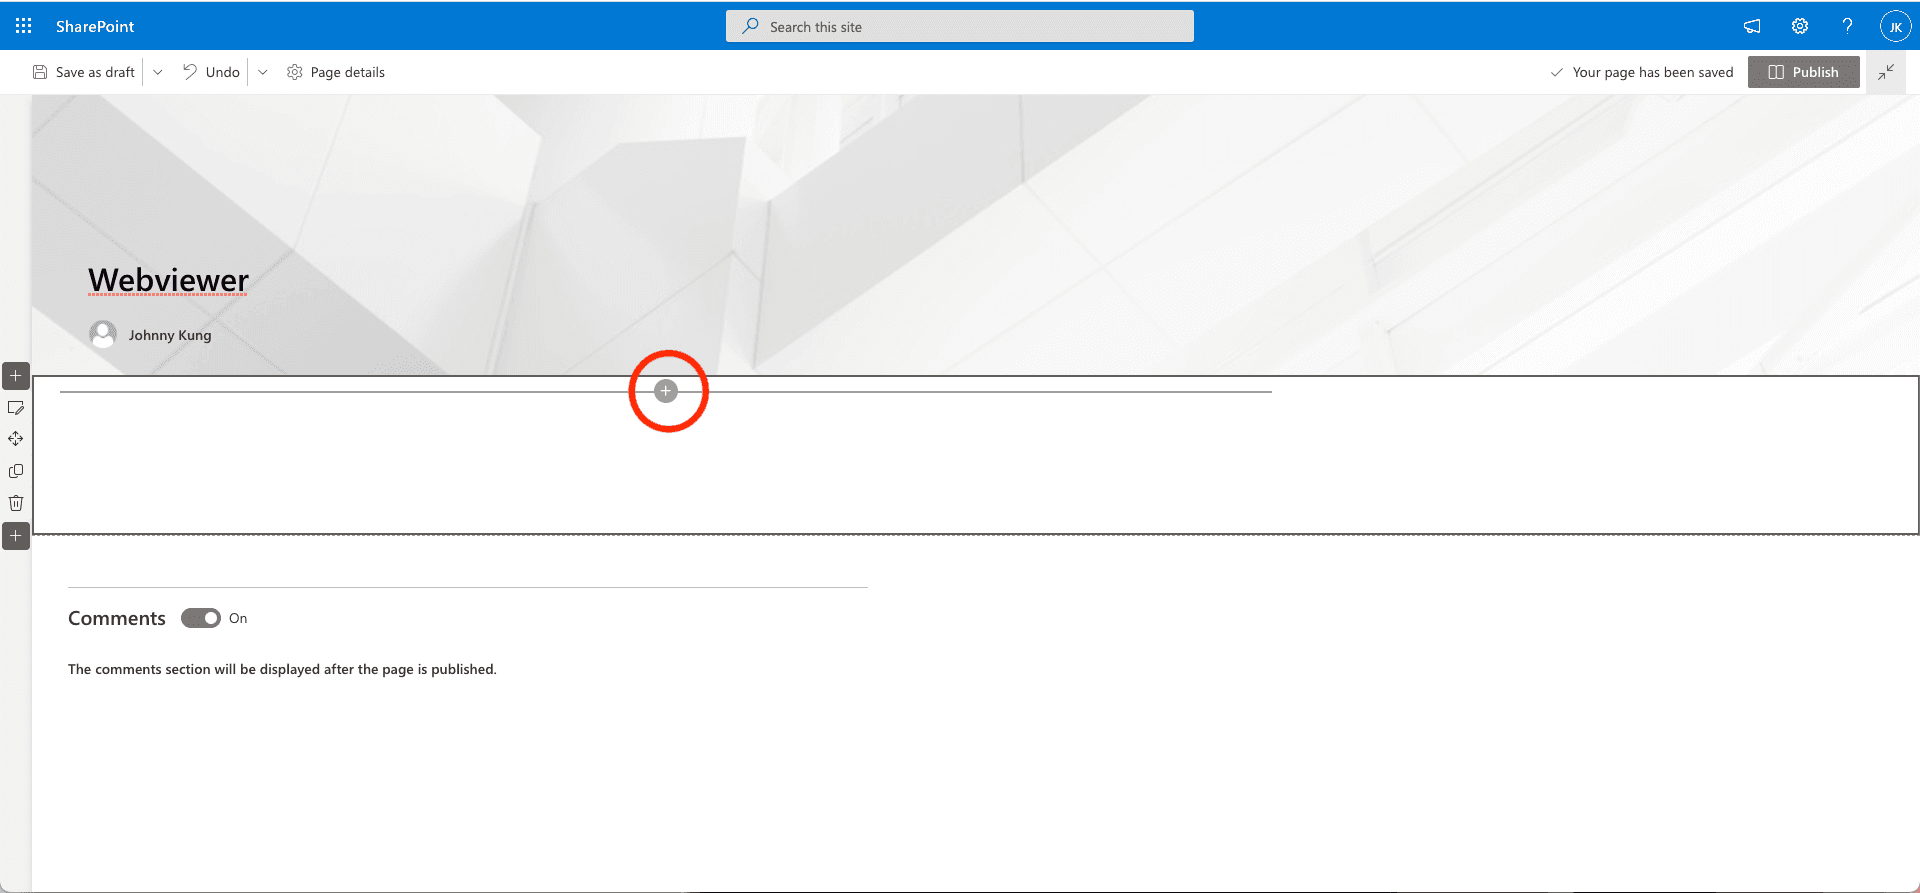
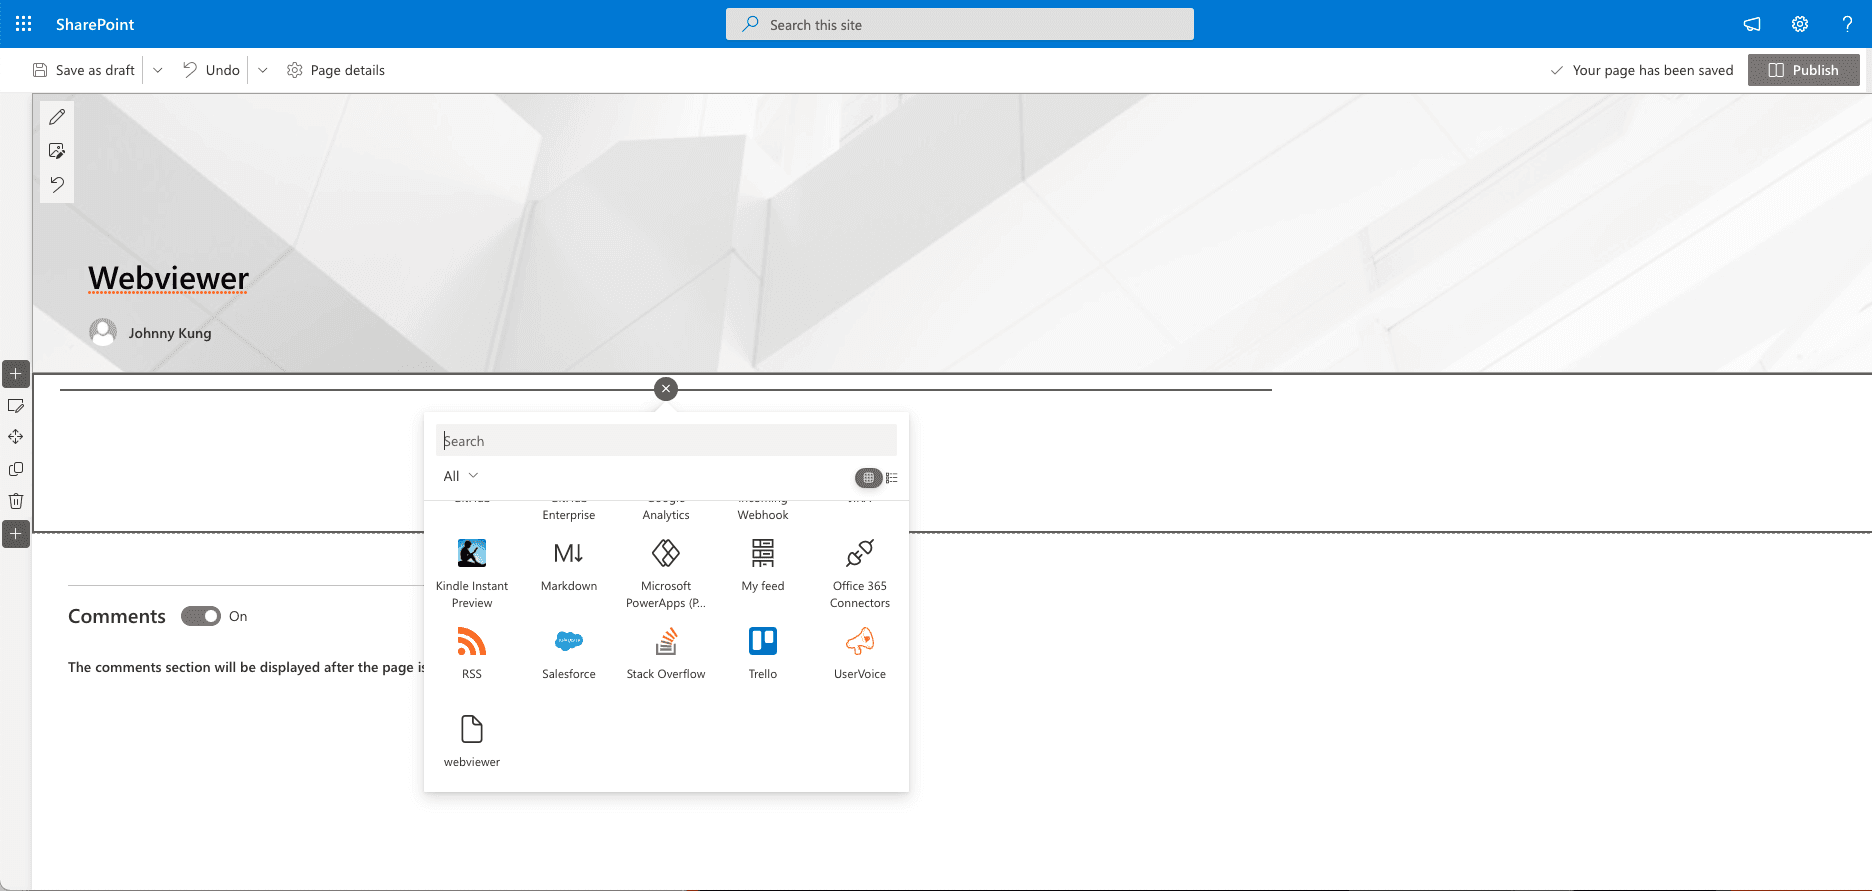
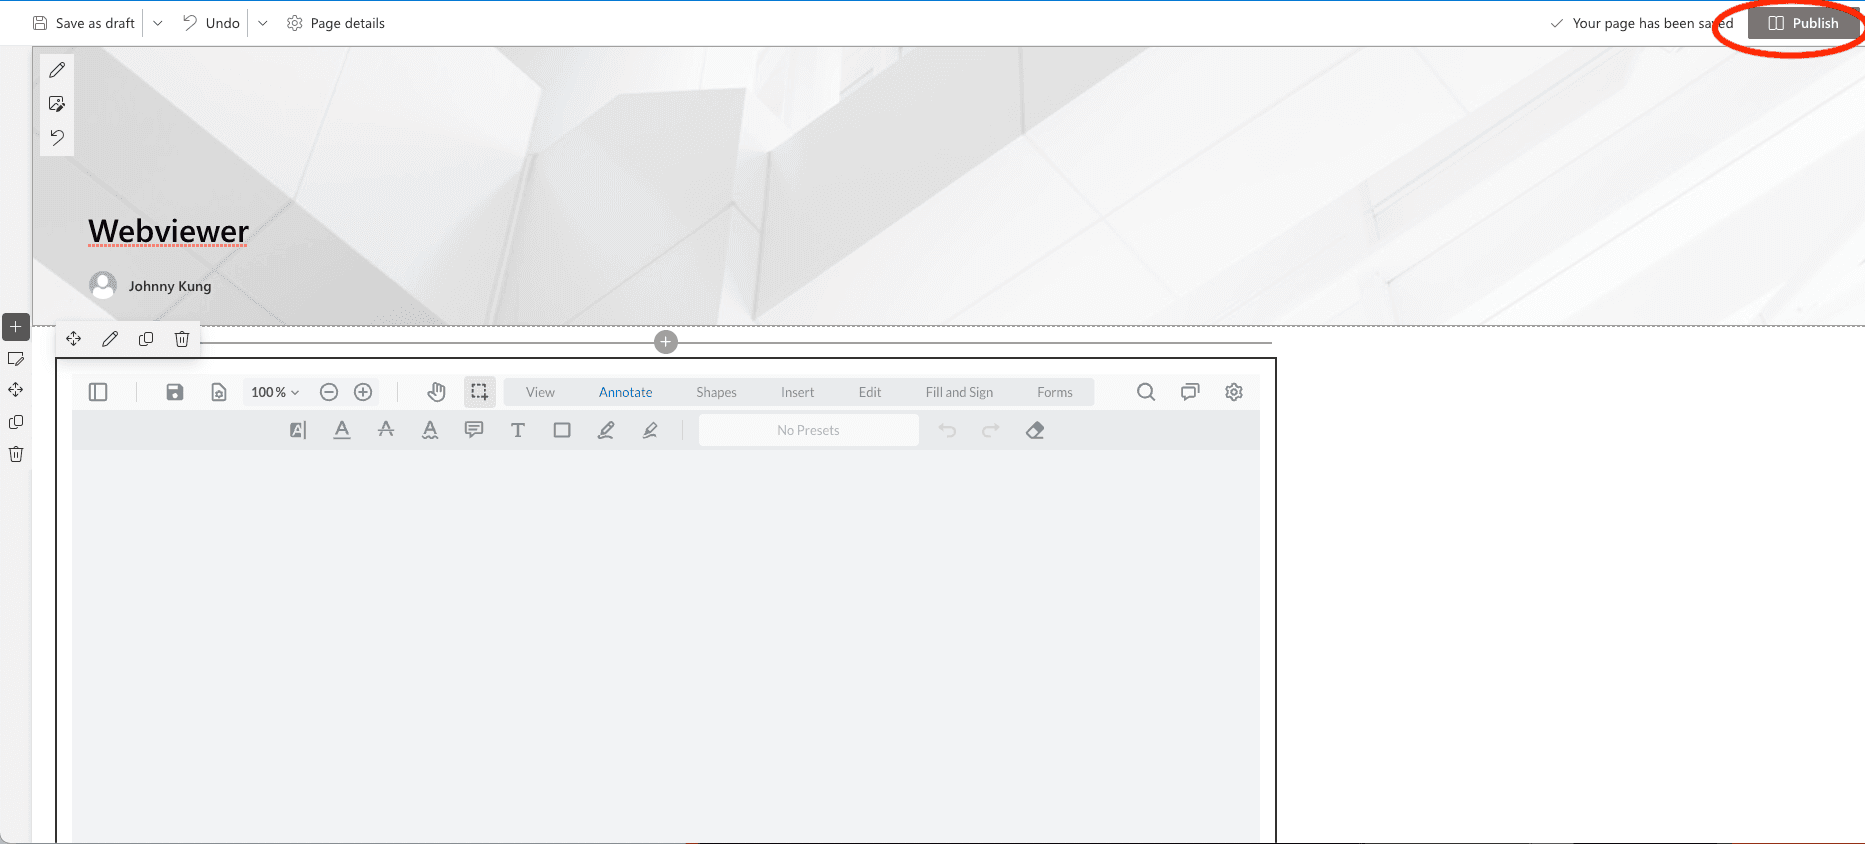
10. Click the + button in the new section, select the webviewer web part, then publish the page.
Integrate with SharePoint extension
To open files in SharePoint Documents Library, you must integrate with SharePoint extension. This extension allows you to add a button to any List View in SharePoint, such as your document libraries. You'll be adding a Open in Apryse Button as a menu option to open and process any documents in Webviewer.
Get started
- Create a
.envfile within the sharepoint-extension folder in the sharepoint-integration-examples repository. Add the following parameters in the.envfile:
sh
2. In the sharepoint-extension in the terminal, Run the following:
sh
3. Change the pageUrl in the serve.json in the sharepoint-extension/config folder by replacing the tenant id and site name:
sh
4. Run the following command:
sh
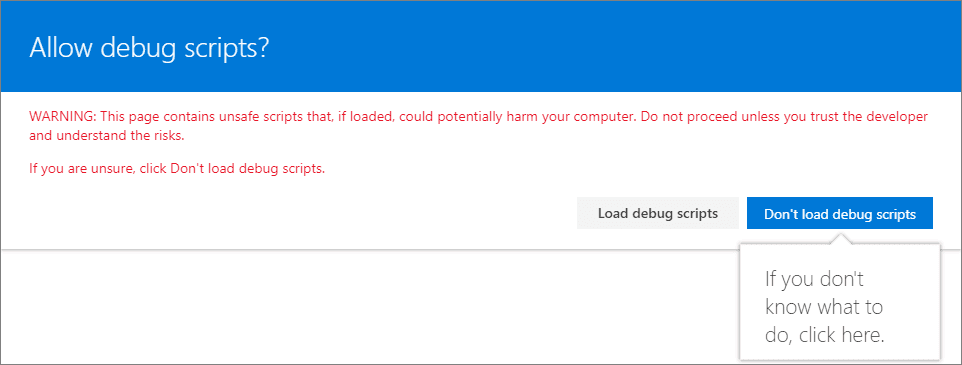
This will generate a new window in the Document Library, and, a popup and warning for you to allow debug scripts.
5. Select the Load debug scripts option in the popup.
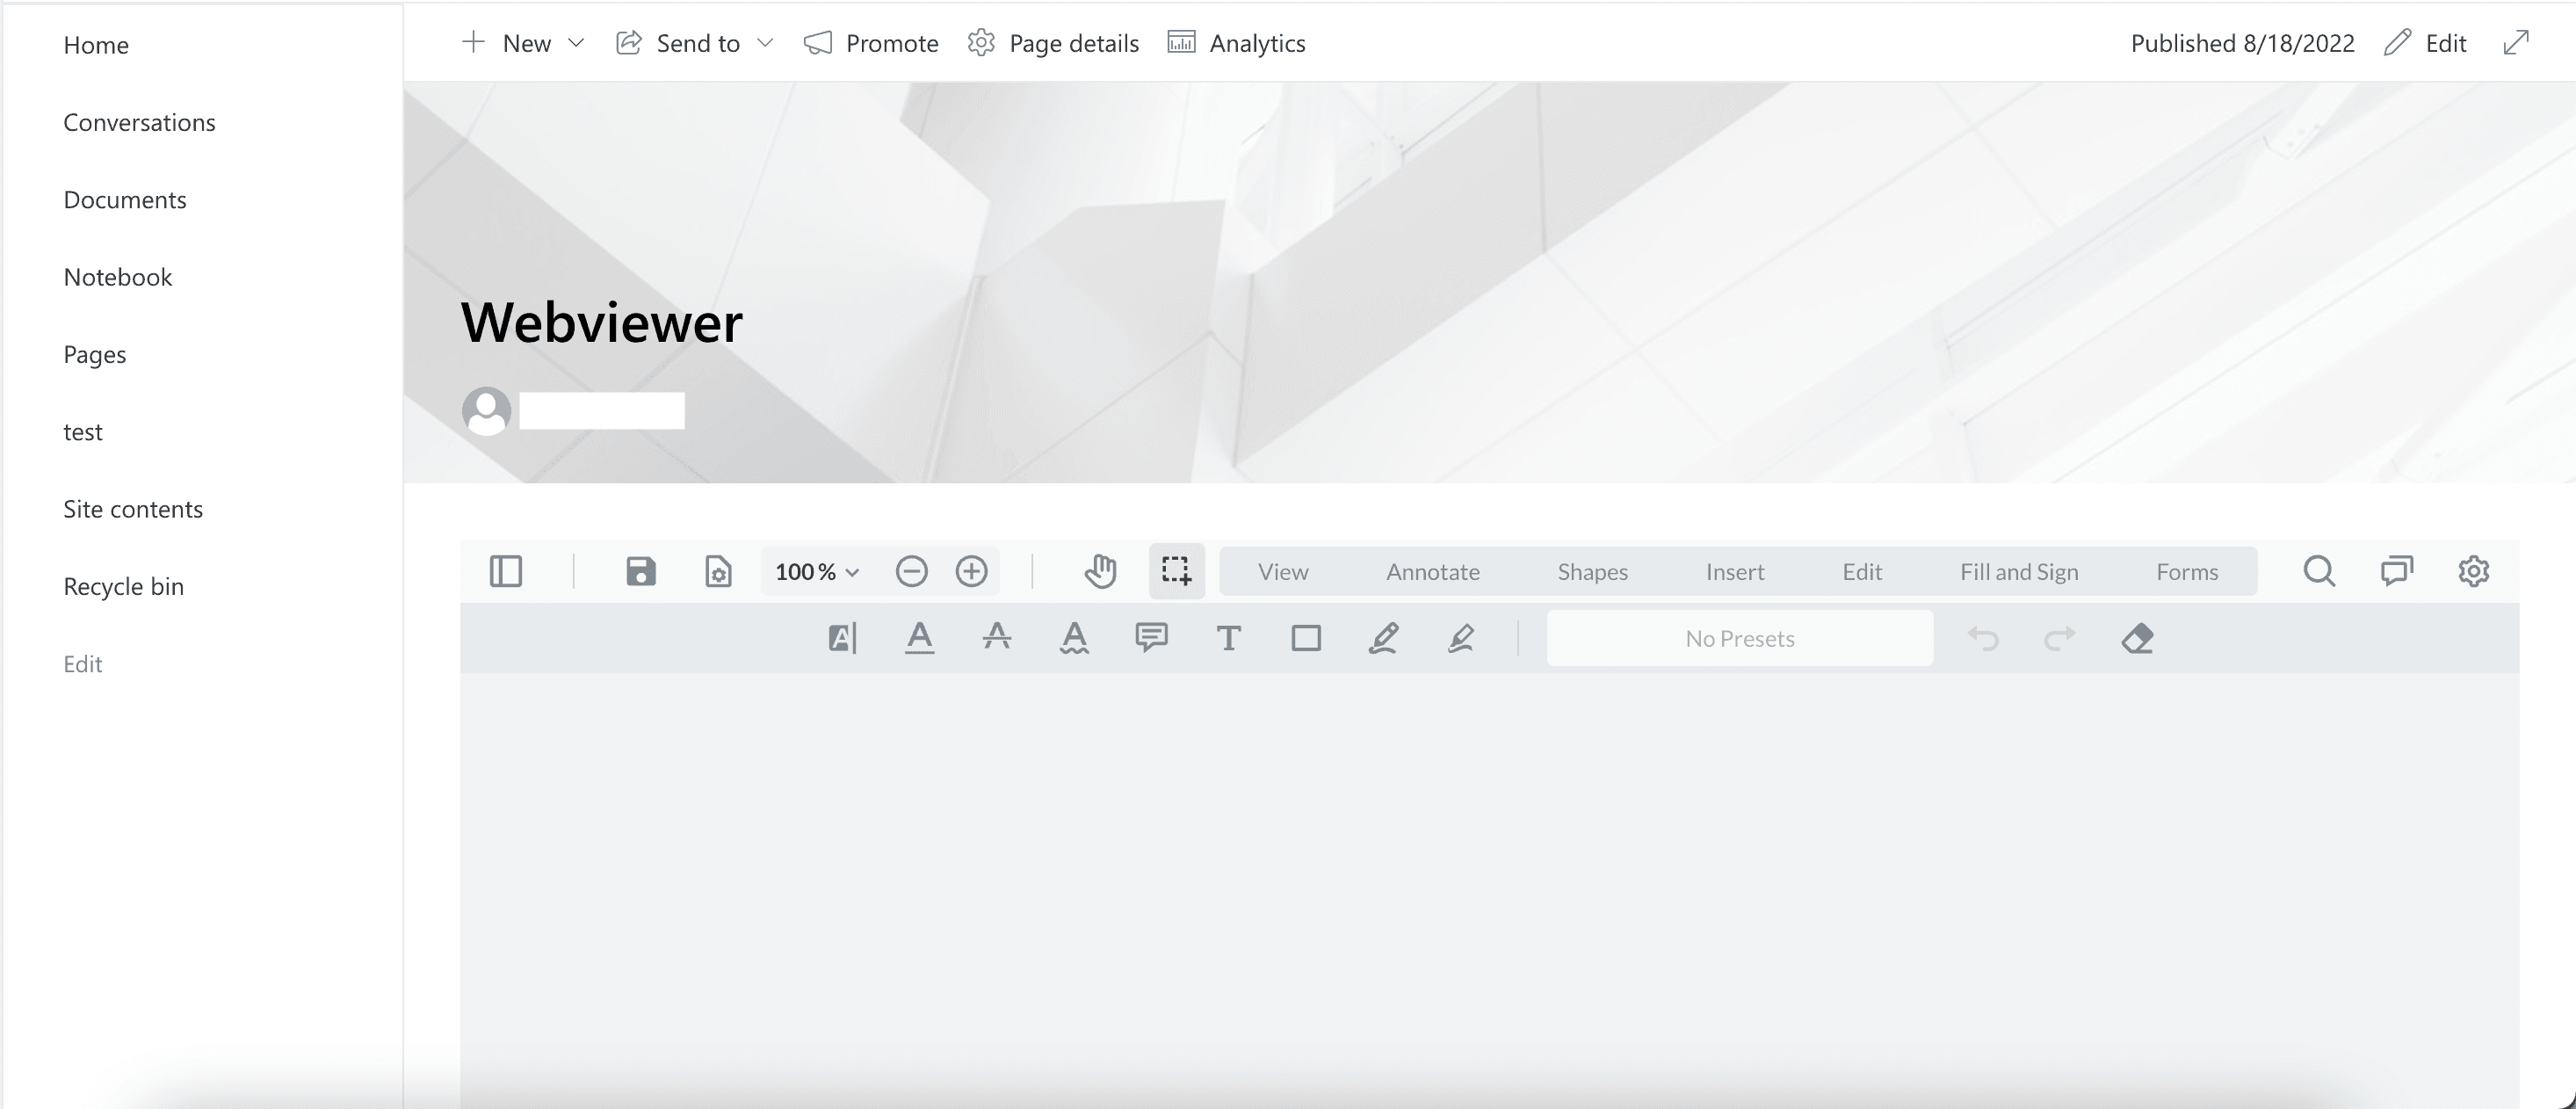
6. You should be able to see the Open in Apryse button after right click on a document in the Document Library.
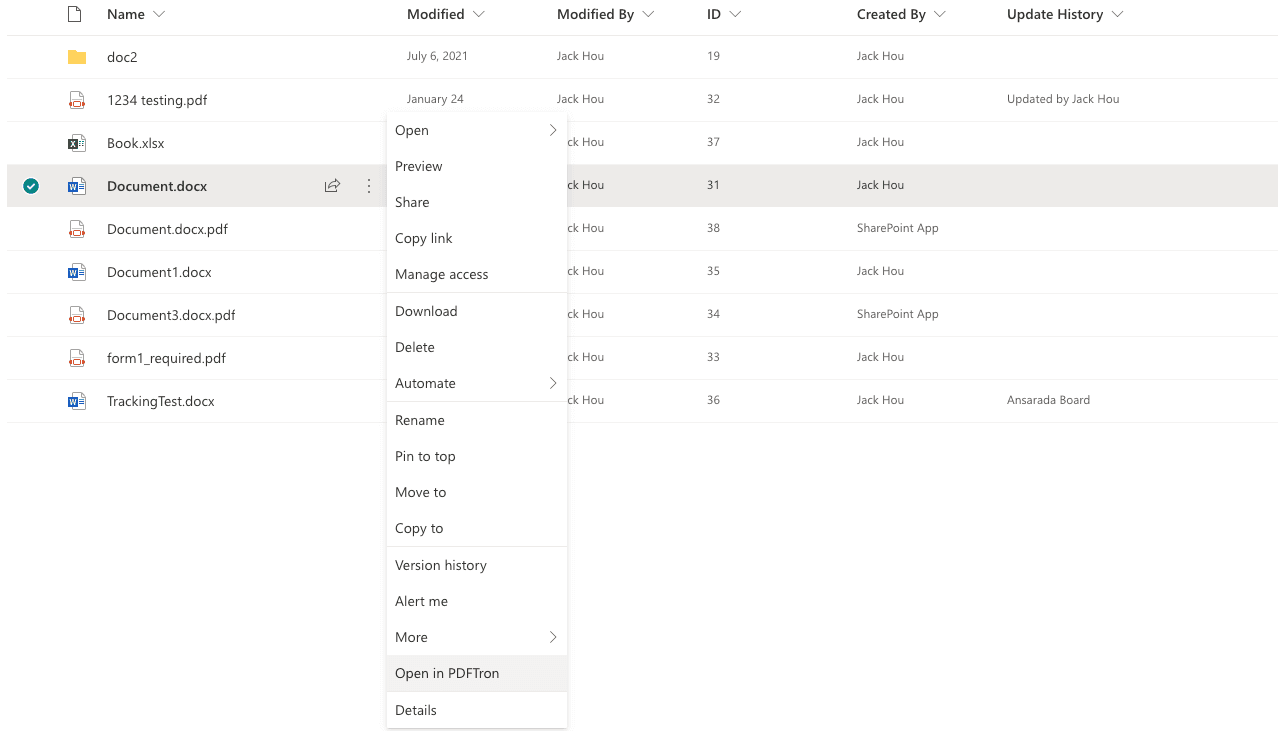
7. Click the Open in Apryse button and it will direct you to the page, by default, that you specified in the .env file. In this case, it should be the https://<your-tenant-id>.sharepoint.com/sites/<site-name>/SitePages/<site-page>.aspx page that has the webviewer web part.
SharePoint Framework currently has issues hosting workbench on any portother than 4321. This means it's hard to configure to have the Web Part and the extension running locally at the same time. We recommend deploying either the Web Part or the extension, and host the other one locally.
Deploy the extension
- Use the following commands, similar to deploying the SharePoint Web Part, to generate the
sharepoint-extension.sppkgfile in the sharepoint-extension/sharepoint/solution folder:
sh
2. Upload the sharepoint-extension.sppkg file to the Apps in SharePoint Admin center and enable it for the website.
You should see the Open in Apryse button after you right-click on a document in the Document Library.
Next step
For more information on how to call WebViewer API, check out this blog.
Did you find this helpful?
Trial setup questions?
Ask experts on DiscordNeed other help?
Contact SupportPricing or product questions?
Contact Sales