Product:
Creating user-defined bookmarks in WebViewer
WebViewer allows users to create bookmarks for each page. When clicked, these bookmarks will navigate to the saved page. In order to persist these bookmarks, WebViewer can easily export them. They can then be saved to a server. See our user-defined bookmarks demo to try it out.
You can enable bookmarks by enabling the following elements. The rest of this guide will demonstrate a ready to go sample and how you can export them.
JavaScript (SDK v6.0+)
Prerequisites
- Node.js and NPM
- Try out the WebViewer Sample
Initial setup
Clone from the sample. The directory should look something like this:
HTML
How to run
- Navigate to the extracted
samplefolder and install the required dependencies to run the samples by executing:
sh
- Next run the sample by executing:
sh
You should see a message that reads:
sh
- Navigate to
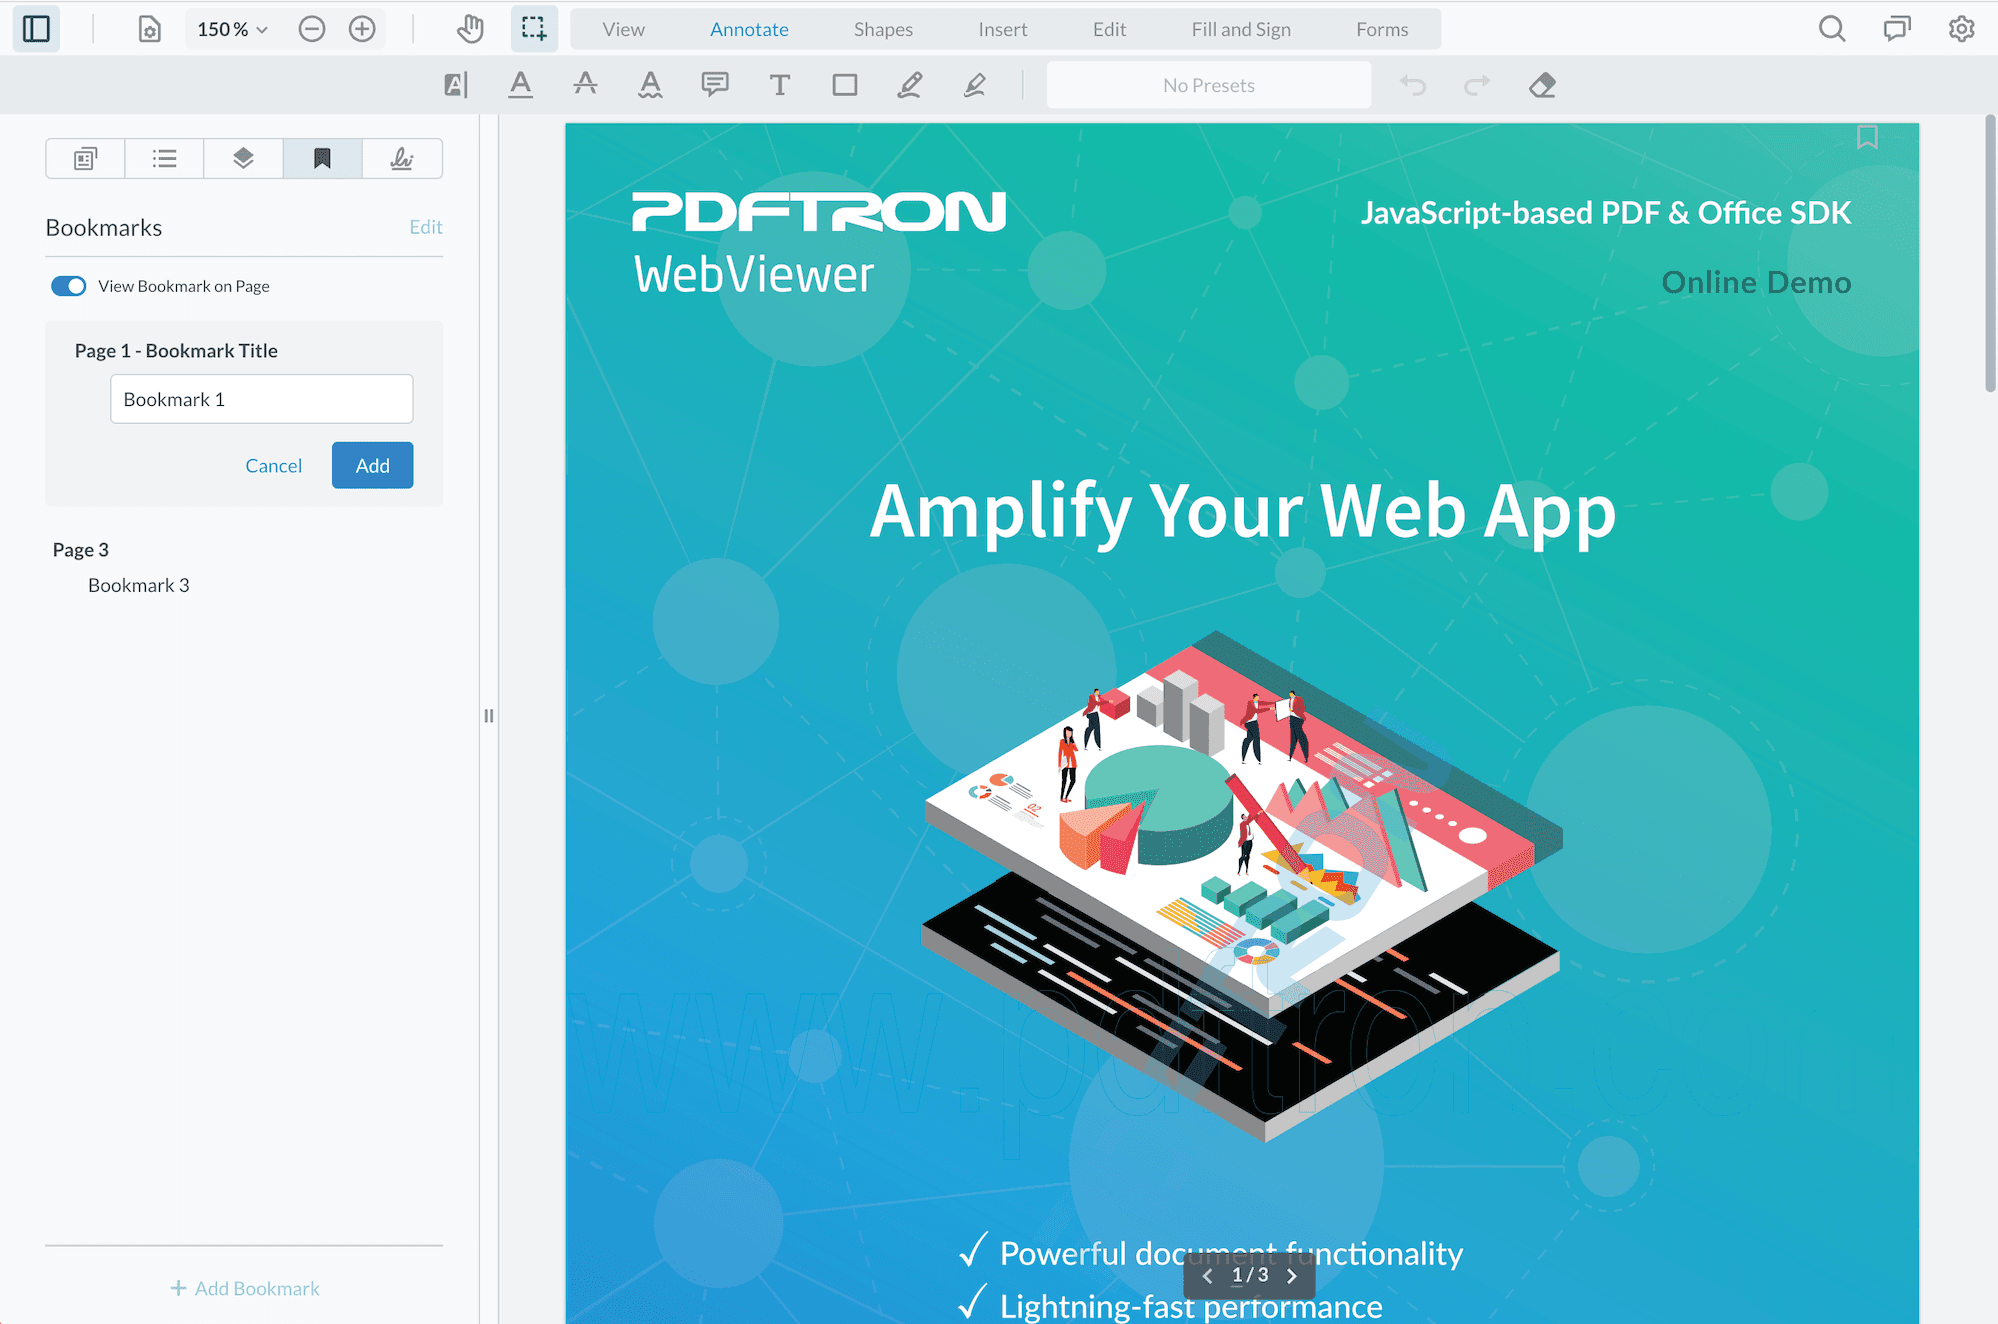
http://localhost:3000/client/index.htmland you will see the sample WebViewer. Open the left panel and navigate to the last tab to see bookmarks. You should see the same bookmarks as the image above.
Import and Exporting Bookmarks
The webviewer instance contains the functions exportBookmarks and importBookmarks. You can use these along with AJAX requests to save and load the user bookmark data from a server, and setup the server to write and read XFDF files.
To save user bookmarks, the sample, uses POST and GET requests. In the sample you will find fetch request that are similar to the following:
JavaScript (SDK v6.0+)
To automatically save user bookmark changes you are able to listen to the userBookmarksChanged event. This event fires whenever there is any change to user bookmarks.
JavaScript (SDK v6.0+)
The sample uses Node.js as a backend for fulling the POST and GET requests, but other backends can also be used.
Quick Bookmarking
WebViewer v8.8.0 introduced a convenient shortcut to quickly add or remove a bookmark. This API instance.UI.enableBookmarkIconShortcutVisibility() enables this feature and shows a bookmark icon near the top right of the page. If the page is already bookmarked, users will see an filled blue icon.
Creating a bookmark this way will automatically populate into the panel using the “Untitled” title. Users who have the left panel open on the bookmark tab can also toggle whether or not they want to see the bookmark icon on the page.
To disable this feature, use this API instance.UI.disableBookmarkIconShortcutVisibility().
Did you find this helpful?
Trial setup questions?
Ask experts on DiscordNeed other help?
Contact SupportPricing or product questions?
Contact Sales