Product:
Get started with Apryse WebViewer SDK in a Blazor Project
The Apryse WebViewer SDK delivers high-quality rendering, conversion, and document manipulation capabilities through a single, customizable component. Supporting PDF, Office, CAD, and images, it's fully featured out of the box, delivering great usability and functionality.
Adding WebViewer to your application allows users to view and edit PDFs without going outside of your application. This reduces reliance on third-party systems, multiple vendors, and file downloads for everyday tasks without compromising control, compliance, or security.
Interact with our showcase demo to test out all of the Apryse WebViewer SDK functionality.
This guide walks you through how to integrate the WebViewer SDK into your Blazor application. By the end, you'll be able to render a PDF document in the UI.
You can also download a ready-to-go sample on GitHub for Blazor server sample or for Blazor wasm sample.
Get started video
Get started with the Apryse WebViewer SDK in a Blazor project by viewing our video. This video includes instructions for successfully integrating the WebViewer SDK into your Blazor application. You can also skip the video and, instead, follow the steps below to get started.
Integrating WebViewer into a Blazor app
Prerequisites
Prior to starting, you should:
- Install Node and npm to use as your run-time environment and package manager.
- Download and install the .NET 9+ SDK for your platform to build and run your application using C#.
- Open Visual Studio Code. Make sure you're logged in to VSC so you are able to use the functionality you'll need to use for this tutorial.
- Install the C# Dev Kit in Visual Studio Code. It makes C# development easier.
- Get your Apryse trial key.
License Key
Apryse collects some data regarding your usage of the SDK for product improvement.
If you wish to continue without data collection, contact us and we will email you a no-tracking trial key for you to get started.
1. Scaffold your project
If you already have a Blazor project, skip to Section 2 below.
- Open Visual Studio Code (VSC), then open VSC's Command Palette at the top of the screen by pressing CMD+SHIFT+P.
- Enter
.NETinto the Palette search, then select.NET: New Projectfrom the dropdown.
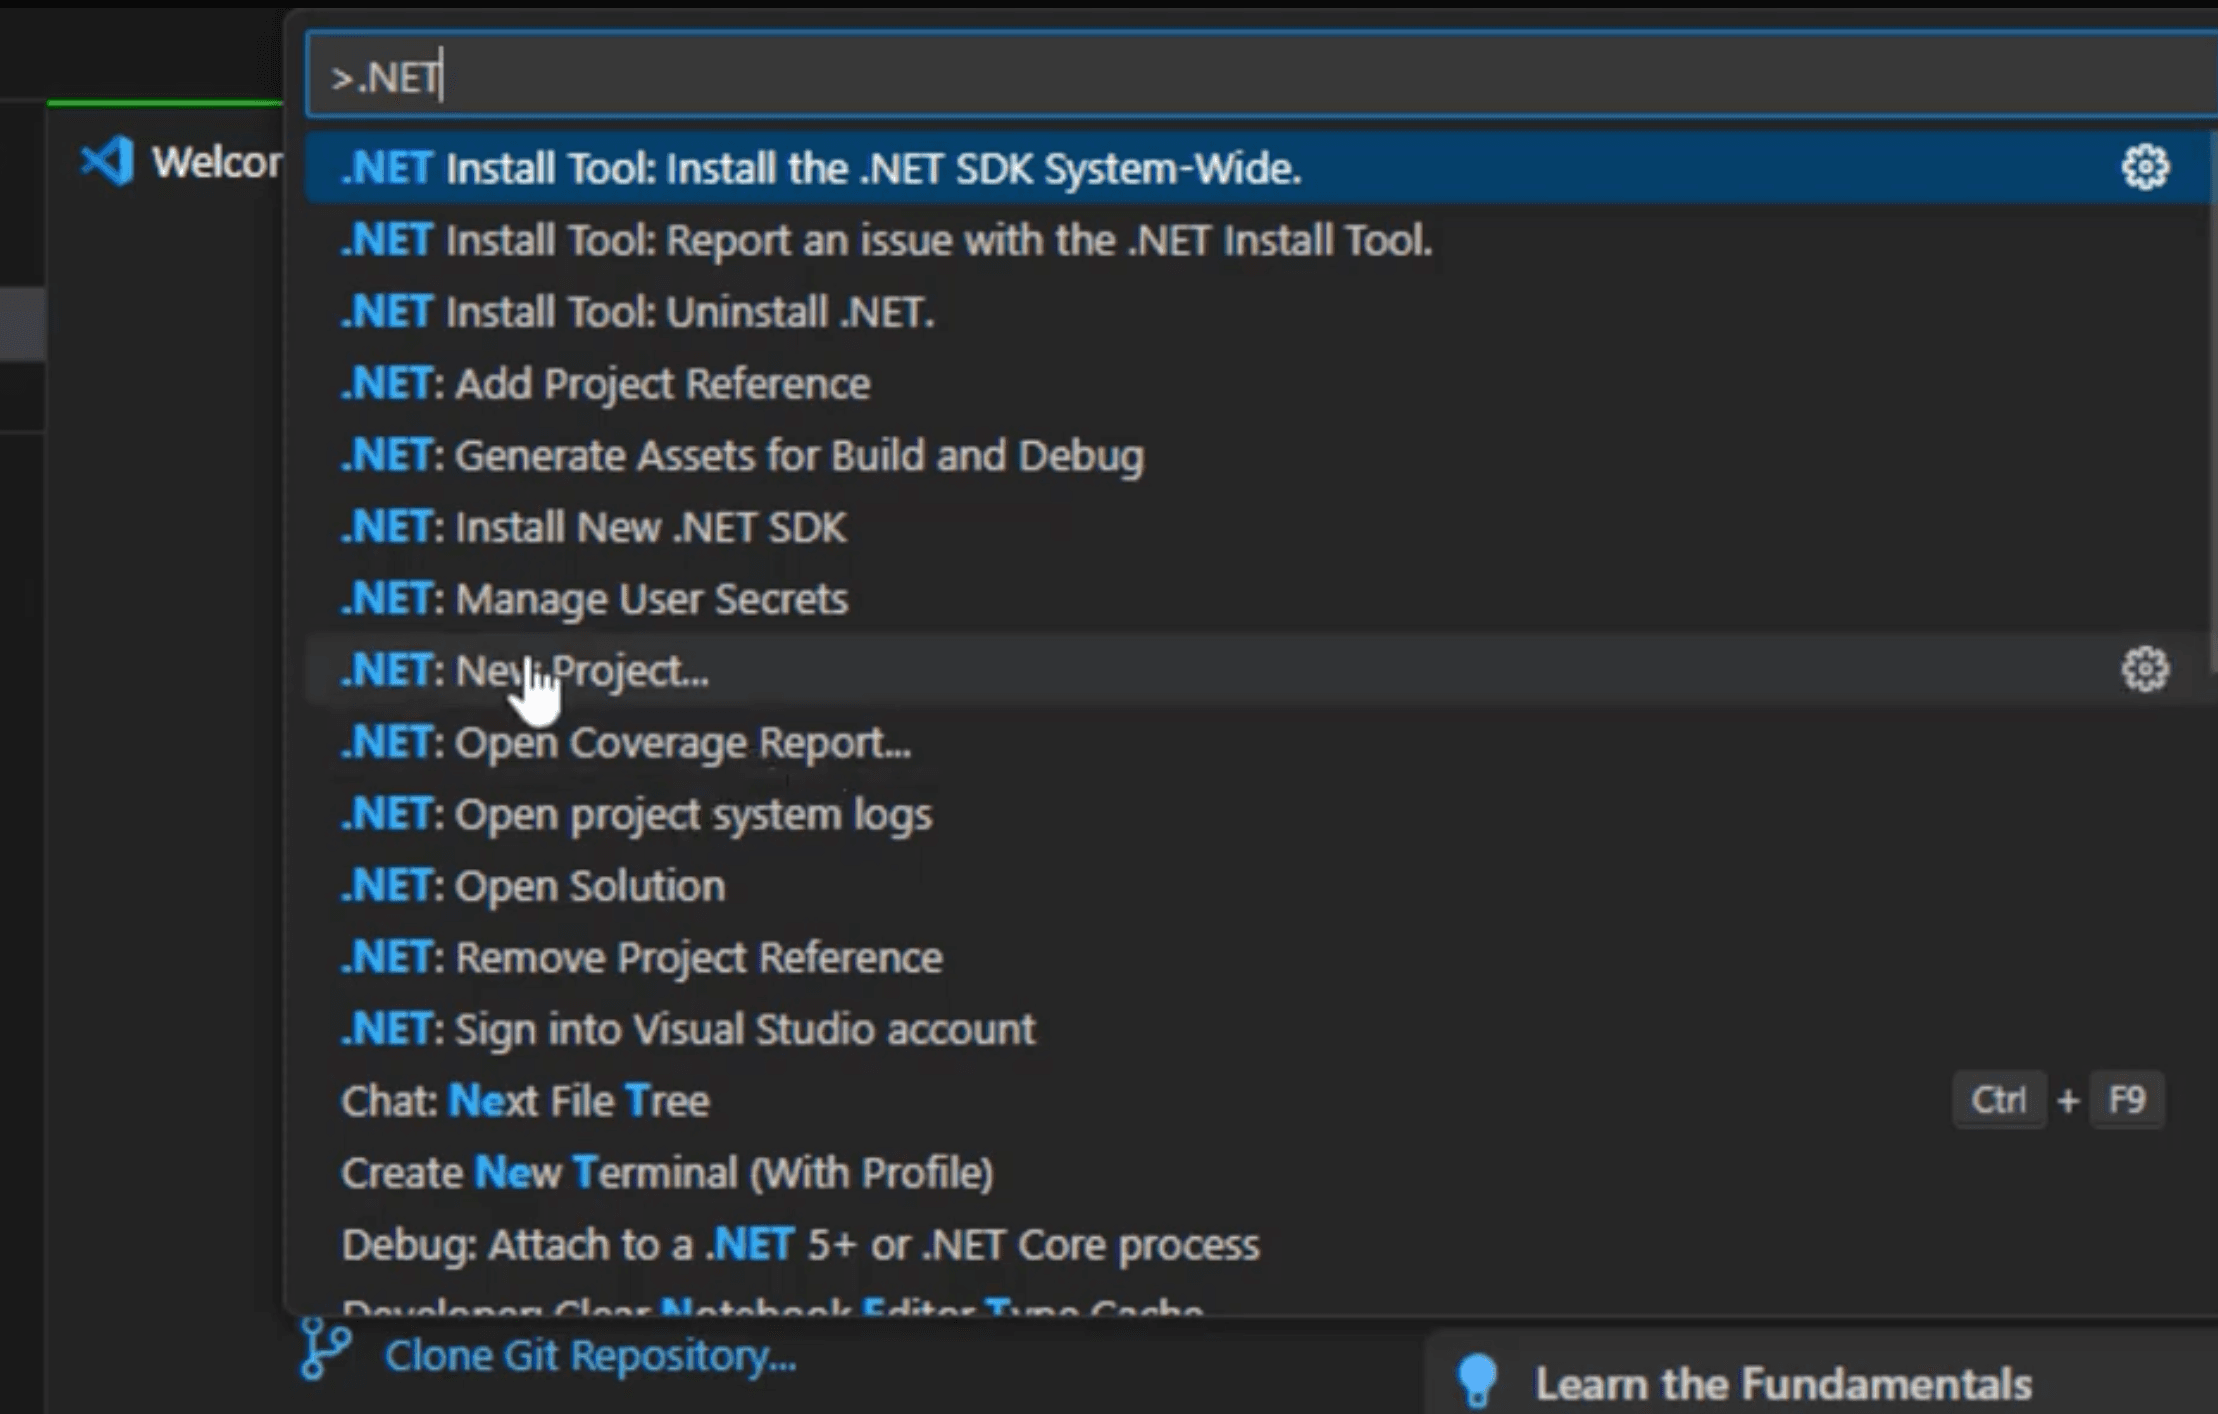
The Command Palette in Visual Studio Code
3. In the Command Palette, find and select the Blazor Web App option for your template, then press Enter.
4. Select where you want the project to sit.
5. Select the default Solution File Format that displays in the Palette, which is .sln, then press Enter.
6. View the project in your Solution Explorer on the left side of VSC.

Solution Explorer tree in Visual Studio Code with your Blazor project files
2. Navigate to new Blazor project
Enter the following on the command line to navigate into your new project, replacing <projectName> with the name of your project:
Shell
3. Initialize project
- Enter the following command on the command line from your new project directory to create a
package.jsonfile within your project:
Shell
2. Next, click Enter on your keyboard.
3. Enter configurations for your project on the command line. You may enter any values you like. We'll use the default values for this tutorial.
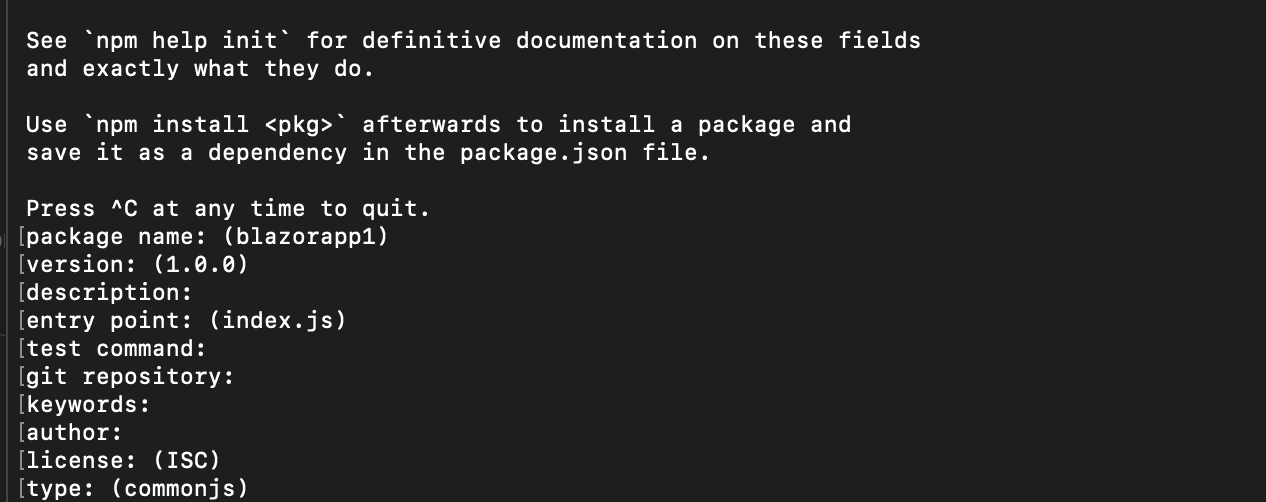
Configuration options on command line when you initialize the project
After answering all the configurations, you should have a package.json file in the folder you created.
4. Install WebViewer
From your project directory on the command line, install WebViewer into your project:
Shell
5. Run the project
- Click the Run and Debug button on the left side of VSC.

the Run and Debug button in Visual Studio Code
2. Click Run and Debug to run the project.
3. Search for and select C# in the debugger dropdown that displays.
4. Search for and select <projectName> [Default Configuration] demo option in the Debugger options that display after you select C#. You'll replace <projectName> with your project's name.
VSC displays the web app. You'll use this option later to view the WebViewer UI and a PDF.
6. Copy static assets
You have to copy the static assets required for WebViewer to run. The files must be moved into a location that will be served and publicly accessible.
1. Via your text editor in the Solution Explorer tree, create a subfolder within the existing wwwroot/lib folder and name it webviewer.
2.Create a subfolder within wwwroot/lib/webviewer and name it public.
3. In your <PROJECTNAME> EXPLORER tree, go to node_modules/@pdftron/webviewer/public, then copy the following folders and file:
coreuiwebviewer.mn.js
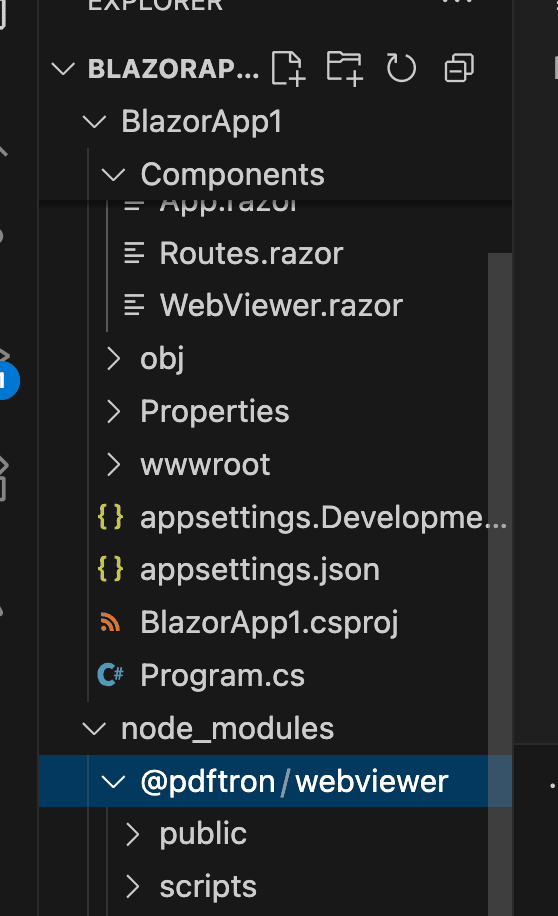
WebViewer files in the node_modules folder
3. Paste the select folders you copied to the new lib/webviewer/public folder that will be served.
Alternatively, you can read more about copying WebViewer static assets to automate the process.
7. Load WebViewer
Via VSC in the SOLUTION EXPLORER tree in your main application file, Components/App.razor, load the WebViewer library by adding the following script tag after <HeadOutlet /> and before </head>:
HTML
8. Instantiate WebViewer
- Via VSC in the SOLUTION EXPLORER tree, highlight the Components folder.
- Click the File+ icon. The New File options display in a dropdown.
- Search for and select
Razor Component. - Name your component
WebViewer. - Press Enter.
6. Add the following code to the new file, keeping in mind the following:
- At the top you have a
divelement for WebViewer that will be mounted. pathis the path to the copied static assets.- An initial PDF document is specified to open when WebViewer starts using the
initialDocparameter. - Add your own license key in place of 'YOUR_LICENSE_KEY'. If you've created your license key and you're logged in, your key is already in the code below.
HTML
Components/WebViewer.razor
You can now use this component elsewhere in your app by simply using <WebViewer />.
7. For example, Via VSC in the Solution Explorer tree, in Components/Pages/Home.razor, replace the code in the file with the following code to load WebViewer:
HTML
Components/Pages/Home.razor
9. View PDF in WebViewer UI
After you've saved all of the files, you'll run the project so you can see the WebViewer UI and the PDF you included to open in WebViewer.
- Click the Run and Debug button on the left side of VSC.
- Click the Restart button at the top of VSC. Once the project has run, VSC displays the web app and you see the WebViewer UI and the PDF you programmed to open.

Restart button in Visual Studio Code
(Optional) Set MIME types
WebViewer contains numerous different file types (WASM, GZ, BR) that the server needs to know how to handle. In order to tell Blazor how to serve these assets properly, you can configure the MIME types.
In Program.cs, add the following code to apply the proper MIME types.
C#
Program.cs
Next steps
Did you find this helpful?
Trial setup questions?
Ask experts on DiscordNeed other help?
Contact SupportPricing or product questions?
Contact Sales